


How to Sharpen edges and remove noise in Radiant Photo
Discover how simple it is to sharpen the edge of your subject and remove any unwanted noise in your pictures using Radiant Photo's intuitive tools.
Noise and lack of sharpness can affect the overall quality of your photos.
Although modern cameras eliminate noise to a large extent, there are times when your images turn out to be grainy due to pushing the camera’s ISO limits.
Similarly, even after using a tripod and a fast shutter speed to ensure a sharp image in-camera, you might end up with soft edges in photos due to various lens flaws or a minor camera shake.

Download the latest version of Radiant Photo to follow along with this simple tutorial.
Start a free 14-day trial today
That’s where Radiant Photo comes to the rescue.
With its advanced sharpening and noise removal algorithms, you can sharpen edges in your photos and remove noise in just a few clicks.
In this article, we’ll look at how you can address noise and sharpness issues and enhance your photos using Radiant Photo.
Understanding Sharpening and Noise Removal tools in Radiant Photo
Unlike other post-processing tools, Radiant Photo uses AI to sharpen edges and remove noise from your images.
Its advanced algorithms scan your photo and suggest adjustments that maintain the look of your photos without making them over-sharpened or softening details too much.
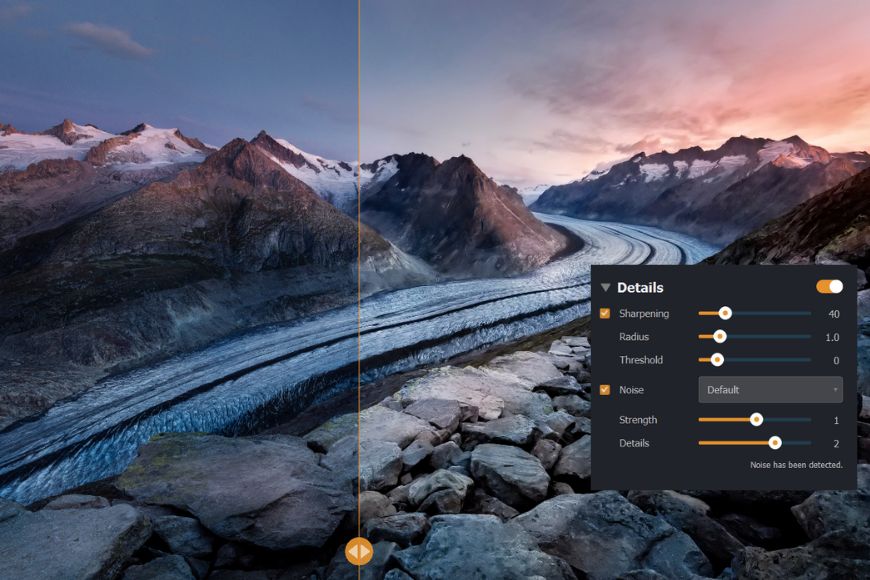
Details Tools
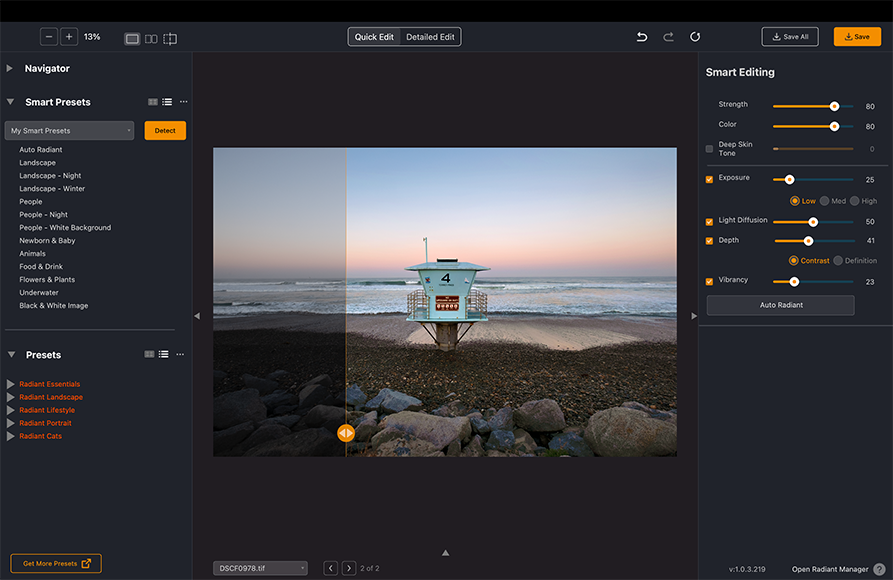
When you load your image into Radiant Photo, it scans it and, based on the smart preset selected, makes adjustments to the sharpening and noise removal sliders.
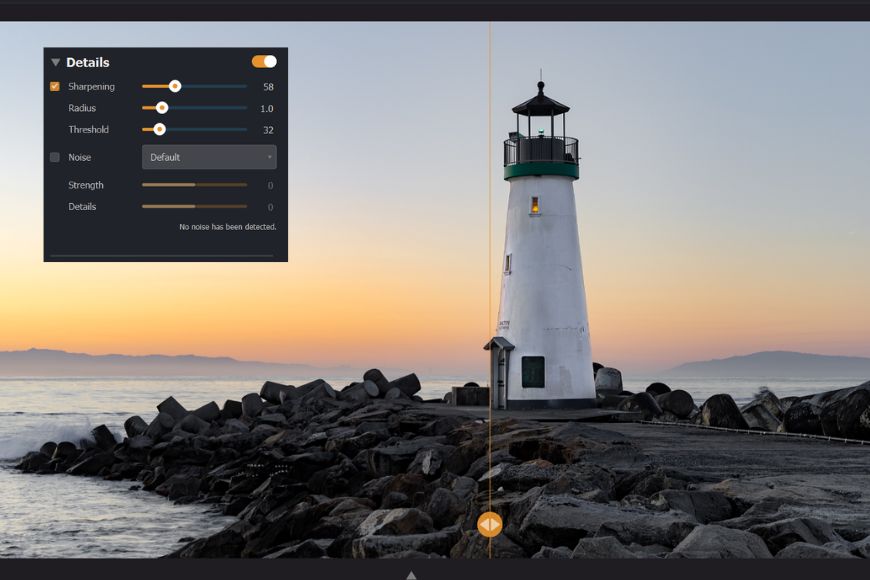
Additionally, it also checks if there is any noise in the photo. For example, in the below photo, it detected no noise.

However, you can override the auto settings by manually adjusting the sliders. Let’s look at all the tools available in the Details section of Radiant Photo.
Sharpening Tools
Radiant Photo uses powerful algorithms to intelligently make your photos tack sharp without adding artifacts. There are three sliders to fine-tune the effect of sharpening in your photos.
Sharpening
This slider controls the amount of sharpening applied. It should be used in moderation as it can result in overly crisp details in photos if pushed too far.
Radius
This slider determines the scope of adjustment on the pixel level. Too high a value on this slider would mean that sharpening would apply to a larger area surrounding the edges.
Threshold
With this slider, you can control how smooth or hard the blending of the sharpened and not sharpened areas. It is useful in creating a graduated transition from the sharpened to the surrounding pixels.
Noise Tools
Radiant Photo’s noise reduction engine is one of a kind. It automatically scans the scene and reduces grain, moire, and other artifacts from your photos.
High ISO noise correction with Radiant Photo can reduce noise levels by up to 3 stops. For example, if a photo is shot at ISO 6400, Radiant can reduce its noise to resemble that of ISO 800.
You can fine-tune the effect with the sliders:
Noise
With this slider, you can control how much noise to remove from your photo. Furthermore, there are 5 profiles if you are looking for a scene-specific correction:
Default is a good overall setting for most photos.
Portrait retains the natural look of the face but reduces blemishes and noise without overdoing the effect.
Night works best for photos shot in a dark ambiance with artificial lights such as cityscapes.
Camera Phone, as the name suggests, targets the noise that’s typical of the small sensor of smartphone cameras.
Strongest produces the maximum noise reduction effects on photos. You must practice moderation with this slider, as the effect is too strong.
Strength
With this slider, you get another control on the overall strength of the effect you chose previously.

Details
With this slider, you can change how much details you want to retain in the photo. It’s another way of controlling the strength of the effect, but it works by preventing details from getting noise reduction applied.
Step-by-step guide to sharpening edges and removing noise in Radiant Photo:
Open a photo in Radiant Photo
To load your photo, you can either click the canvas and choose a photo from your desired location or use the shortcut Ctrl+O (Windows) or Cmd + O (Mac).
Sharpening edges
Radiant Photo features advanced algorithms to selectively sharpen the edges in a photo. With this example, I’ve raised sharpening to a value of 40.
Radius controls the spread of sharpening in a photo, and as this photo has fine details, I’ve set Radius to 1.0 pixel.
Threshold creates a smooth blend between the sharp and unsharp areas. With this photo, I’ve kept it at 0.
Removing noise
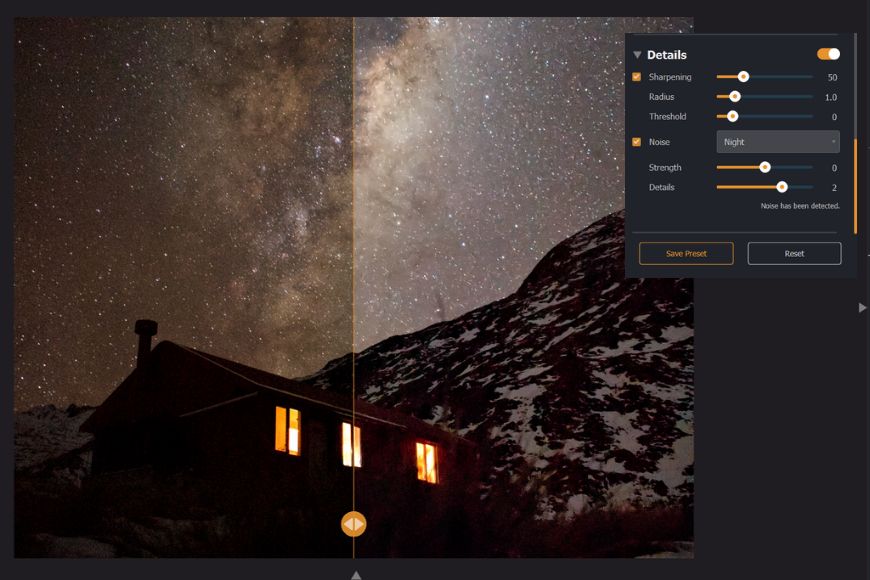
Radiant Photo’s AI noise removal engine produces great results with noisy photos, whether it’s the night sky, cityscape or low-light portrait shot at high ISO.
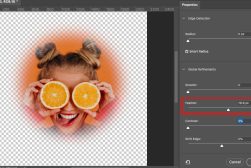
For this example, you can see it says, “Noise has been detected, ” meaning Radiant Photo has automatically read the image and found noise.
Here, I’ve chosen the Portrait noise profile and a value of 2 for the strength slider and 3 for the details slider.

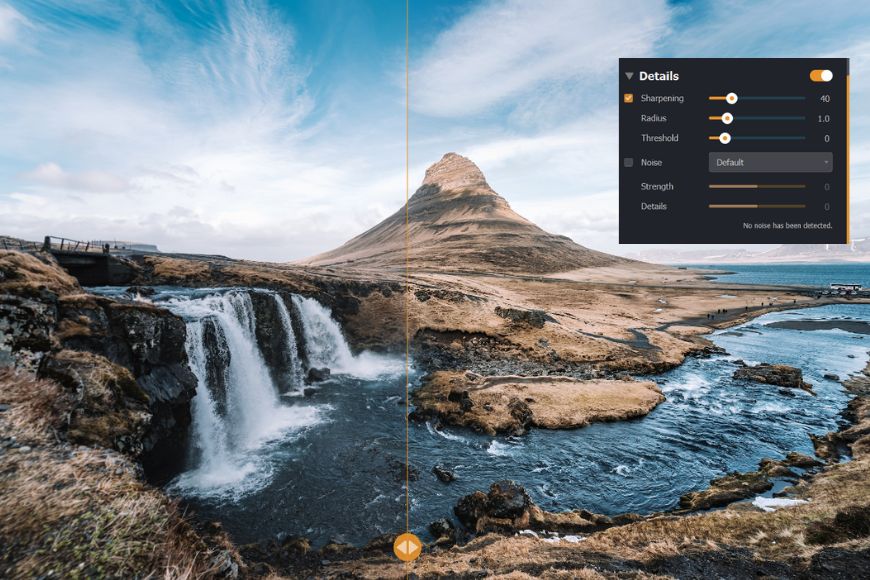
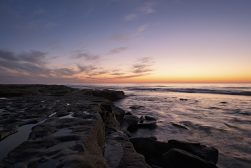
Here’s another example photo with a different scene, and here too, Radiant Photo has detected the noise. In this case, I’ve set the strength to 1 and the details to 2.
Save your photo
You can save your photo by clicking the Save button in the top right corner or navigating to the menu File> Save As.
Alternatively, you can use the shortcut Ctrl + S ( Windows) or Cmd + S (Mac).
Tips for Sharpening Edges and Removing Noise in Radiant Photo
Sharpening and Noise Removal are powerful tools and can be easily overdone. Here are a few tips for effective use.
a) Sharpness isn’t visible in photos unless it’s too much. It’s rather a subtle effect that is perceived. When you moderately use the slider and compare the before and after, you’ll see the difference.
Use it conservatively.
b) Removing noise from photos also reduces the details to some extent. Make sure you maintain a good balance of details and noise reduction.
c) When using both tools in combination, revisit sharpening settings after noise removal to see if the photo can be enhanced further with sharpening.
Final Thoughts
Radiant Photo makes sharpening and noise removal a breeze for photographers. No more fiddling with multiple settings to remove noise effectively; with Radiant Photo, it’s just a matter of clicks.
Nonetheless, as with all photo editing, you should always aim to keep the effect subtle and avoid over-processing.
You may also like my article on how to use toning tools in Radiant Photo.
You'll Also Like These:
 Radiant Photo Review: Fast & Fully Customisable AI Photo Editor
 How to Feather Edges in Adobe Photoshop in 4 Simple Steps
 How to Get Started with Radiant Photo (A Beginners Guide)
 How to enhance Landscape Photography with Radiant Photo

Yatharth Gupta is a seasoned travel and street photographer with eight years of experience. He is also a blogger and loves to explore new places.

WELCOME TO SHOTKIT
Enter your email to be sent
today's Welcome Gift:
19 Photography Tools
🔥 Popular NOW:


Shotkit may earn a commission on affiliate links. Learn more.