


How to Add a Realistic Drop Shadow To Images in Photoshop
Learn how to add realistic drop shadows to give your images some life in Photoshop by using a Drop Shadow Layer Style effect.
By Judyth Satyn
Drop shadows are an important Photoshop effect to add under an image when you want to make a subject look realistic in a new backdrop or setting.
Without a drop shadow, a subject will look unnatural, like it’s floating over the backdrop.
Drop shadows can also be used to define a subject or to create surreal effects.
In this tutorial, you’ll learn how to add a drop shadow in Photoshop by using the Photoshop Drop Shadows effect.

Download the latest version of Adobe Photoshop to follow along with this simple tutorial.
Start a free 7-day trial today
How to Add a Drop Shadow On Images in Photoshop
Step 1 – Open your image
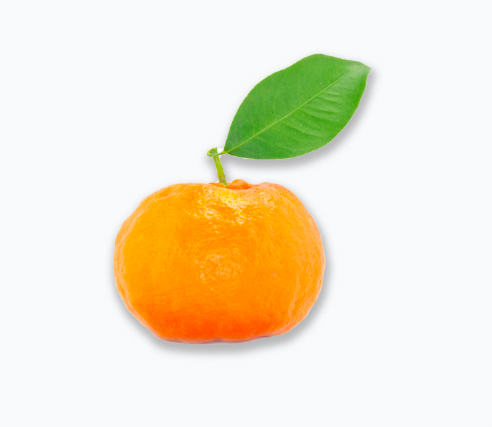
Select the image you wish to add a drop shadow to and open it in Photoshop.
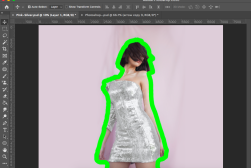
You won’t be able to add a drop shadow to a subject that is not cut out – the subject will need to be in a separate layer in the layers panel.
(Use this Photoshop Tutorial if you need to remove a subject from its background.)
Step 2 – Open Drop Shadows Effect
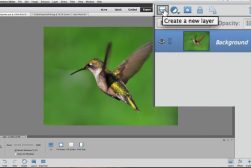
At the bottom of the Layers Panel, click the FX Icon and select Drop Shadow, or navigate to the top menu bar and select Layers > Layer Style > Drop Shadow.
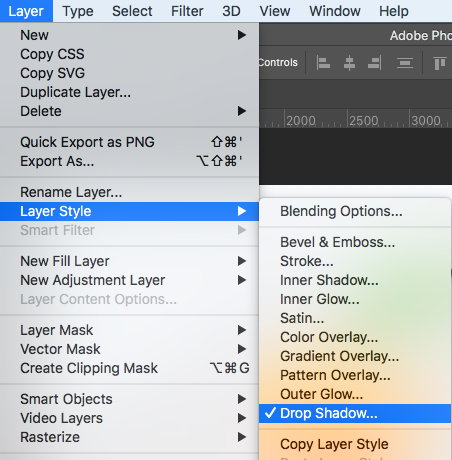
When selected, the Layer Style window will appear containing the Drop Shadows box.
Move the Layer Style window so you can view the image in the canvas window and the Drop Shadow effect box at the same time.
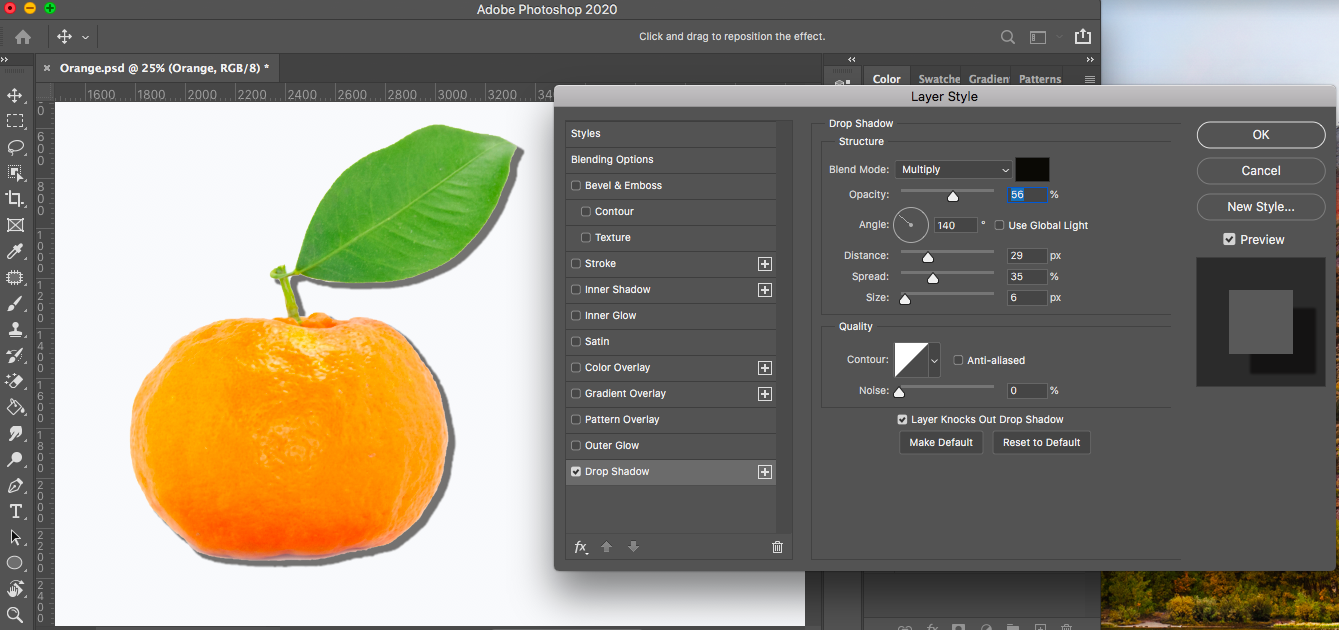
The Drop Shadow box gives you options to select different drop shadow effects.
Step 3 – Customize the Drop Shadow
For this tutorial, we are going to create a realistic drop shadow under the orange. You can use the Drop Shadow Dialog Box to create real or surreal shadows.
In the Drop Shadow box, set the Blend Mode to Normal.
Click the Color box and select a dark color. Dark brown or black works well.
Set the Opacity of the drop shadow by adjusting the slide bar or adding a percentage in the box beside it.
When you set the opacity high, you’ll have a darker shadow – this is useful if the background behind the drop shadow is dark or if you want to simulate an intensely bright light.

When the background behind the image layer and drop shadow is light, the opacity will need to be set lower.
Change the angle of the drop shadow depending on where the light source is coming from.
For example, if the light source is coming from below, manoeuvre the Angle dial to mirror this.
If the light source for the drop shadow is coming from above the subject, move the dial or enter a number in the Angle box to simulate the angle of the light source.
You can use Photoshop’s default Use Global Light setting: this will help you achieve a consistent look if you need to add the same drop shadow to other layers.
Set the Distance of the drop shadow by adjusting the slider.
The distance setting will detach the drop shadow from its subject. This is useful if you want the subject to look like it’s free-floating or slightly removed from the background.
To create the appearance that the subject is sitting on its background, add a drop shadow that looks like it’s attached to the subject.
To do this, decrease the level of Distance and adjust the Spread and Size settings.
Leave the Contour option on its default setting.
You can use the Noise sliding bar to add Noise to your subject’s drop shadow, but in general, this will make your shadow look less realistic.
Set the Noise slider to 0.
At the bottom of the Drop Shadow box, you have the option to set your new drop shadow settings as Default. This is useful if you wish to create uniform drop shadows onto a few layers.
Or you have the option to reset all settings to Photoshop’s default drop shadow settings.
When you are happy with the qualities of the drop shadow, click OK in the top right-hand corner of the Drop Shadow Dialog Box.
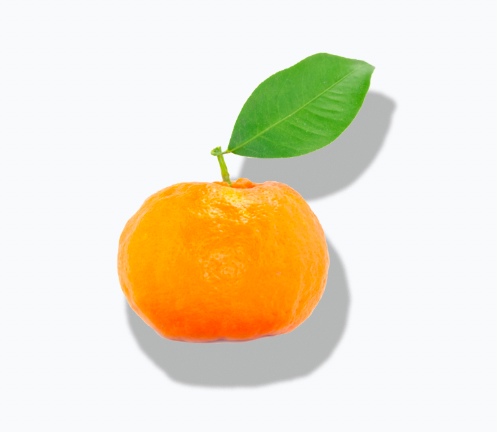
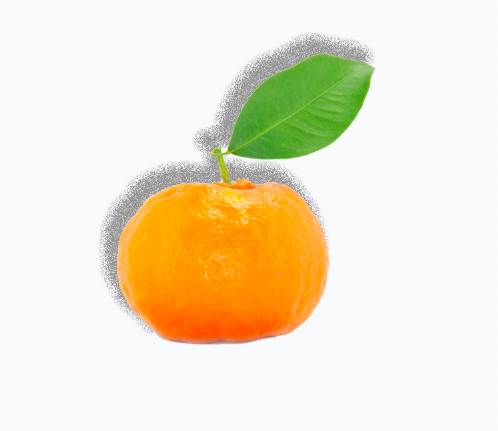
Now your subject will have a perfect realistic-looking drop shadow, defining it from its background.
Step 4 – Future Drop Shadow Edits
The Drop Shadow edits will be attached as an effect under your subject’s layer in the layer panel.
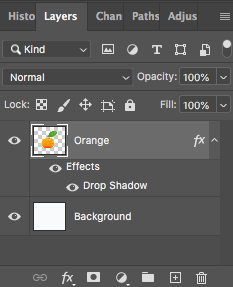
If you close the Drop Shadow effect box, all the drop shadow adjustments will be saved for you to easily access and adjust at any time during the editing process.
When you save your Photoshop file, the Drop shadow effect will be saved with your layer.
If you’re satisfied with your final edits, you can merge and blend all layers.
What is the difference between drop shadow and inner shadow?
A drop shadow will appear behind or below a subject, whereas an inner shadow will be placed inside the subject.
A drop shadow is used to distinguish the subject from its backdrop.
It will make a transferred object look more realistic on its new background.
An inner shadow is placed on the inside of an object simply for artistic (not realistic) effect.
Do you want to learn more Photoshop tricks? Head to this Photoshop tutorial to learn how to Layer Masks in Photoshop.
You'll Also Like These:
 How to Remove a Shadow in Photoshop (Two Easy Methods)
 How to Add a Vignette Effect in Photoshop Elements
 How to Merge / Blend Two Images in Photoshop
 How to Outline Images in Photoshop (4 Simple Steps)
 How to Insert Images in Photoshop The Easy Way

Judyth is an experienced studio photographer and glass artist. When she isn’t Photoshopping comedians into the bellies of sharks, you can find her cooking delicious treats for her guests.

WELCOME TO SHOTKIT
Enter your email to be sent
today's Welcome Gift:
19 Photography Tools
🔥 Popular NOW:


Shotkit may earn a commission on affiliate links. Learn more.