


How to Remove a Shadow in Photoshop (Two Easy Methods)
Shadows can make or break an image, so follow these steps to learn how to remove unwanted shadows using the power of Adobe Photoshop.
By Judyth Satyn
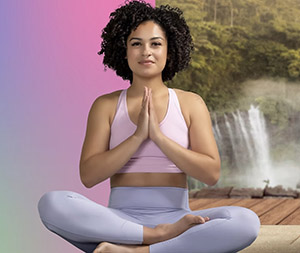
Shadows can make or break a photo. Unwanted shadows can create a heavy atmosphere and are capable of distracting the viewer from your breathtaking subject.

Download the latest version of Adobe Photoshop to follow along with this simple tutorial.
Start a free 7-day trial today
When you discover a harsh shadow, you don’t need to delete the photo altogether – using the power of Photoshop, you can actually correct it quite quickly.
Follow the steps below to see how easy it is.
How to Remove a Shadow in Photoshop
Step 1 – Open
First Open your image in Photoshop and make sure that it is unlocked.
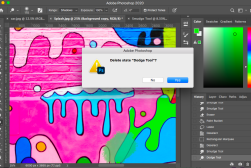
Duplicate your image so that you have a backup copy in case you make an editing mistake while removing the shadow.
To Duplicate the layer, find the Layer in the Layers Panel and Drag onto the Add Layer Icon (the square with a plus sign inside)
Alternatively, Navigate to Layer in the Top Menu bar and select Duplicate Layer in the drop-down menu.

Now you are ready to remove or lighten the shadow.
Method 1 – Use Patch Tool to Remove Unwanted Shadows
The Patch Tool is the best way to remove shadows when the shadows lines are strong and defined, and it sits on a textured background.
The Patch Tool works similarly to the Clone Stamp Tool, replacing unwanted areas by replicating portions of the image.
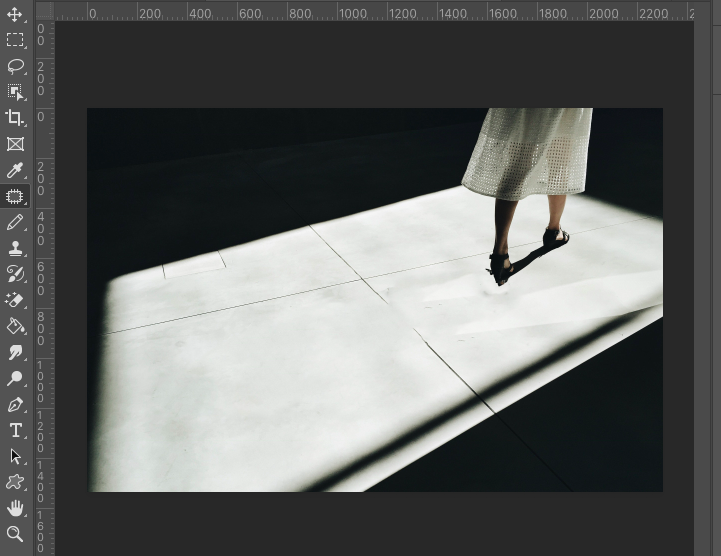
Using this Tool you can replace a shadow with an area of the image’s background, for example, the adjacent pavement in the image below.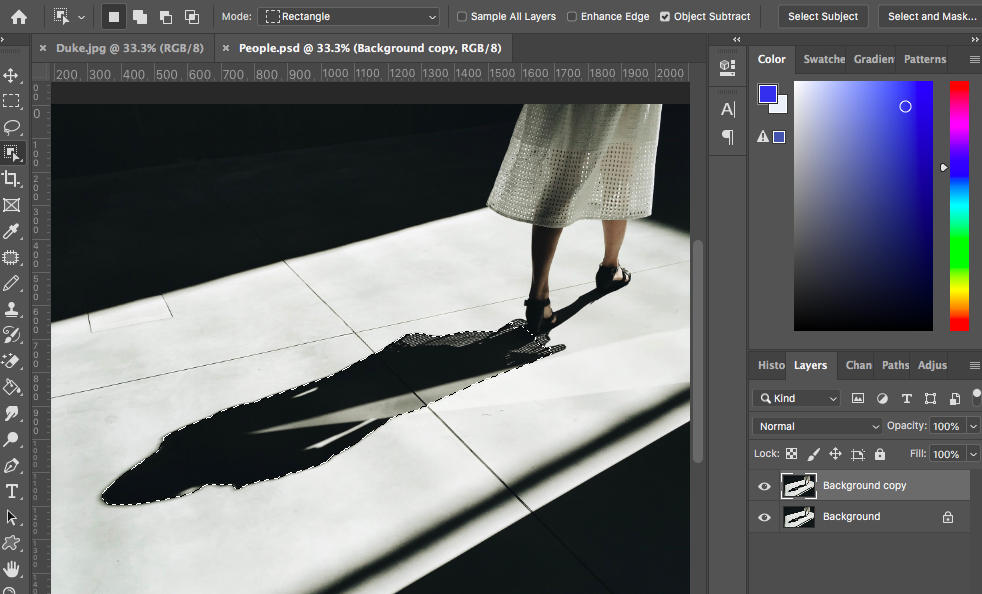
Navigate to the Tool Bar, select the Patch tool, or press J for the keyboard shortcut.
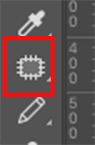
When the Tool is selected and active, navigate to the Tool Options Bar above the canvas window, and set the Tool to Content-Aware.

Click on the canvas and drag the Patch Tool to make a selection around the shadow you wish to remove.
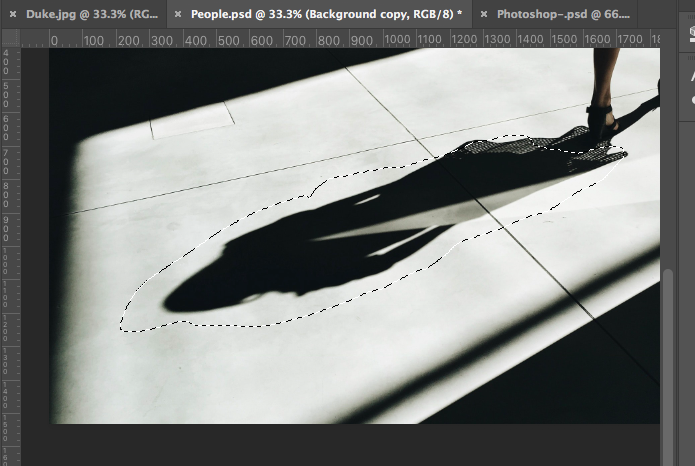
When the shadow is selected and surrounded by marching ants, Click on the shadow selection, hold, and drag using your cursor.
As you drag, the selection area will be replaced with a new background area depending on which way you drag the cursor.
Release your cursor when you have the required selection.
When released the harsh shadows will be replaced with the new background area.
Repeat this process, click, drag, and release, until you are happy with the result.
There might be extra tweaks you need to make to remove the shadow, as you can see in the image above there is a line in the pavement that will need to be added, to this you can use the Clone Stamp Tool.
But as you can see this method is very fast and effective for removing shadows.
Use this Photoshop tutorial to add realistic shadows to your images.
Method 2 – Use Curves and Levels to Remove Shadows
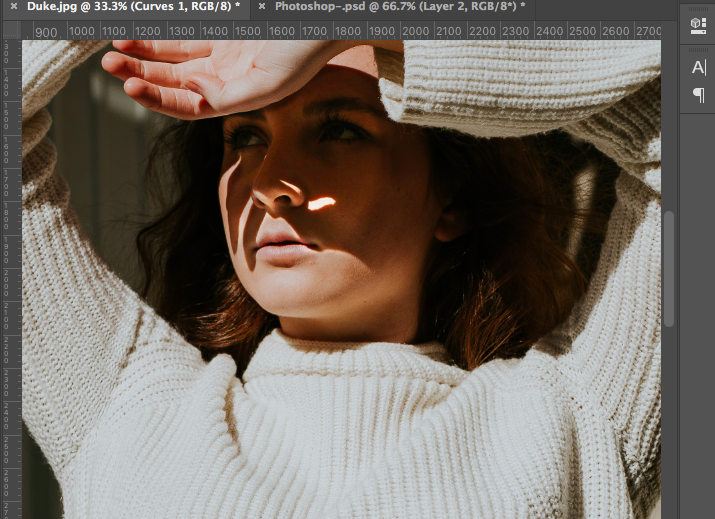
Using Curves and Levels you can adjust the tones of the shadow to bring back the subject’s color and remove the dark hue of the shadow.
This technique is useful when you need to lighten shadows on faces, animals, or bodies.
This technique can be tricky and time-consuming but the results will be worth it.
And the added bonus is the more you use this editing technique the quicker you will become.
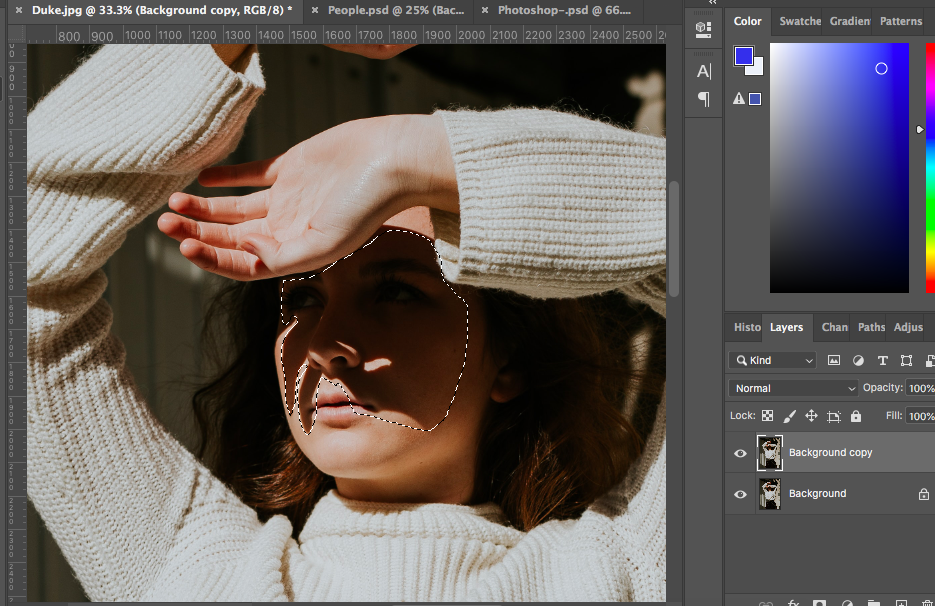
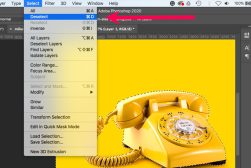
Make a selection around the area of shadow you wish to remove or lighten, using a selection tool.
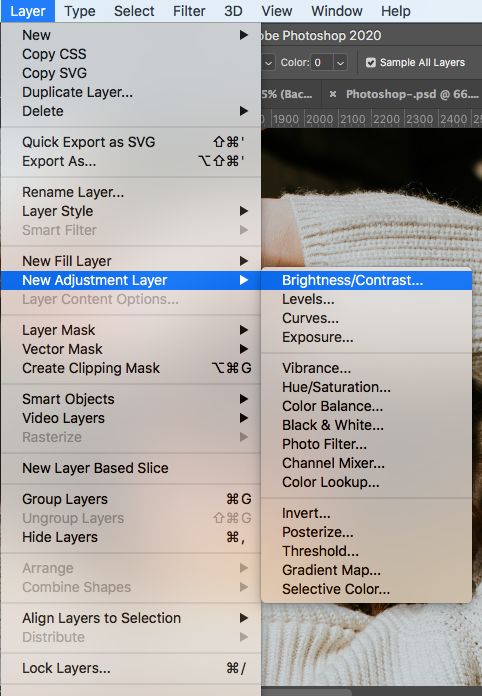
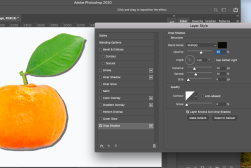
When you have selected the area you wish to remove the shadow from navigate to the menu bar above your canvas and select Layer > New Adjustment Layer > Curves.
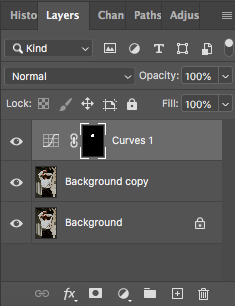
When you select Curves you will see a New Adjustment Layer in the Layers Panel and a Properties Panel will appear over your canvas window.
Adjust the Curves Properties Panel settings until you are happy with the shading.
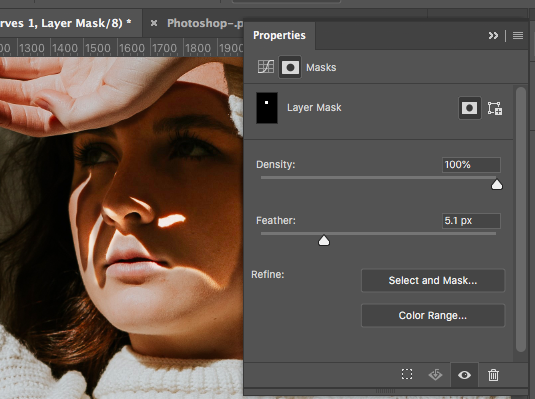
Now you have a lighter shadow, that doesn’t obscure the features on the face.
Check out this Photoshop Tutorial to learn more – How to Change Skin Tone in Photoshop.
Remove a Shadow from a White Background in Photoshop
Do you have an image where the unwanted shadow is sitting on a stark bright white background?
If this is the case, you are in luck this is one of the easiest shadows to remove.
To remove a shadow from a white background with a textured background, follow the steps in the first method mentioned above.
Using Method 1 will ensure that the texture is included when the shadow is removed.
Alternatively, you can use the Clone Stamp Tool.
Using the Clone Stamp Tool you can substitute areas of the image’s background to cover up and remove shadows.
If you want to remove unwanted shadows from a white background area that is not textured follow the steps in Method 2 and use the Adjustment Levels and Curves.
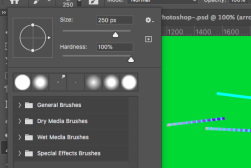
Like this Photoshop tutorial? We have lots more for you, try brushing up on your Brush Tool Skills.
You'll Also Like These:
 How to Make a GIF in Photoshop (+ 8 FREE Methods)
 How to Deselect in Photoshop (5 Quick & Simple Methods)
 How to Draw Straight Lines in Photoshop (3 Simple Methods)
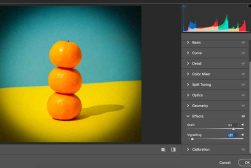 How to Create the Vignette Effect in Photoshop (Two Easy Methods)
 How to Undo and Redo in Photoshop (Three Methods)
 How to Add a Realistic Drop Shadow To Images in Photoshop

Judyth is an experienced studio photographer and glass artist. When she isn’t Photoshopping comedians into the bellies of sharks, you can find her cooking delicious treats for her guests.

WELCOME TO SHOTKIT
Enter your email to be sent
today's Welcome Gift:
19 Photography Tools
🔥 Popular NOW:


Shotkit may earn a commission on affiliate links. Learn more.