


How to Add Lighting Effects in Photoshop
In this tutorial, you'll learn how to add lighting effects in Photoshop, so you can add atmosphere to your images and take them to the next level.
By Judyth Satyn
Sometimes all you need to do to change a dull photo into a more atmospheric image is to add light rays or alter the light source.
Thankfully, it’s not too difficult to do that in Photoshop using a few lighting effects filters.
If you’re not sure how to do it, you’ve come to the right Photoshop tutorial!
I’ll teach you how to add lighting effects in Photoshop so you can take your photos to the next level.


Download a free copy of Adobe Photoshop to follow along with this simple tutorial.
How to Add Lighting Effects in Photoshop in 6 Steps
Step 1 – Open the Image
Open the image you wish to add a lighting effect to by navigating to the top menu bar and selecting File > Open.
From your computer locate and select the image.
Step 2 – Open Lighting Effects
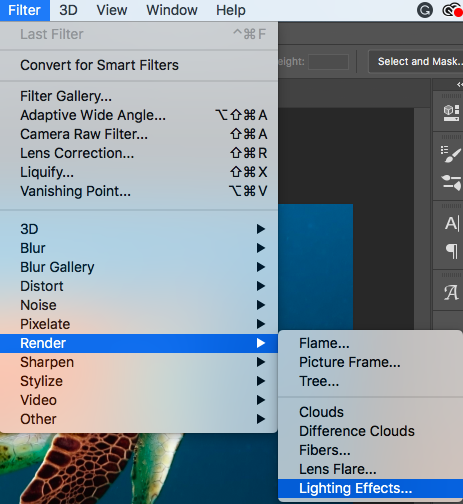
Once your image is open, head to the top menu bar and select Filter > Render. In the drop-down menu, click on Lighting Effects.
When Lighting Effects is clicked, the Properties Panel of the Lighting Effects Filter will open. This allows you to select customized settings for your lighting effects.
A preview window will open giving you a preview of the lighting effects filter adjustments.
- Learn how to use Selective Color in Photoshop.
Step 3 – Options Bar
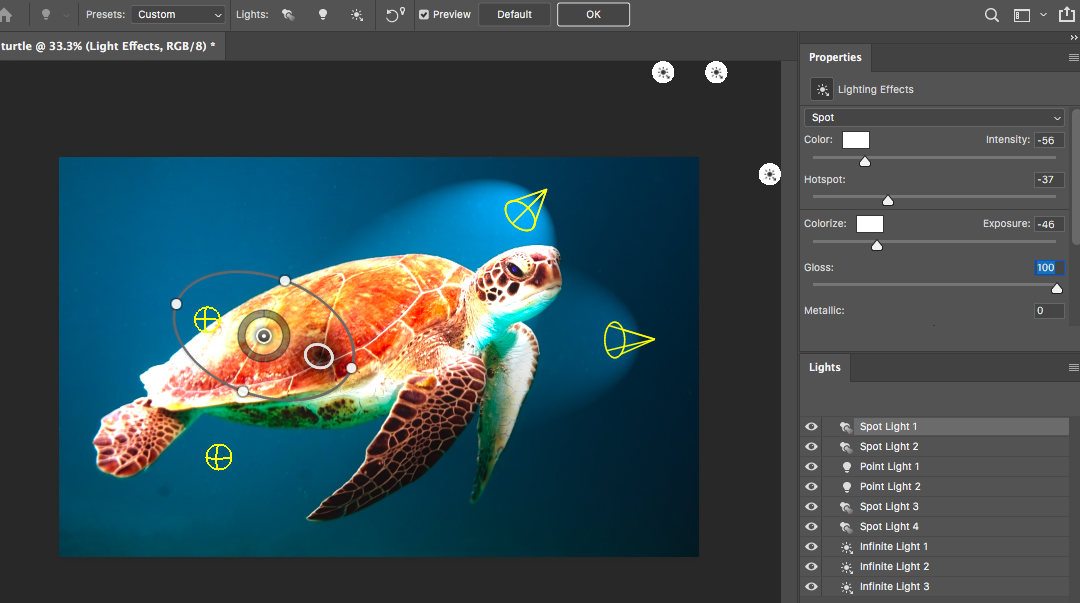
The Lighting Effects Options Bar will open above the canvas window.
![]()
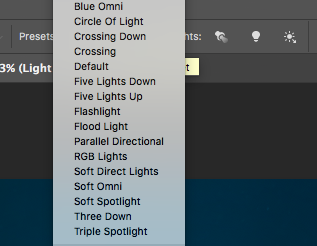
In the Lightening Effects Filter Options Bar, you can select a Preset.
Choose from 17 Light Effects Presets or leave it as the default Custom option.
When you click on a Preset, such as Five Lights Up shown in the image below, the preset of light sources you’ve chosen will appear.
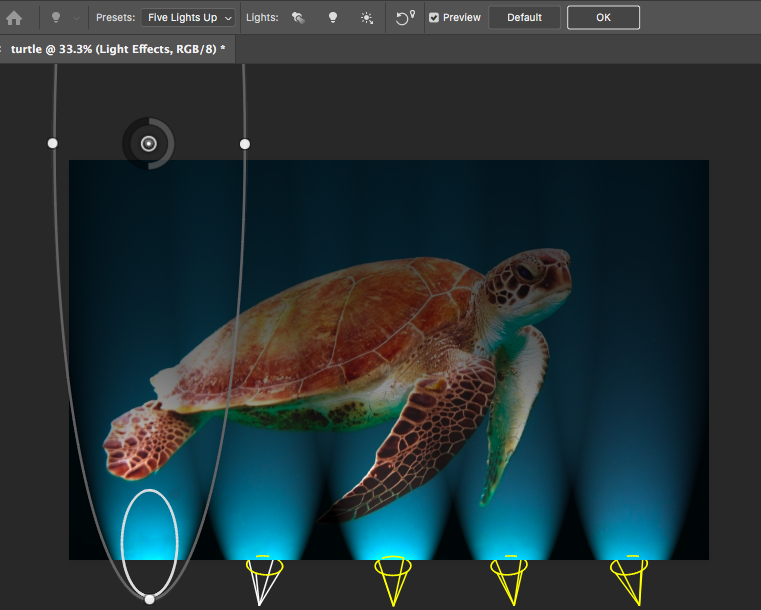
In this case, five spotlights pointing upwards appear on the image. From here, you can tweak and adapt the preset.
Presets can be useful as a place to start editing, or sometimes they hit the lighting spot exactly.
Step 4 – Light Source
Next to the preset option is an option called Lights that allows you to choose your lighting source.
Click on the torch icon for Spot Light, the light bulb icon for Point of Light, and the sun icon for Infinite Light.
When you click an icon, a light source will be created and a Light Layer will be created in the Lights Panel below the Properties Panel.
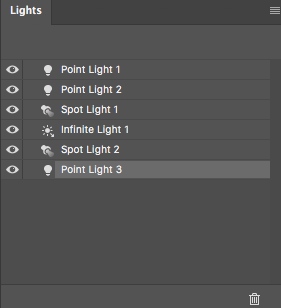
Activate a Light Layer in the Lights Panel when you wish to adjust or delete it.
When a lighting source is activated a bounding ellipse will be created over your image in the Preview Window.
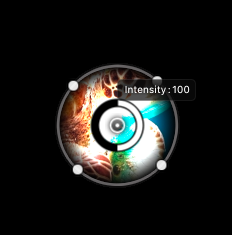
The light source will be contained inside this bounding ellipse.
This ellipse can be extended or retracted by dragging the edges with your cursor.
Rotate the ellipse by dragging your cursor around the edges.
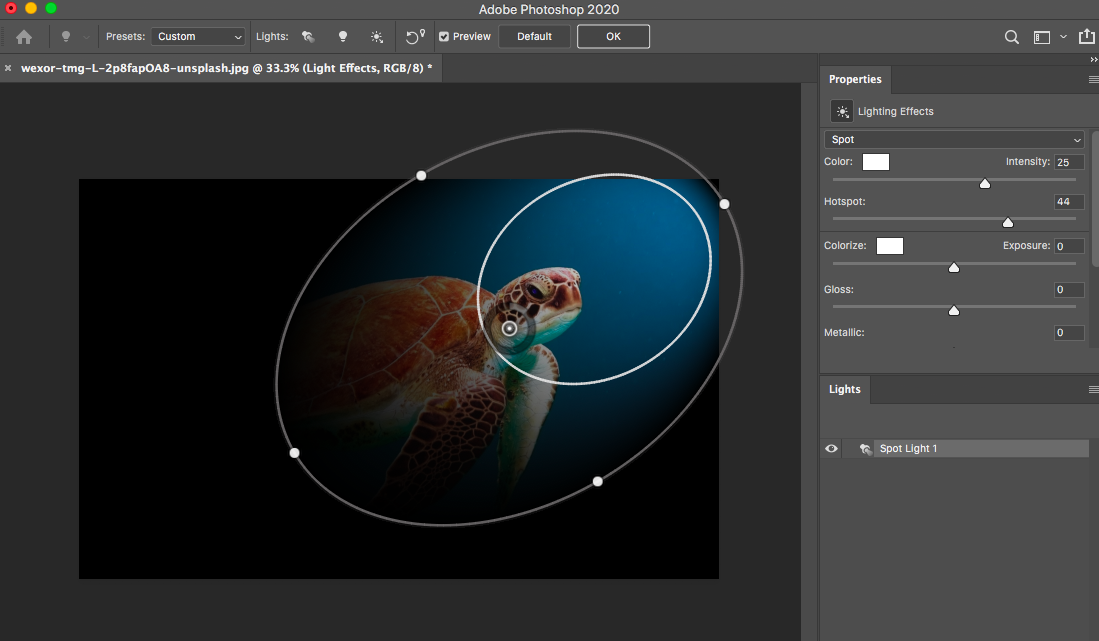
Step 5 – Properties Panel
To customize the Lightening Effect Filter you can use the options in the Properties Panel.
Let’s run through the options.
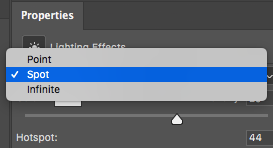
In the first bar, you can choose between Point, Spot, and Infinite as the light source.
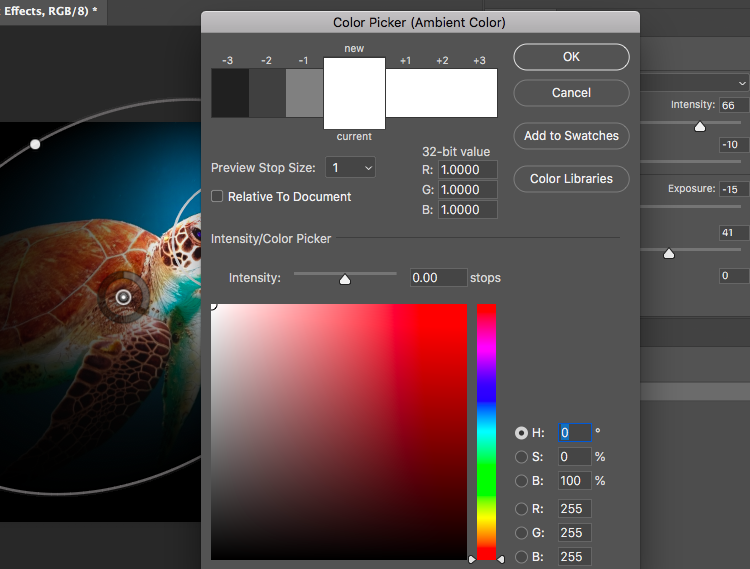
Color
Click the color box and a Color Picker dialog box will open.
Use this to change the light source color.
Hotspot
Slide the slider to change the size of the Hotspot.
Colorize
This option allows you to add a tint to the overall lighting.
Exposure
Slide the slider to increase the exposure and adjust the highlight and shadow detail.
Gloss
Slide the slider to the left or right to increase or decrease how much the surface reflects light.
Metallic
Use this option to determine which is more reflective – the light or the object on which the light is cast.
Ambiance
Use this when you want to diffuse the light. This makes it appear as if there were another light source in the room.
Texture
Will apply a Texture Channel.
Step 6 – Create Lighting
Now you have all the information you need to experiment and create a new light source or lighting effects on your images.
Go nuts and have fun.
Click OK when you’ve finished and save your document.
To learn more, check out this Photoshop Tutorial on Layer Masks.
If the Photoshop Lighting Effects Filter is not Working
The most common reason that Lighting Effects is not working in Photoshop is that Use Graphics Processor is not ticked in the Photoshop Preferences.
The other reason is that your graphics card driver is not up to date.
The best place to start is by checking your Photoshop Preferences.
Navigate to Photoshop in the top left corner of your menu bar.
In the drop-down menu below Photoshop select Preferences > Performance.
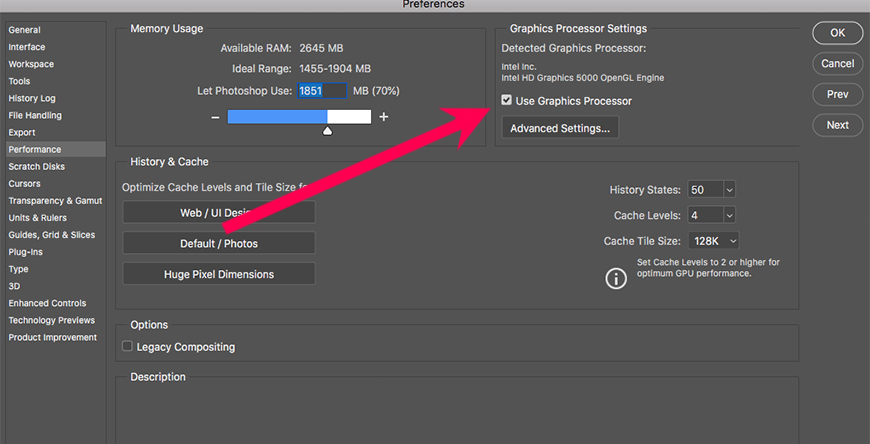
In the Dialog box that opens check that the Use Graphics Processor option is clicked.
If you liked this Photoshop Tutorial on creating lighting effects, you’ll also enjoy learning how to add vignette effects.
You'll Also Like These:
 How to Add a Realistic Drop Shadow To Images in Photoshop
 How to Add a Vignette Effect in Photoshop Elements
 10 Best After Effects Alternative in 2023 (Free & Paid)
 Boris FX Optics Review: Visual Effects Plugin for Photography
 How to Buy Adobe After Effects Permanently (Or Get it Free)

Judyth is an experienced studio photographer and glass artist. When she isn’t Photoshopping comedians into the bellies of sharks, you can find her cooking delicious treats for her guests.

WELCOME TO SHOTKIT
Enter your email to be sent
today's Welcome Gift:
19 Photography Tools
🔥 Popular NOW:


Shotkit may earn a commission on affiliate links. Learn more.