


How to Draw a Circle in Photoshop (Outline or Fill)
In this tutorial, we'll show you how to draw a perfect circle. Learn how to create an outline or fill it with a color or pattern.
By Judyth Satyn
Have you ever tried drawing a circle in Photoshop only to find that the result looks more like a squashed zucchini?
You’re not alone – it can be kind of tricky if you use the wrong tools.

Download a free copy of Adobe Photoshop to follow along with this simple tutorial.
Drawing a circle in Photoshop may seem daunting, but in this tutorial, we’ll show you the simple steps to drawing a perfect circle.
If you don’t already own Photoshop, you can find out to buy it here.
How to Draw a Circle in Photoshop in 4 Steps
Step 1 – Open a blank document
You can add circles to any image, either as an overlay or as an extra layer.
Let’s start by opening a blank document.
Navigate to File in the top menu and select New.
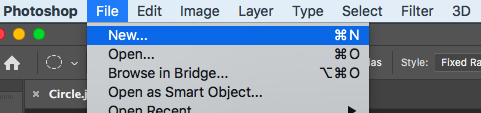
The New Document dialog window will appear.
In the left-hand panel enter the name and document properties.
Enter the same width and height – for example, 1000 x 1000 pixels.
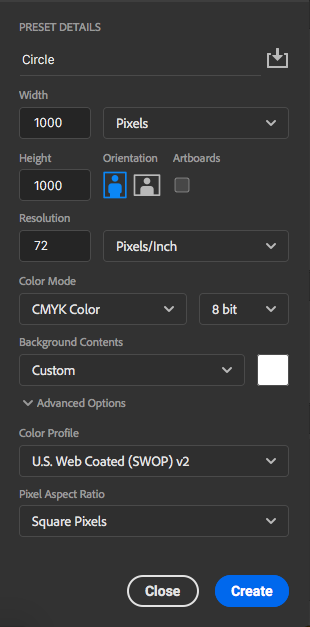
You can use 72 dpi if you intend to use the image digitally but if you want to print your circle image change the resolution to 300 dpi.
Once you have set the properties of your document, click Create.
Step 2 – Select Tool
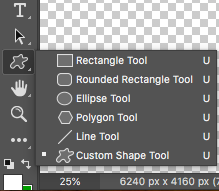
To create a perfect circle in Photoshop you can use either the Ellipse Tool or the Elliptical Marquee Tool.
Ellipse Tool
To use the Ellipse Tool, select it from the Toolbar to the left of your workspace.
If you can’t find the Ellipse Tool in your toolbar, you’ll find it under the Path Selection Tool in the drop-down menu beside the Rectangle Tool.
When the Ellipse Tool is selected you can draw a circle on your workspace.
Click on your workspace with the Ellipse Tool pointer and drag your cursor across the workspace.
The Ellipse Tool will create an oblong path, but not a perfect circle.
To create a perfect circle you have two options:
Option 1
Hold down the shift key as you drag the Ellipse Tool and the circle you create will be perfect in its dimensions.
Option 2
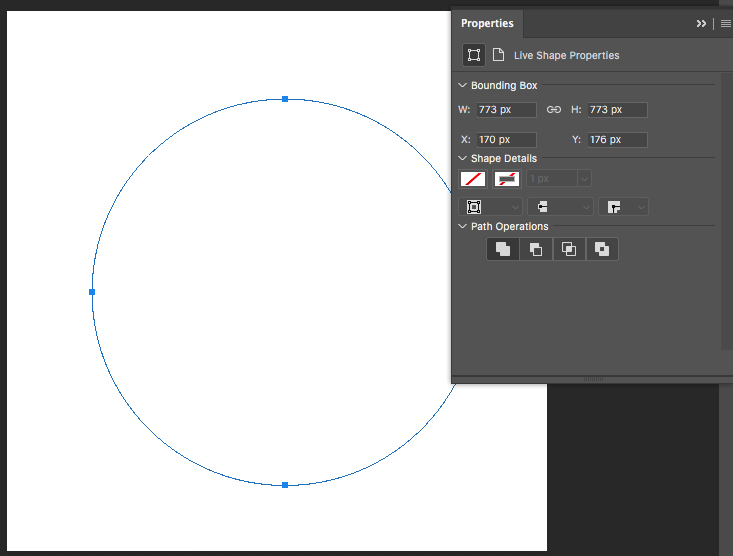
Alternatively, you can enter the dimensions in the Ellipse Tool properties panel.
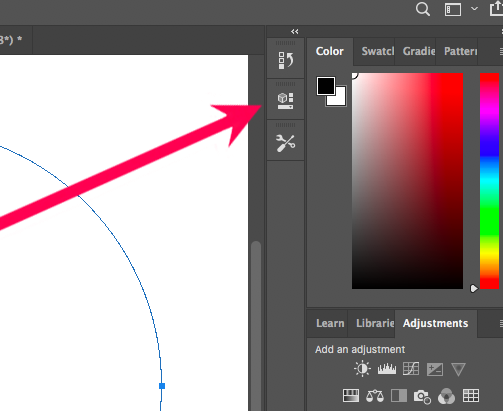
To find the Ellipse Tool’s properties panel, click on the cube to the right of your workspace.
Enter the same value for the circle’s width and height.
When you have entered the circle’s properties, click the double-arrow icon at the top right-hand corner of the properties panel and the Ellipse Tool properties panel will be hidden.
At the bottom of the Paths Panel, click on the circle with the dotted line to change the circular work path to a circular selection.
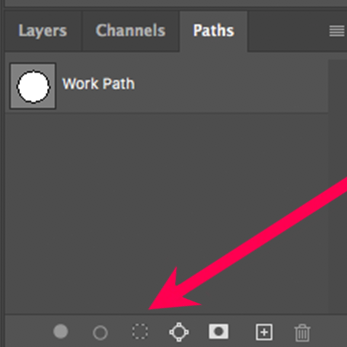
You will know you have changed the path to a selection when the blue line circle is changed to marching ants.
Elliptical Marquee Tool
To use the Elliptical Marquee Tool, select it from the Toolbar to the left of your workspace.
If you can’t find the Elliptical Marquee Tool in your toolbar, you will find it under the Move Tool in the drop-down menu beside the Rectangle Marquee Tool.
The same two options for drawing a perfect circle are available for the Elliptical Marquee Tool as the Ellipse Tool.
Option 1
Hold down the shift key as you drag the Elliptical Marquee Tool and the circle you create will be perfect in its dimensions.
Option 2
Alternatively, you can enter the dimensions of the circle in the Elliptical Marquee Tool properties panel.
When finished, you will have a perfect circle outline in marching ants.
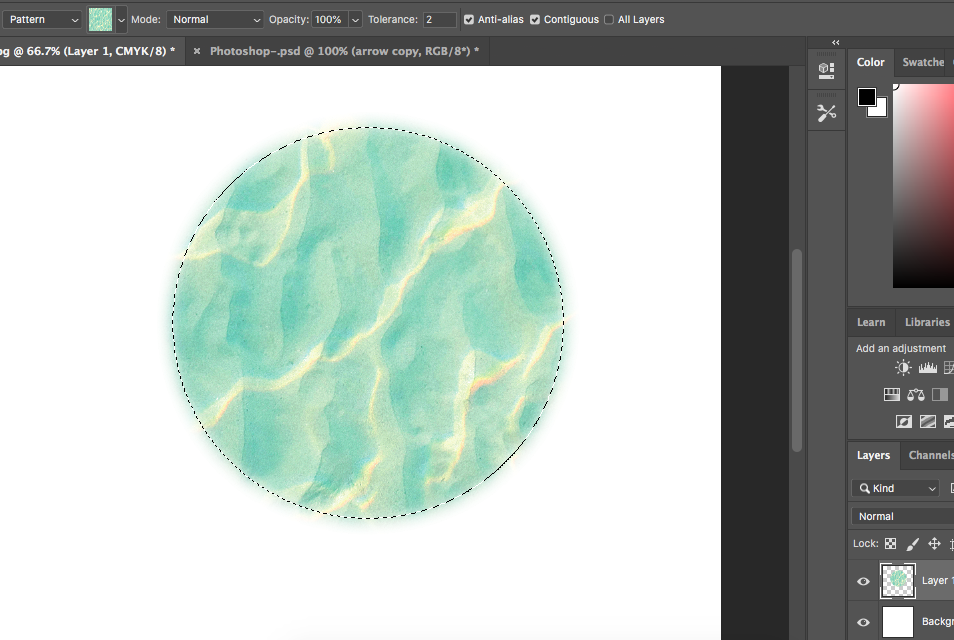
Step 3 – Fill the Circle Selection
Now that you’ve created a circle selection (with either the Ellipse or Elliptical Tool) you can fill it with a color or pattern.
Create a new layer by navigating to Layer > New > Layer.
Check that the new layer is active in the layers panel.
Navigate to the toolbar and select the Paint Bucket Tool.
![]()
In the Paint Bucket Tool options bar, customize the tool’s settings.
Select a pattern or color fill.
Click the Paint Bucket Tool pointer inside the circle selection and it will fill with a pattern or color fill.
And that’s it!
Now that you know how to create a circle in Photoshop, maybe you’d like to learn how to type in a circle too.
How to Draw a Circle in Photoshop with a Brush
To create the outline of a circle, you can use the Brush Tool – but we won’t risk drawing free hand.
Instead, we’ll use the Brush Tool in tandem with the Ellipse Tool to draw a perfect outline of a circle.
With the Ellipse Tool, create a circular work path. Make sure that path is selected in the Ellipse Tool options menu.
When your circle has been created open the path panel.
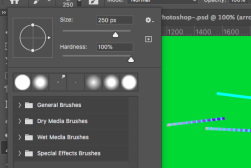
From the toolbar, select the Brush Tool, or for the keyboard shortcut press B.
Customize the Brush Tool’s color, size, and opacity in the options bar above your workspace.
Make sure the circle path is active in the Paths panel.
In the bottom left-hand corner of the path panel, click on the circle line icon.
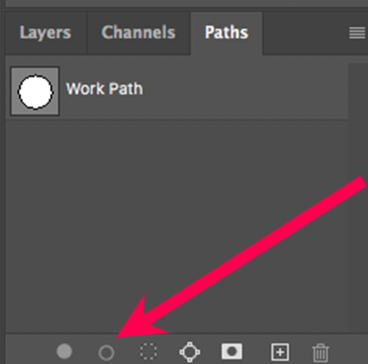
When clicked, the brush will be drawn around the outline of the circle path.
To delete the path click on the bin icon at the bottom right-hand corner of the paths panel.
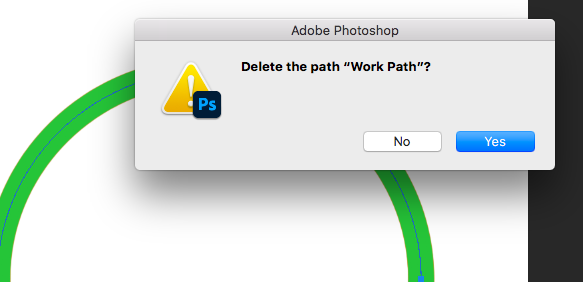
A pop-up window will appear asking if you wish to delete the work path. Click Yes.
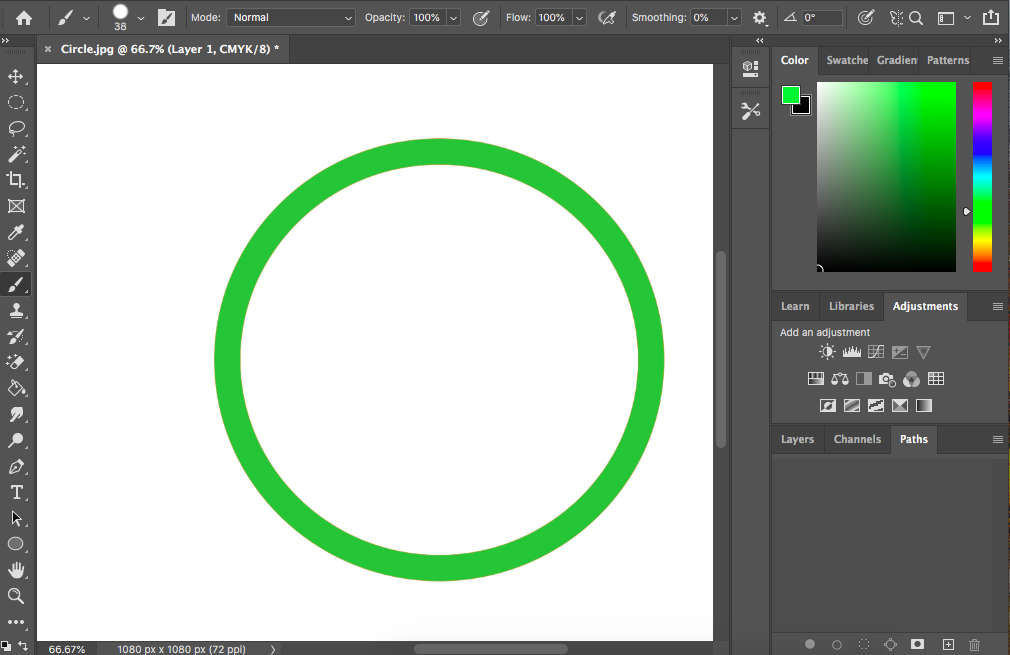
Now you will be left with a perfectly drawn circle.
If you liked this Photoshop tutorial, why not try another one: How to Create a Rainbow Gradient.
You'll Also Like These:
 How to Draw Straight Lines in Photoshop (3 Simple Methods)
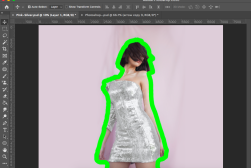 How to Outline Images in Photoshop (4 Simple Steps)
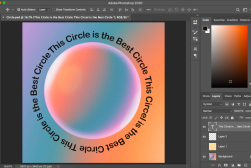 How to Type in a Circle in Photoshop in Just 3 Steps
 How To Use Content Aware Fill In Photoshop

Judyth is an experienced studio photographer and glass artist. When she isn’t Photoshopping comedians into the bellies of sharks, you can find her cooking delicious treats for her guests.

WELCOME TO SHOTKIT
Enter your email to be sent
today's Welcome Gift:
19 Photography Tools
🔥 Popular NOW:


Shotkit may earn a commission on affiliate links. Learn more.