


How to Create a Rainbow Gradient in Photoshop (& Save as a Preset)
Need a fun way to jazz up one of your designs in Photoshop? A rainbow gradient takes a few steps to create, but can be saved as a preset to be used again.
By Judyth Satyn
Gradients are a fun way to jazz up a portrait to share with friends or for creating online advertising.
If you’re bored with the regular gradients, how about trying a rainbow gradient to bring some more color and life to your desirns?
In this Photoshop Tutorial, you will learn how to create a Rainbow Gradient in Photoshop, and save it to add it to text, images, and shapes.
I’ll also show you a neat way to add your new rainbow gradient to your preset collection.

Download a free copy of Adobe Photoshop to follow along with this simple tutorial.
How to Create a Rainbow Gradient in Photoshop
Follow these steps to create a Rainbow Gradient and save it as a preset for future use.
Step 1 – Open
Open a new blank document in Photoshop.
Navigate to the Top Menu bar and select File > New.
A Preset Details Panel will open for you to enter the new document details, enter Width 500 x Height 500 px with a resolution of 300 dpi.
Step 2 – Select the Gradient Tool
Select the Gradient Tool from the Tool Bar to the Left of your canvas window, or use the keyboard shortcut and Press G.
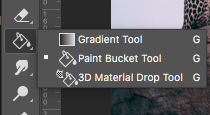
You will find the Gradient Tool underneath the Eraser Tool.
If the Gradient Tool is not displayed click on the Paint Bucket Tool to expand the Tool menu to find the Gradient Tool inside.
Learn how to create a transparent gradient in Photoshop >>
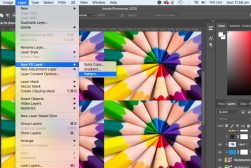
Step 3 – Create a New Group
Before you create a Rainbow Gradient you will need to create a place to save it as a preset.
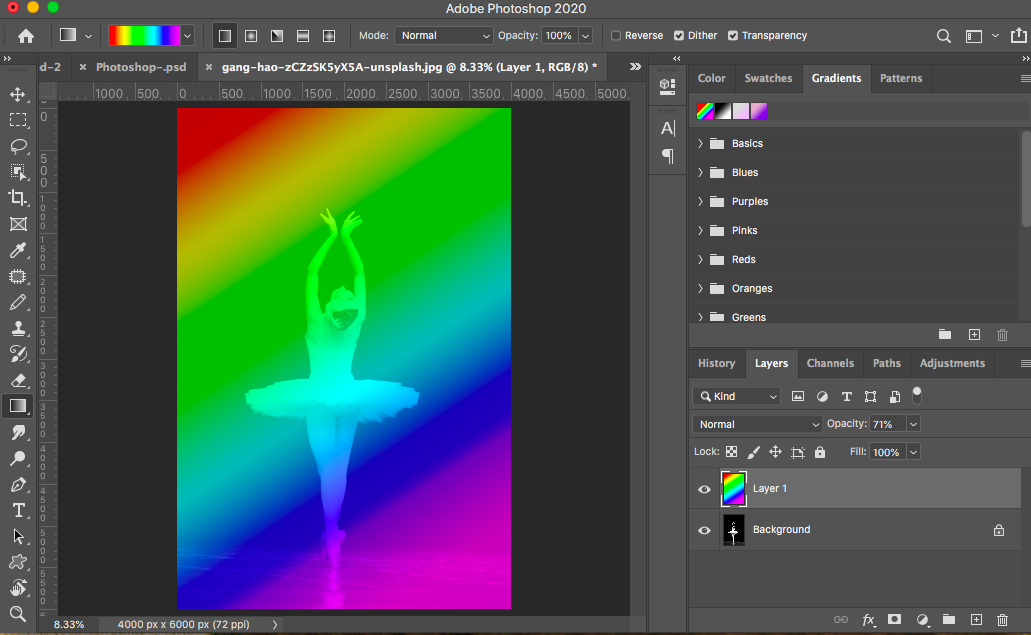
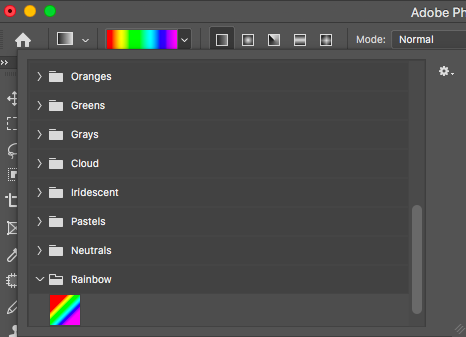
To view, the Gradient Presets stored in Photoshop navigate to the Gradient Tool’s Options bar which will have opened above your canvas window and click on the down facing arrow at the end of the Color Bar.
When the arrow is clicked a drop-down menu will open containing Gradient Presets in folders.
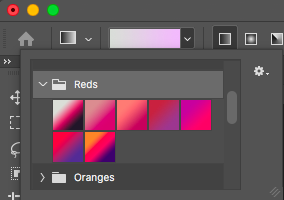
Click on a Gradient Folder and you will find a selection of coloured gradients inside.
For example, Red gradients will be stored in the folder titled Reds and Orange Gradients stored in the folder named Oranges.
To create a new group to store the Rainbow Gradient navigate to the Gradients Panel, located to the right of your canvas window, at the bottom of the Gradients Panel Click on the Folder Icon.
When clicked a dialog box will open prompting you to enter a name for the new folder.
Name the folder something such as Rainbow or My Gradients and click OK.
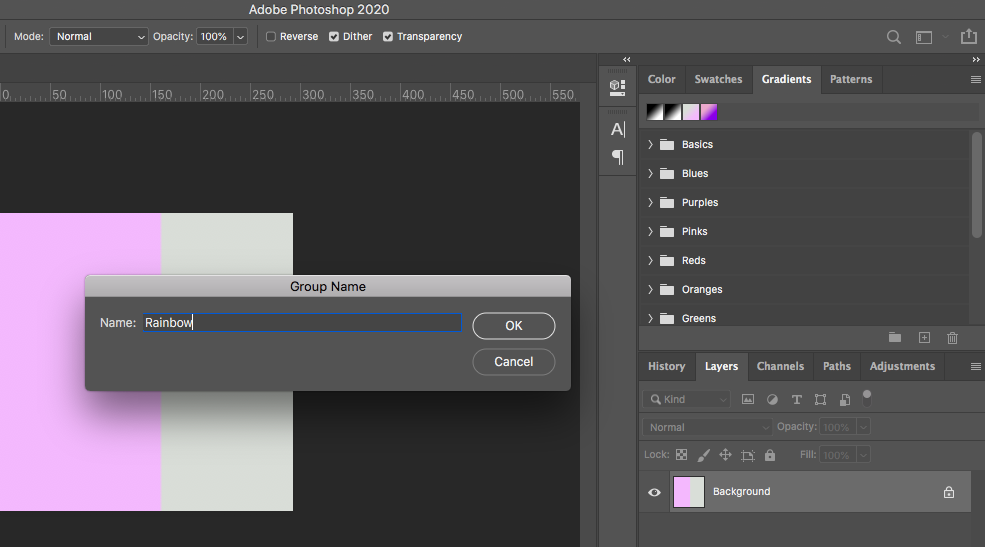
The new folder named Rainbow will now appear in the Gradients Panel below the Color Bar.
Step 4 – Create the Rainbow Gradient
Now we have somewhere to store the Rainbow Gradient we can start to create the Rainbow Gradient.
Navigate to the Gradient Swatch in the Tool’s Options Bar above your canvas window.
Click on the Colored Gradient (Do not click on the drop-down arrow beside it), and when clicked the Gradient Editor dialog window will open.
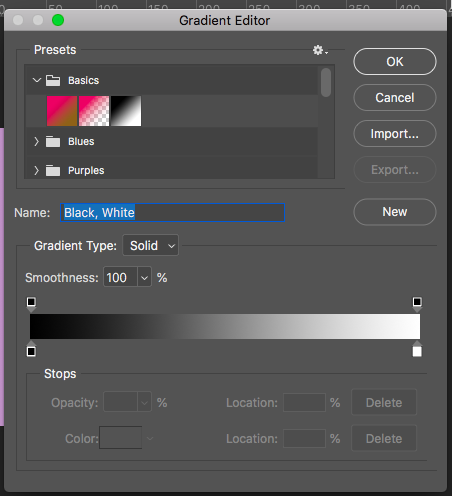
Step 5 – Select Black and White Gradient
To create the Rainbow Gradient we are going to adapt, rename and save an existing preset gradient.
Click on the first folder, Basics, and from the folder select the Black and White Gradient.
Don’t worry you won’t lose the option to use the Black and White Gradient in the future, when the gradient you create is saved under a new name a new gradient will be created.
Step 6 – Adapt Gradient Colors
Now we will change the colors of the preset gradient from Black and White to the colors of a Rainbow Gradient.
To start click on the Black Color Stop on the far left of the Gradient Preview Bar.
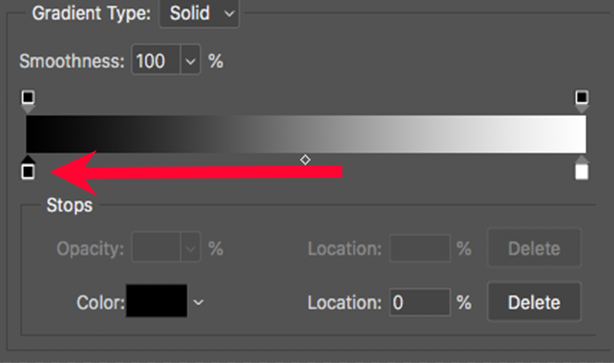
When the black color stop is activated click on the Color Swatch below.
The Color Picker dialog window will open.
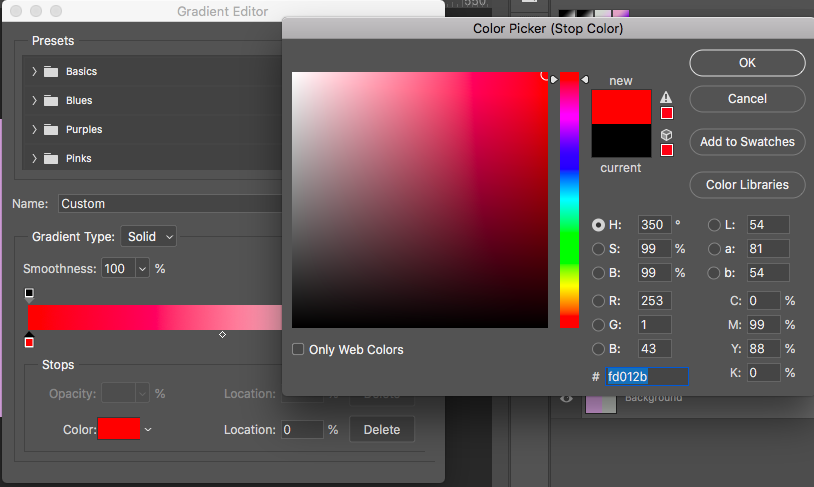
Change the color to Red using your cursor to click on red or by Entering 255 in the box beside R (red).
Enter 0 beside both G (Green) and B (Blue), then Click OK.
In the value box beside Location make sure the percentage is set to Zero, this ensures that the color red will be the starting point of the Rainbow Gradient.
Step 7 – Add Yellow, Green, Cyan, and Blue
To continue we will now add the remaining colors, Yellow, Green, Cyan, Blue, and Magenta to the Rainbow Gradient.
To create a new Color Stop for yellow Click just below the Gradient Preview Bar.
When the Color Stop appears click on the Color Swatch and change the color inside to Yellow, either by selecting yellow with your cursor or by Entering R (Red) 255 G (Green) 255, and B (blue) 0.
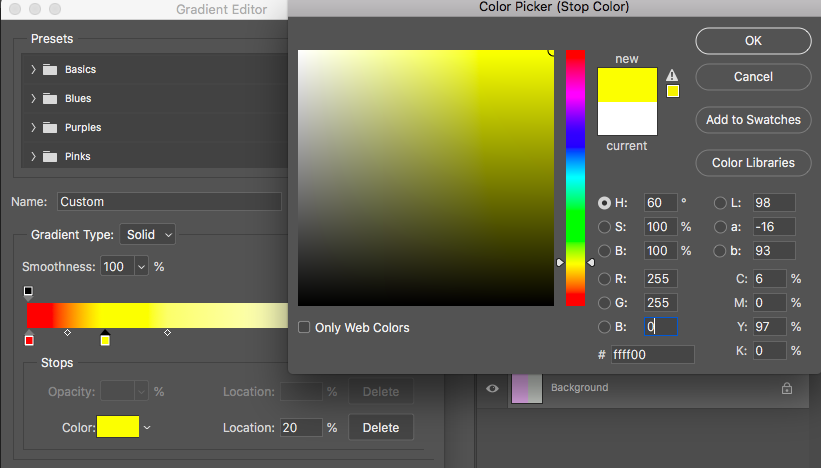
Set the Location Value of the Yellow Color Stop to 20%.
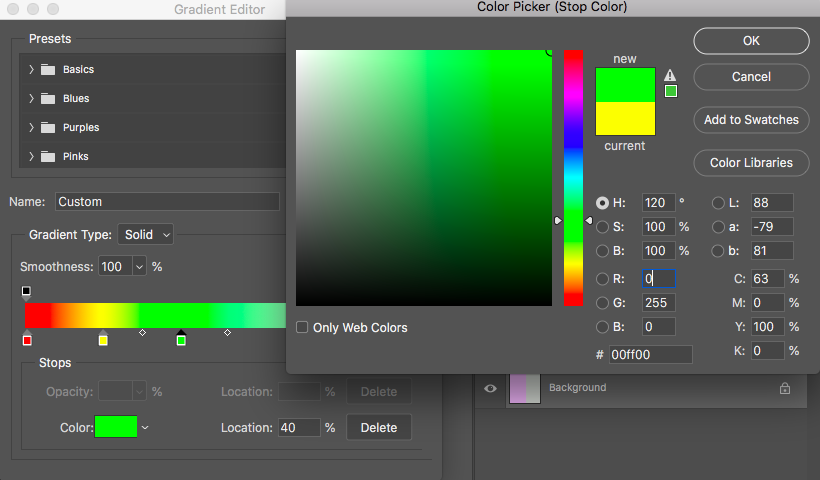
Continue with the rest of the colors, creating a new Color Stop each time, then add the Color and Location Value.
For Green – Enter R (Red) 0 G (Green) 255 and B (blue) 0, and set the Location Value to 40%
For Cyan – Enter R (Red) 0 G (Green) 255 and B (blue) 255, and set the Location Value to 60%
For Blue – Enter R (Red) 0 G (Green) 0 and B (blue) 255, and set the Location Value to 80%
Step 8 – Change White to Magenta
For the last color of the Rainbow Gradient click on the pre-existing White Color Stop and change to Magenta.
For Magenta – Enter R (Red) 255 G (Green) 0 and B (blue) 255, and set the Location Value to 100%
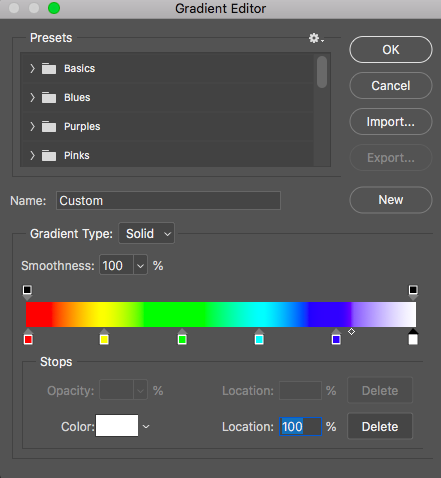
Now you have a perfect Rainbow Gradient, follow the next step to save it to use in the future.
Save the Rainbow Gradient as a Preset in Photoshop
Now you have created a beautiful Rainbow Gradient in Photoshop, you will want to save it so you can access it to add to shapes, text, or images in the future.
Enter a Name, such as Rainbow, for your freshly created Rainbow Gradient in the Gradient Editor.
To Save your Rainbow Gradient as a Preset with the other preset gradients click New.
Check the Gradient Folders to find your brand new rainbow gradient, ready and waiting to be used.
Like this Photoshop tutorial and want more? Learn How to Outline Images in Photoshop >>
You'll Also Like These:
 How to Create a Transparent Gradient in Photoshop
 How To Import, Edit & Save a PDF In Photoshop (3 Easy Steps)
 How to Use Photoshop Smart Objects in 2023: Create, Edit & Fix
 How to Create the Vignette Effect in Photoshop (Two Easy Methods)
 How to Create a Pattern in Photoshop (For Overlays & Backdrops)

Judyth is an experienced studio photographer and glass artist. When she isn’t Photoshopping comedians into the bellies of sharks, you can find her cooking delicious treats for her guests.

WELCOME TO SHOTKIT
Enter your email to be sent
today's Welcome Gift:
19 Photography Tools
🔥 Popular NOW:


Shotkit may earn a commission on affiliate links. Learn more.