Jeroen van Dam


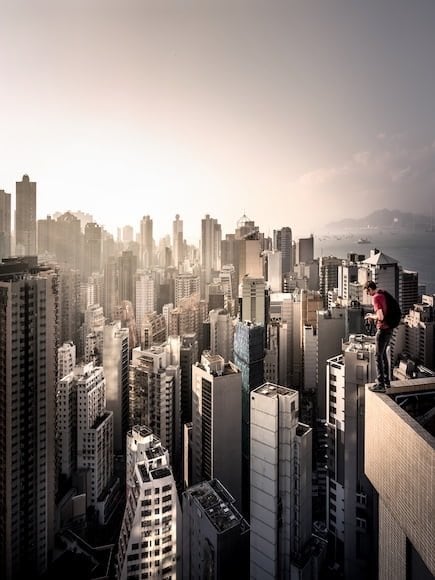


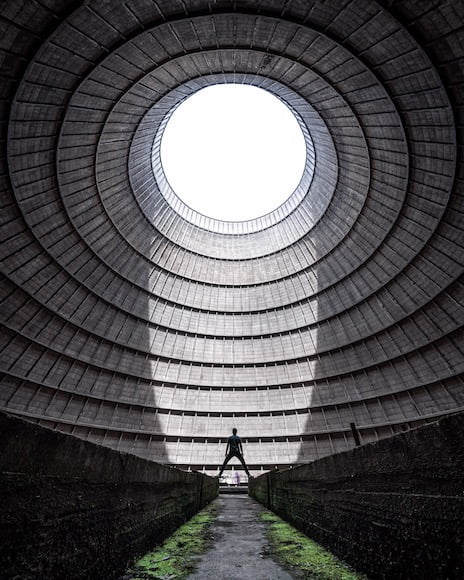
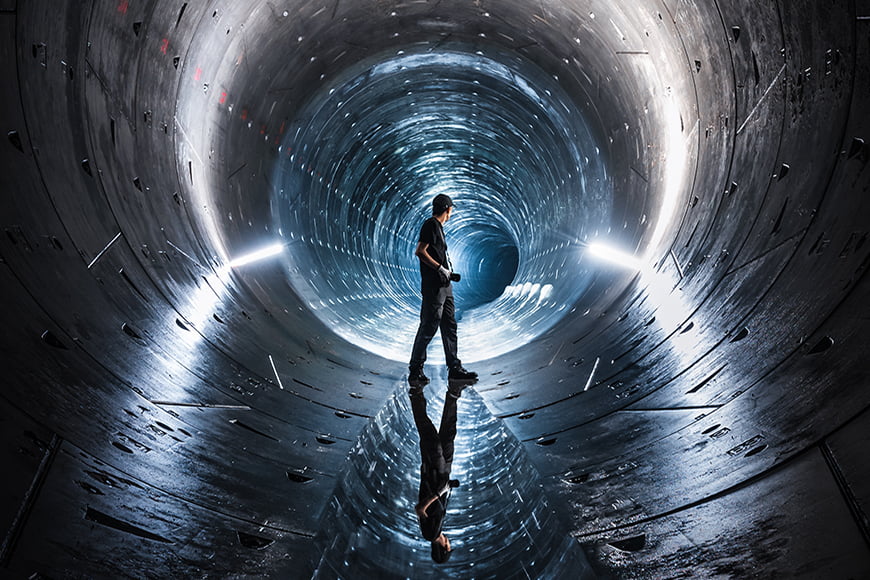
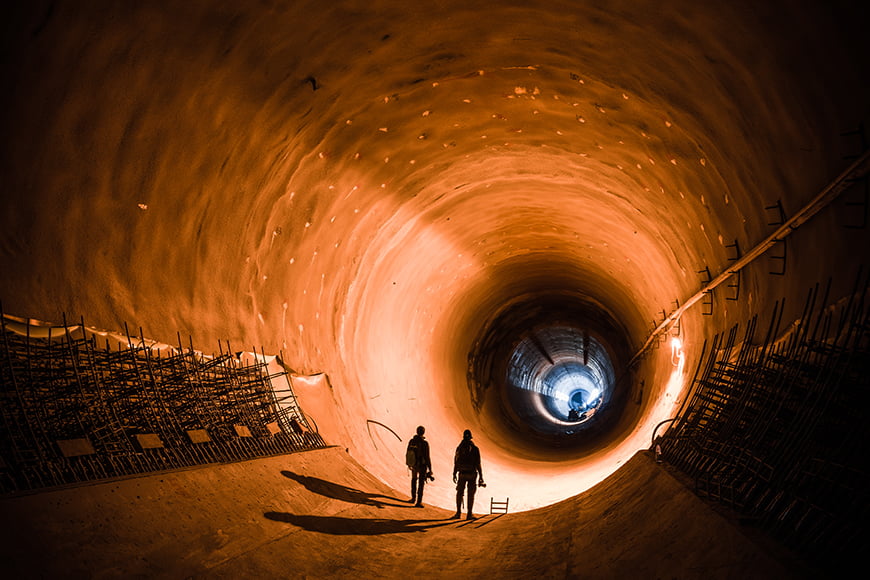
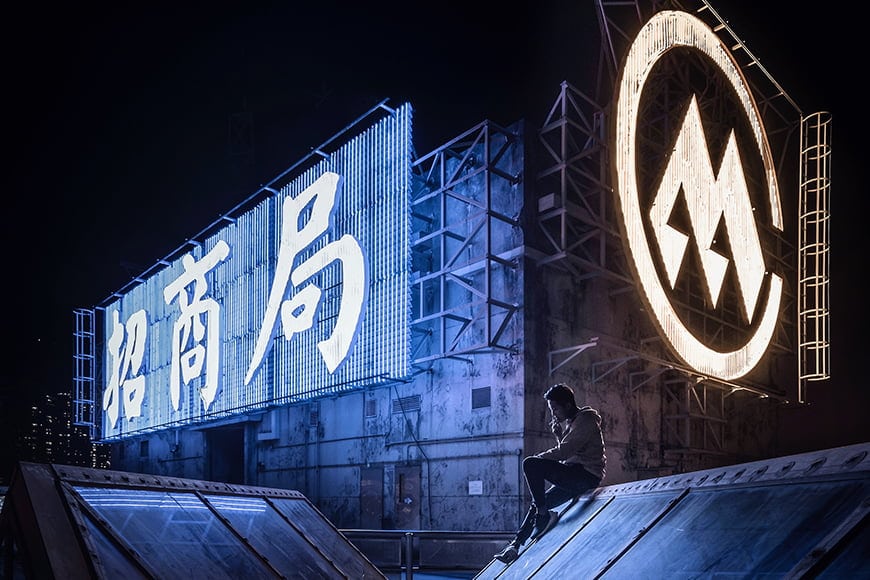

My name is Jeroen van Dam. I’m based in the city of Rotterdam, and I’m a city junky. I started photography about five years ago when one of my friends let me use his old DSLR for a bit. Shortly after we went to Hong Kong together, to explore the city with our cameras.
That trip gave me so many good memories that I became addicted to photography and traveling.
I decided to quit my job as an architect to only focus on cities: as an urban designer and professional photographer. I wanted to understand how cities work as a living system, so I started traveling to major cities all over the world and found out.
My camera became my main tool to record all the wonders that I discovered. And so I became an ‘urban photographer’.
Photography opened my eyes to the world around me. It made me step out of my comfort zone and helped me become a more open-minded person. I’ve always been curious about everything, but photography made me adventurous too. I finally started living my dreams instead of dreaming my life.
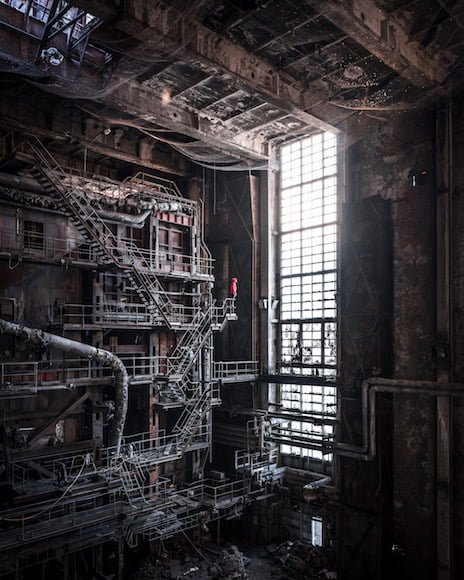
The places I visit became my hide-out from society. When you are underground in a tunnel, there are no lights or sounds coming from above.
For me, that is a way to unwind the buzz of the city. On the contrary, when you are high up on a rooftop, it’s like you experience the city 100 times more: the wide views, the noises, the lights: they make you feel so alive.
I usually work together with other photographers and urban explorers. That’s a very important part of why I like photography: to explore the world together with like-minded people, inspire each other, create stories together, and make friends for life.
I started out with a Nikon D5300 DSLR – which is a pretty good and underrated camera. It helped me to grow from a beginner to a more advanced level. It’s all about practice and trying everything and that little camera was perfect for that.
At some point, I realized I needed more sophisticated gear to be able to cope with my ever-growing demands about quality and performance.
Lucky enough, Sony reached out personally and challenged me to start using their mirrorless cameras, because they thought their cameras would be perfect for the difficult conditions I work in. And they were right.
Because I always work on locations often quite difficult to reach, all my gear needs to be small, light, but at the same time powerful. Sometimes I need to walk for hours carrying everything, or climb 40 floors by stairs. So, it took me a while to find the perfect gear.
Quality is my main focus of course, but everything needs to fit in my backpack too. But don’t tell me I can’t perform with only one small bag of equipment. I’m always surprised when I see other photographers pulling up with a truck full of stuff. I don’t see why you need all that, lol.
Cameras
Sony A7R III Mirrorless Camera: I chose the Sony A7R III specifically for its high resolution, insane focus, and dynamic range. It’s the best camera that fits my main criteria: size, weight, and performance.
Another thing that’s characteristic of how I work is that I often have only very little time (sometimes just minutes) to take the shot. The Sony is not easy to use, but when you get the hang of it, you can get the job done in minutes or even seconds.
GoPro 8 Black: The GoPro 8 Black (review) is a recent addition to my gear. I want to turn my attention a bit more to video because the adventures I get myself into are exciting and worth seeing on video too.
Lenses
Sony FE 16-35mm f/2.8
Sony Zeiss FE 55mm f/1.8
Tamron 70-180mm f/2.8
My lens-to-go is the Sony 16-35mm GM f/2.8. In my opinion one of the best lenses in the field. I use it for about 70% of my shoots: it’s especially good underground and in low-light conditions.
For architecture and rooftops, I also use the ultra-wide Sony 12-24mm f/4 G, which gives me just a bit more of that wideness. I tried many other ultra wides available, but they are all full-manual.
And I wanted auto-focus because with the crazy focusing of the Sony I can work faster and more precise in the dark on auto-focus than when I use all manual focus.
The Sony Zeiss 55mm f/1.8 is for street photography with a very fine bokeh, and I recently got myself a very nice zoom lens, the brand-new Tamron 70-180mm f/2.8. Can’t wait to try out that beauty.
Lights/Triggers
2x Yongnuo YN360 II (3200-5500K)
RORY – Original Cinema Light
Multiple cheap lights from random shops
Pyro techniques, like hand flares and smoke grenades.
Photo&Tech infrared remote controls
Most of the locations I shoot are indoors and are poorly lit, or even completely dark. So, I need to create my own lighting. It took me a while to figure out how to create the conditions I need to get the best results.
That is until I found the Yongnuo lights. They are perfect tools for creating every mood I need. They are full-RGB and bright enough to light up a big room. You can use them as a prop (like a light-sabre) or make them blend in to look like a lamp that ‘belongs there’.
Either way, they are my secret to creating the coloured lights on my photos. The RORY floodlight is a nice addition. I also use pyro techniques sometimes to create smoke or flares. That’s pretty risky but lots of fun.
The infrared remotes from Photo&Tech are cheap, small, and super easy to use. I always use them as a trigger to make sure the shots are perfectly still. Sometimes I use my phone as a remote too, but when I have only minutes to shoot, the little IR remote is perfect.
Bags/Straps
2x Eastpak Provider Black backpack
Handmade strap by StrapsbySim
Lenskirt Anti-Reflection Hood
I prefer to work discretely, so I chose a bag that helps me to blend in. It is big enough to fit all my camera gear and even food and drinks, so I can keep going all night.
Also, because I usually work in hard to reach locations I need to be versatile and quick. I added some padding on the bottom to protect my gear. I have two of them: one for normal missions and one for very dirty missions.
The handmade strap helps me to keep my camera close and doesn’t let it drop. I prefer it over the longer straps that come with the camera. Although I use that one when I climb a rooftop and need to hang my camera around my neck.
The Lenskirt is a perfect tool when you need to shoot from behind glass: it removes reflection.
Tripod
Leofoto URBAN RF-284CT carbon fibre + XB-32 ball head
I chose this particular tripod because it’s very light and can fit in my backpack. Nevertheless, it’s quite long when extended, so I’m pretty flexible with different angles.
That ‘fits-in-my- bag’-detail is very important for how I work: I prefer not to be recognized as a photographer, so I don’t attract too much attention.
Hardware & Software
Apple MacBook Pro 13″
BenQ SW 2700-PT 27″
Main external hard drive: LaCie Drive
Multiple travel-size external hard drives, like LaCie RUGGED Mini Drive
iPhone 8
Adobe Lightroom
Adobe Photoshop
Google Snapseed
Everything I use needs to be light, small, and powerful. So, my MacBook Pro is not only my main computer, but it’s also small enough to take with me on the road.
I use external hard drives for security reasons, and because files from my Sony tend to become very large. When I work for clients or for printing, I use an additional monitor to make sure the photos are perfectly edited.
My main editing tool is Adobe Lightroom, which I use for 80% of my post-processing. Sometimes I use Adobe Photoshop for some extra cleaning or adjusting. And – for Instagram – I always use Snapseed to give my shots some extra power.
Misc.
Shoes: Timberland (for rough terrain and tunnels), Adidas sneakers (for urban scenes)
Black hoodies and gloves
Battery packs
Barebells protein bars
Coca-Cola zero vitamin water
Gum
Lots of coffee
I hope you liked reading about my story. If you want to find out more about my work, please visit my Instagram account below.


Check out these 8 essential tools to help you succeed as a professional photographer.
Includes limited-time discounts.


