How to Remove Blemishes in Photoshop
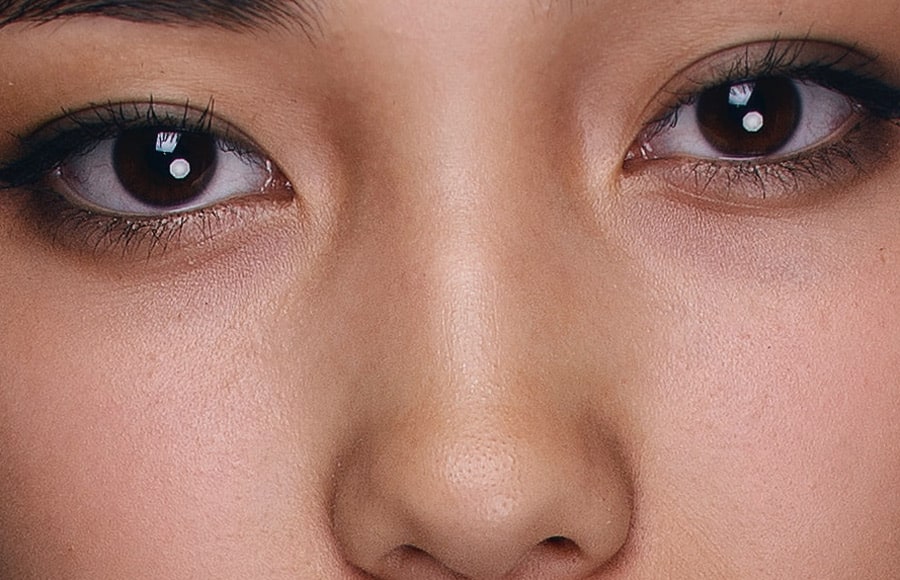
Looking for tutorials on how to remove blemishes in Photoshop? This short guide will help you get a clearer face for your model in no time!
Looking for tutorials on how to remove blemishes in Photoshop? This short guide should help you get a clearer face for your model in no time!
No matter your subject’s skin tone or how many blemishes they have, Photoshop is ready to help retouch your portrait photography.


Download the latest version of Adobe Photoshop to follow along with this simple tutorial.
Start a free 7-day trial today
Removing pimples isn’t always necessary for portraits, of course, but it’s nice to have the option of cleaning up blemishes, be it in Photoshop or another image editing application.
Option 1: The Spot Healing Brush Tool

If you’ve been wondering how to remove pimples in Photoshop – let alone birthmarks, moles, or sensor dust – the easiest way is to use the Spot Healing Brush.
The Spot Healing Brush samples the texture surrounding the acne and then blends it with the tone and color of the area you click on to “heal” the spot.
In many cases, you’ll need just a single click to remove literal “spots” in your image, especially if the blemish isn’t near a high contrast area.
To begin, select the Spot Healing Brush tool from the Healing Brush tool menu that pops up when you right-click on the band-aid in the left-hand tool bar. (If you already have your healing brush settings set to “Spot Healing Brush” you can simply type in “j”.)

Next, select a brush size that’s just bigger than the mark you want to remove. Ideally even smaller than the one used below.
Click or paint over the spot and like magic, it’s gone.

When used judiciously, the Spot Healing Brush tool leaves the texture of the image virtually unscathed. For best results, the spots you’re wanting to remove will need to be in an evenly toned area.
For more complicated spot removal or marks in areas where you want to preserve a gradient, the standard Healing Brush tool will often be the better bet.
Option 2: The Healing Brush Tool

The Healing Brush tool is a bit different than the Spot Healing Brush in that you have control over where the brush samples from.
It’s not quite as instantaneous as the Spot Healing Brush, as you have to choose the sample points, but this can really help when working with larger marks or in areas where there’s a shadow gradient.
In this example, the mark spans a fairly large area and to match the shadows, it helps to have precise sample points.
First, select the second of the four options under the healing brush icon on the left (the band-aid). Again, if you’re already set to the Healing Brush tool, you can simple press “j”.

From there, select the sample point you want to begin with by placing your cursor over the point and then pressing Option-click.
In this photo, I chose to start with a sample point just slightly above and to the left of the mark. Then I carefully clicked a couple of times over the top-left of the mark.
If you paint instead of using individual clicks, you run the risk of getting things a bit muddied up.
For the bottom, I sampled directly below the mark, and for the bottom-right I also sampled accordingly. Make sure to get your sample points as close to the mark as possible so everything will match as much as possible.
How long this process will take will depend both on the complexity of the area around the mark you’re trying to erase as well as on what image quality you need.
Both of these healing brushes can erase detail/texture if not used carefully. It usually won’t be noticeable in images that are just meant for the web, but if you’re intending to print, you’ll need to be very careful.
Both the Healing Brush and the Spot Healing Brush are excellent for removing just about anything that’s not next to a high-contrast area.
If you want more Photoshop Brushes, see this guide on where to download them.
Option 3: Use Luminar
If you don’t own a copy of Photoshop, have limited time, or just want a much easier and faster way to remove blemishes and retouch portraits, you should check out the popular image editor Luminar.
While Photoshop requires knowledge of specialist tools (and expertise therein), Luminar’s approach is more user-friendly, with a ‘results-based’ approach to tools.
Instead of tools with ambiguous names, in Luminar you’re presented with a whole toolbar entitled ‘Portrait Enhancer’. In it, you can play around with tools labeled ‘red eye removal’, ‘eye whitening’, ‘dark circles removal’ etc – everything is what-you-see-is-what-you-get.
This makes it perfect for amateur retouchers who want a fast and simple way to remove pimples and other skin blemishes from their portrait subjects.
The best part about Luminar is its affordable, one-off price – check out the latest deal here, or read more in our full Luminar review.
- See also: How to avoid camera red-eye
Final Words
So there you have it. That’s how to remove acne, birthmarks, moles, and other minor skin blemishes with Photoshop and the Spot Healing Brush, or its big brother, the Healing Brush.
You might come across more complex blemishes that will need the Clone and Stamp tool, but for minor ones like pimples and moles, these are the Photoshop tools to use.
Finally, if you’d like to speed up the process and let the image editing software do all the hard work for you, I highly recommend you check out Luminar.


