How do you dodge and burn in Luminar Neo?
Dodging and burning in Luminar Neo is satisfying, easy, and gives excellent results. Here's how to selectively brighten or darken areas of your photos.
By Jeff Collier
Dodging and burning is a technique almost as old as photography itself. It refers to selectively brightening (dodging) or darkening (burning) parts of your image to achieve a particular creative vision.
Though these terms are relics from the days of darkroom processing, they’re still used to describe local adjustments in digital photo editing.
Version 1.2.1 of Luminar Neo introduced the Dodge & Burn tool. This is the simplest way to achieve the look, using a brush tool that allows you to dodge and burn your image.
Luminar Neo offers several advanced ways to dodge and burn your image. Let’s dive in and learn how each of them works.
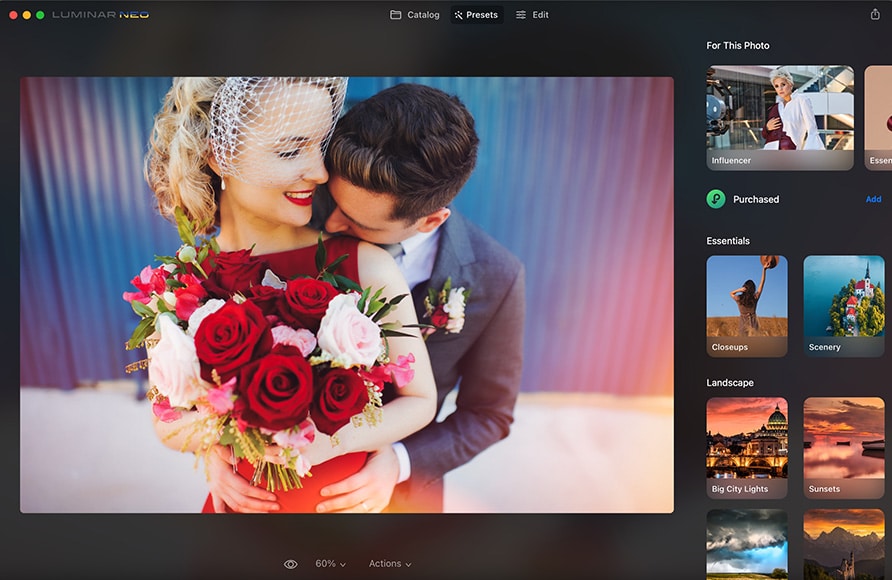

Powerful AI editing tools improve photos in less time. Affordable one-time price and expandable features.
Use code shotkit10neo to save $10.
Dodge & Burn with the Exposure Slider
The simplest and best-known way to dodge and burn with Luminar Neo is to open the Develop tool, change the Exposure slider, and then use the Masking Brush tool to dodge your image.
(Also, check our guide on how to mask with Luminar Neo.)

Here’s an example of a well-exposed sky with a very dark foreground. Under ideal circumstances, a photographer might try to paint the foreground with light. But if that’s not possible, dodging can come to the rescue during post-processing.
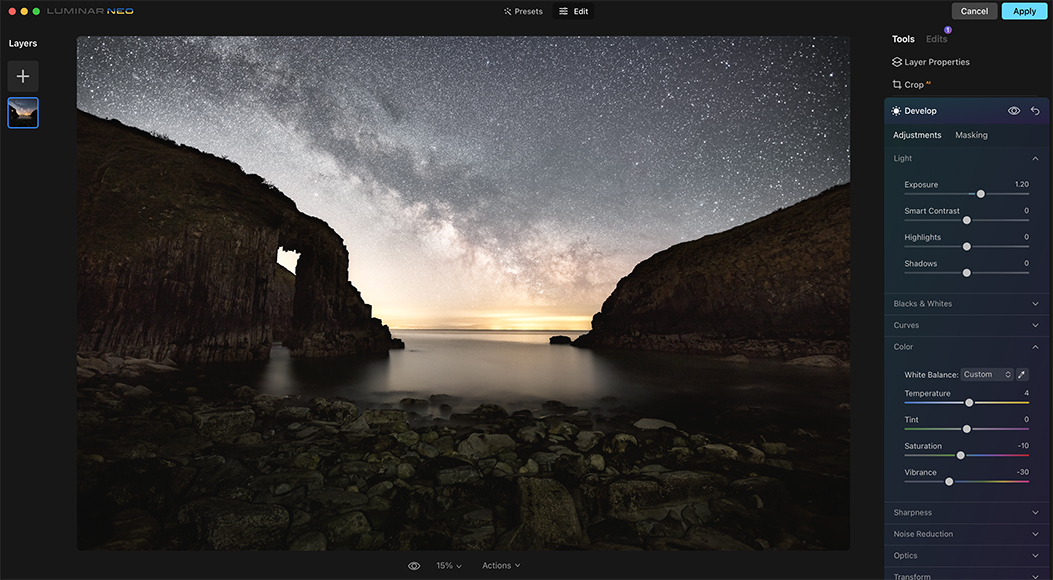
First, adjust the Exposure slider until the foreground is as exposed as you want it to be. The whole image will be affected, but don’t worry: we will mask the effect.

Next, head to the Masking tab, then select Brush. A brush tool will appear on the screen, allowing you to paint in the areas where you want increased exposure. If you make a mistake, use the Erase tool to remove part of the mask.
Try reducing the Strength slider so you can use overlapping strokes to gradually build up your mask.
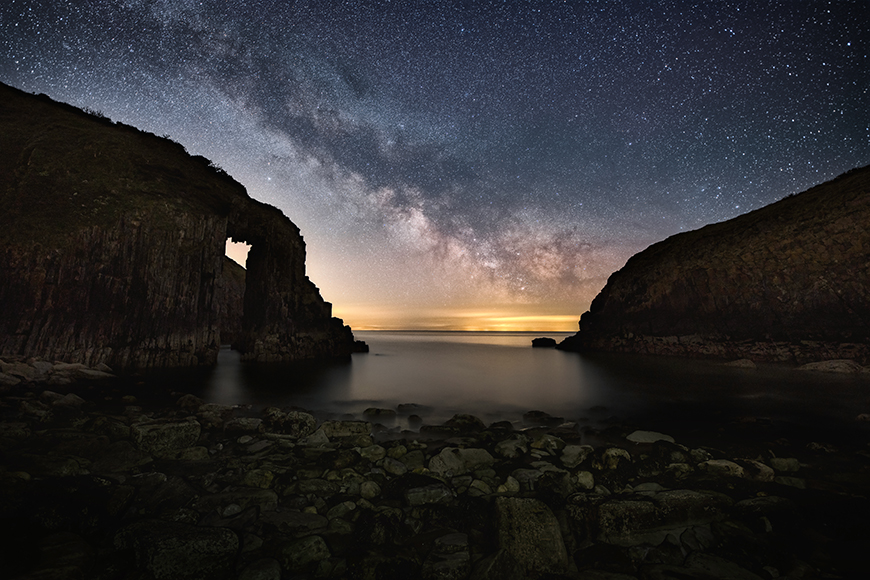
We now have a completed mask with subtly increased foreground exposure that could not be achieved solely in-camera.
Save time with AI masks
Now that we understand this process, let’s use Luminar Neo’s incredible AI masking to complete the task even quicker.
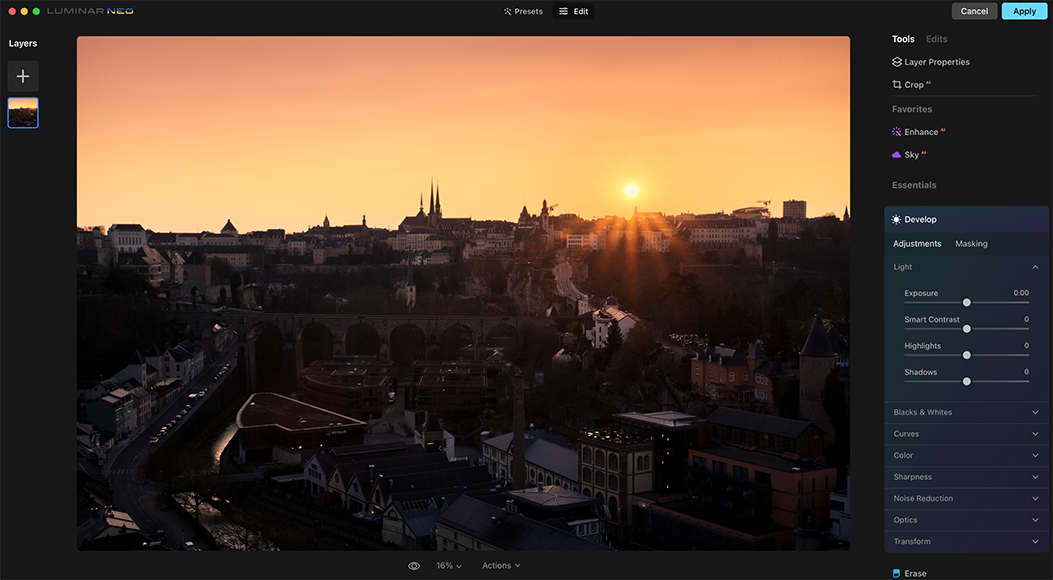
Here we have another image with a well-exposed sky, but the foreground is once again dark. Adjusting the exposure and using a brush to mask the foreground is an option, but it will take some time.
Instead, let’s accelerate the masking process by getting Mask AI to do the hard work.

Head to the Develop tool and increase the Exposure slider until the foreground is exposed to your taste.

Next, click the Masking tab and choose Mask AI. Luminar Neo’s AI algorithms will detect several elements in your scene that can be masked in one click. In this case, let’s select Sky.
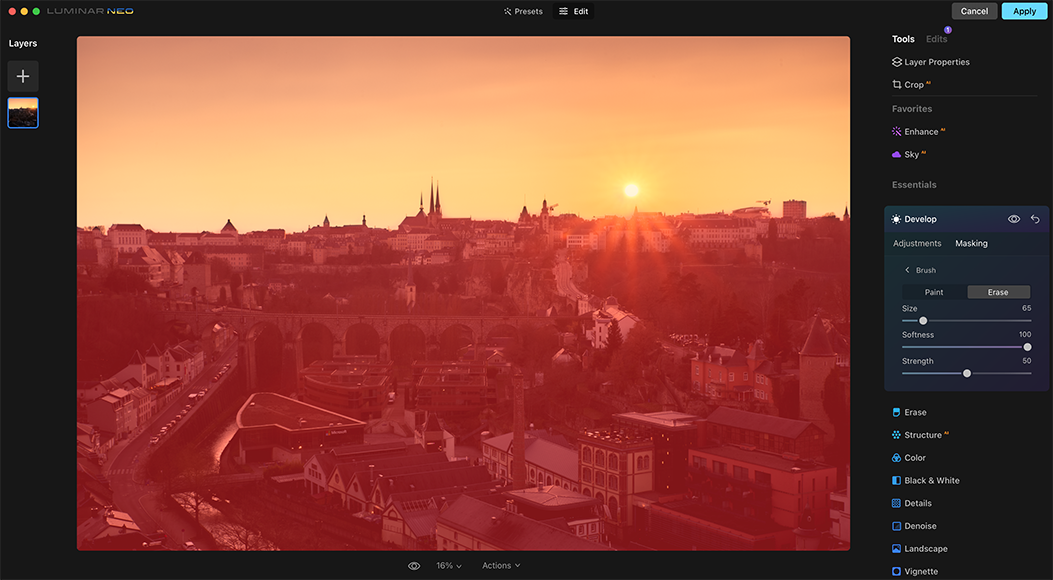
However, the sky is the only part of the image we don’t want to change. No problem — just return to Mask actions and click on Invert. Now the entire foreground has been automatically masked! If the AI algorithm hasn’t quite caught everything, you can use the Brush tool to tidy up the edges.
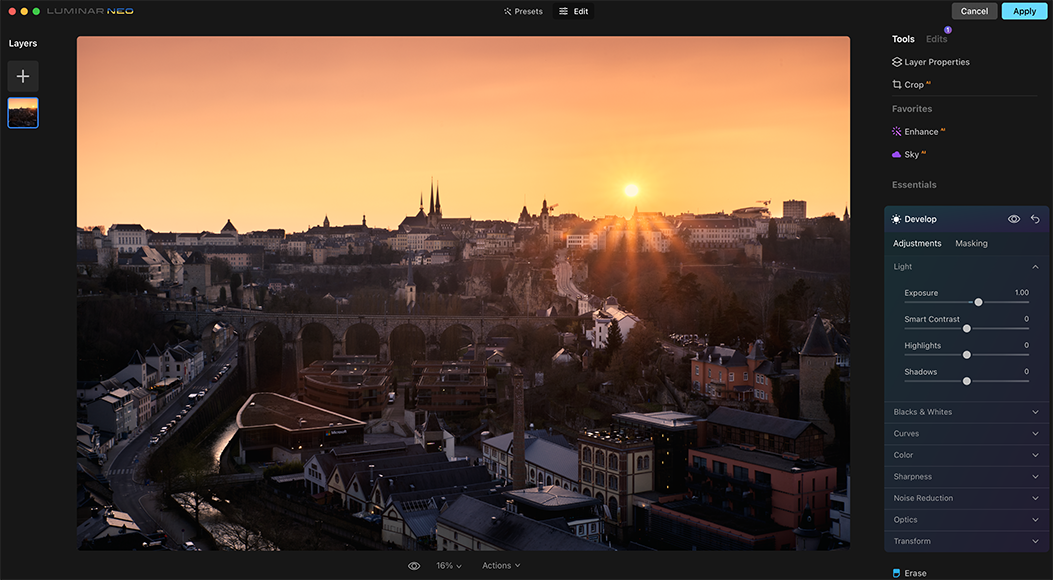
The completed image now has much better foreground detail and is more balanced.
Using the Curves slider
Exposure isn’t the only tool you can use to dodge and burn. The Curves tool can also do an excellent job.

Here is a landscape image with a bit of haziness and that’s a touch overexposed. There is shadow detail that can be darkened to create more definition.
First, open the Develop tool, look for Curves, and select the luminance curve button (the white circle).
Now click and drag to bend the curve. Bending the curve up will lighten the image; bending the curve down will darken the image.

Once you’re satisfied with your Curves adjustments, visit the Masking tab and select Brush.
Now you can paint in the shadows where you want them. Note that we’ve applied the effect with greater strength in the foreground than in the background, making the image more natural-looking.
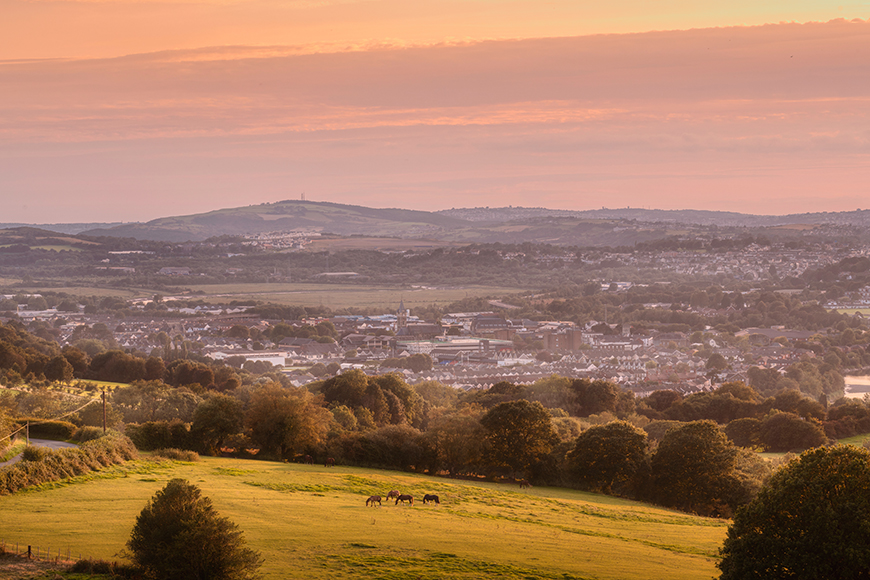
The result is less haze and a greater sense of depth.
Using Layers and Blending Modes
This is the most advanced technique to dodge and burn, but it can yield great results.

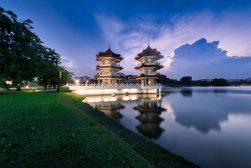
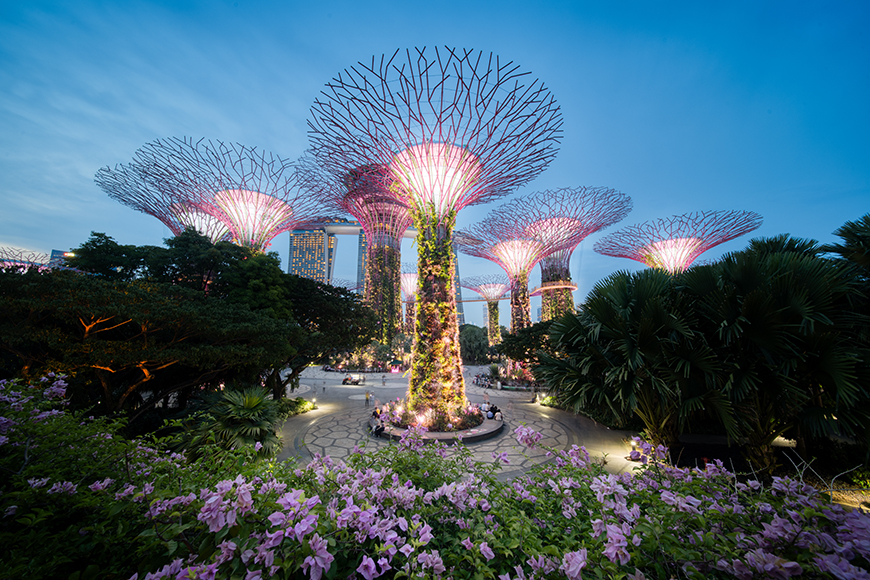
In this example, we will apply a complex dodge and burn effect to this cityscape image. First, open the image. Then, in a new Layer, open the same image once more.
Under Layer Properties, change the blend mode to Multiply. This now creates a darkened composite image to work with. If the effect is too dark, reduce the Opacity slider to your taste.
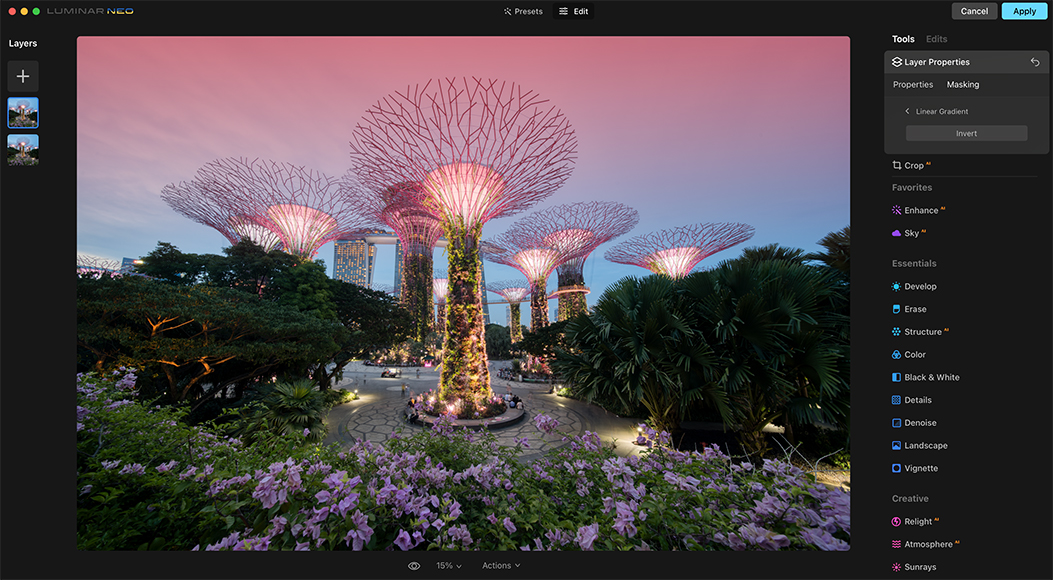
Now it’s time to mask. In this case, darkening the bottom corners of the image and some of the foliage in the middle ground will help draw the viewer’s eye towards the center of the composition. Also, the sky is a little overexposed.
First, under Layer Properties, click the Masking tab and apply a Linear Gradient mask at the top of the image to tone down the sky.
Next, use the Brush mask to paint in some of the foreground detail to be darkened.

To dodge, add a third layer containing the same image. Under Layer Properties, select Screen from the blending options. This creates a lightened version of the image and, just as before, if the effect is too strong, adjust the Opacity slider accordingly. This time, the Brush mask is used to highlight the foreground foliage and the strong lights inside the structures.
The end result is a punchier image where the foliage in the middle ground is not as distracting, whereas the foreground foliage and the glowing structures seem radiant in the blue hour light.
Luminar Neo is Skylum’s flagship image editing software for Windows and macOS.


Powerful AI editing tools improve photos in less time. Affordable one-time price and expandable features.
Use code shotkit10neo to save $10.


