Dog Photography Tips
Have you ever wondered how to capture the personality of your pet? In this tutorial, professional pet photographer Alex Cearns gives her top tips!
By Alex Caerns
I love photographing all animals, but dogs would have to be my favourite subjects. They’re our best friends and our loyal companions, always pleased to see us and happy for each day they get to spend with us.
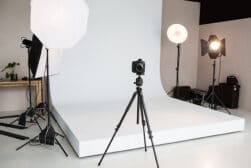
I photograph around 1,000 dogs a year, and when working in my studio I find that constant interaction maintains their attention for the duration of their session. I sit very close to them, about 12 inches away.
I work fast and capture the images I need quickly – by doing so, they don’t have time to get bored.
During a photo session, I take between 100-300 images, of which I show 30 to my client at a later date. I like to capture more than I need to ensure I haven’t missed any of the poses I’m after.
The sessions have a similar intensity to a dog training session and require the same sort of mental focus from a dog, and they’ll often have a nap when they get home.
With natural light dog photography, I use a shallower focus and try to photograph against block colour backgrounds. In many ways these images have a similar feel to my studio images which are photographed on clean black or white backgrounds.
When photographing outdoors I use the same principles as I do in the studio and let my canine subjects have free reign, waiting for the right moments and timing the shot to get what I want.
Here are my top pet photo tips to help you take fabulous dog portraits.
(See this article for the best dog cameras and this one for some fun photoshoot ideas with dogs.)
10. Dog Photography Tips for Capturing Canine Images
1. Relax and have fun
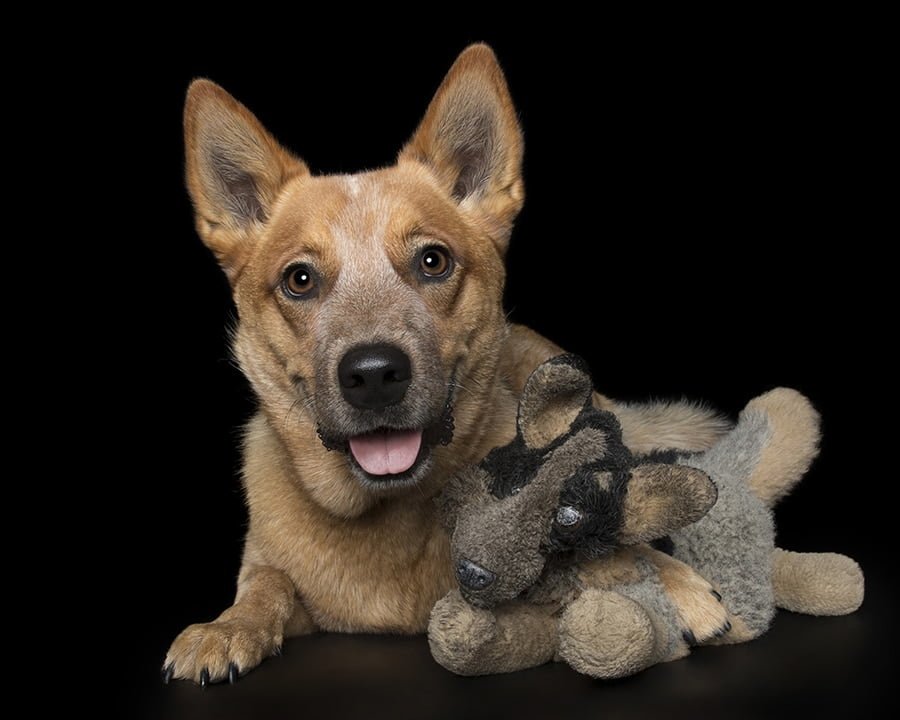
Canon 1DX MII and Tamron 24-70mm lens
| 1/200th sec at f/13 ISO 200
I will start with this tip first because it’s the most important of them all. Nothing is worth doing if it’s not fun. Whether you are photographing indoors or outside, the simple key to relaxed animal portraits is to create an environment where your subject is happy.
Making sure your subject feels safe and at ease is the key to drawing out their true character.
Dogs’ moods reflect in their faces and body language, and by making their session a positive and fun experience, they’ll see their photo session as an adventure and reward you with big smiles and cheerful energy.
Just like people – some dogs are active in the mornings, while others prefer to be up and about in the afternoons.
Speak to the owners of your subject and choose their pet’s optimal activity time for your shoot.
This tip is obviously just as important with cat photography too.
2. Plan your shot list
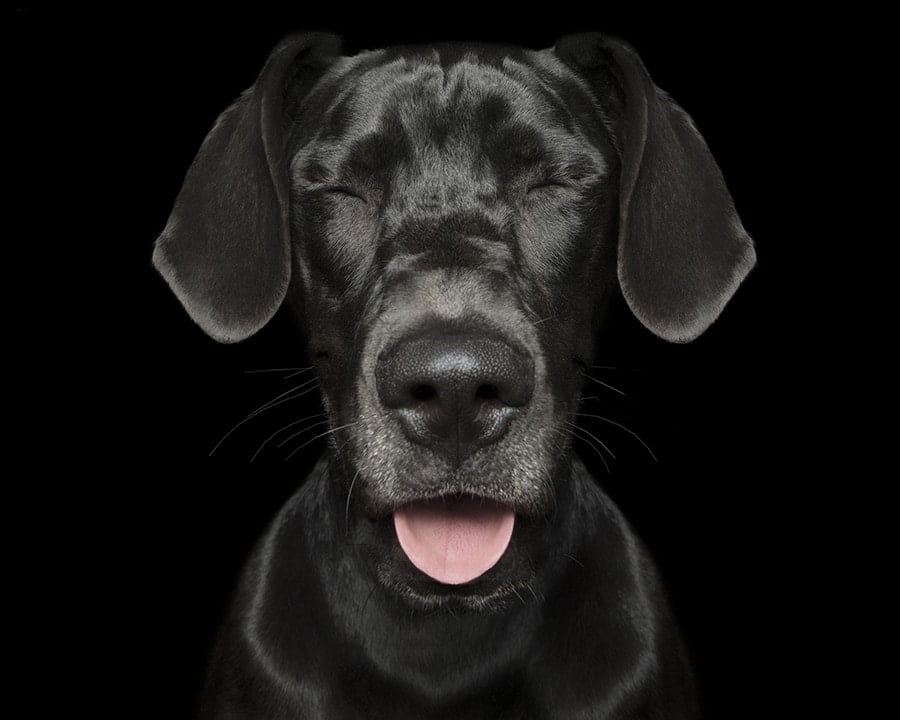
Canon 1DX MII and Tamron 24-70mm lens | 1/200th sec at f/13 ISO 200
Taking the time to plan your shoot and the images you can see in your mind’s eye is useful. Think about what you want from your subject.
During a shoot, I run through several signature shots in my head and cross them off as I go. With dogs I aim for a half face, a zen dog (eyes closed), a high five, one looking down, and a big smile, to name a few.
It helps to list the poses and expressions you are keen to capture and keep shooting until you check them all off your list – being sure to catch other poses outside of your list if your subject gives them to you.
If a dog repeats a behaviour or pose several times in my studio, chances are it does the same thing at home too and this is something the owners will connect with in a photograph.
Photographs tell stories, and by planning the story you want to tell through your shots, you are more likely to capture everything you need. Think about what you want to shoot and why that angle or scene might be interesting.
Don’t rely on your camera to do all the work. It is just a tool and the photographer is the storyteller. Do you want to do a close-up? Full body shot? Have lots of background in the picture? Perhaps you even want to include the whole family in your photo shoot.
These are all things to consider and experiment with – you can also download a shot list template to edit and help plan your next shoot.
3. Change perspectives
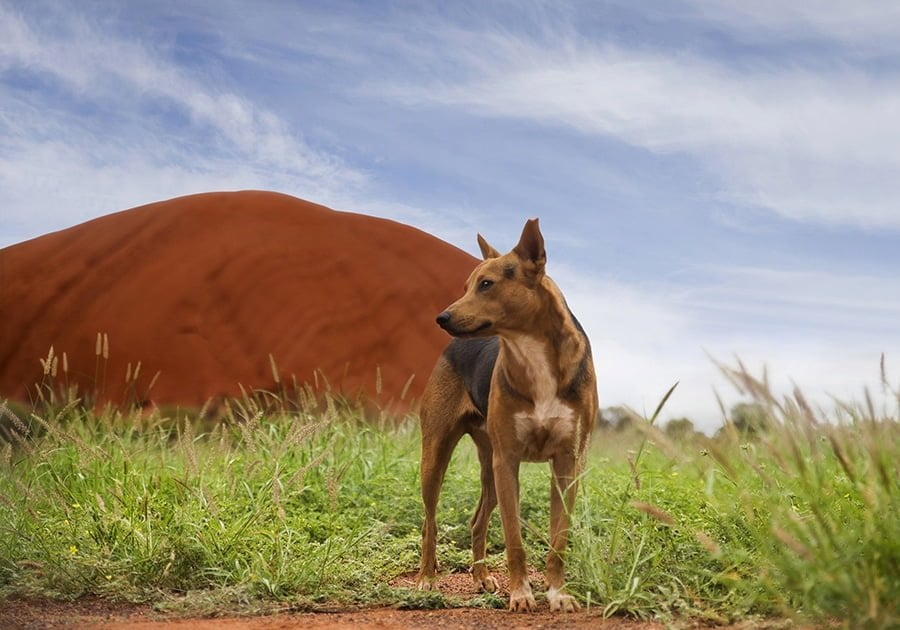
Canon 1DX MII and Tamron 70-200mm lens | 1/6400th sec at f/2.8 ISO 640
Be creative and try to photograph from different perspectives, angles and vantage points. There aren’t really any hard and fast composition rules with photography – sometimes the most interesting images are off-centre or a bit quirky.
Pets are closer to the ground than we are, so think about getting down to their level. By crouching on your knees or lying on the ground, you suddenly see things from their perspective.
Sit your subject on a bench to get them off the ground, which allows you to aim for creative angles. Zoom in for a close-up nose shot, or a detailed eye image.
If photographing outdoors, be sure to check your background for objects beside or behind your subject.
Studio photography against block colour backgrounds keeps it simple, but if photographing outside watch out for photo bombing chairs, people, rubbish bins, light posts, other dogs etc.
I do like to include some environment in my outdoor images, to show the dogs’ location or perspective.
When photographing pets outside I often remove sticks and leaves from the area I want to shoot before I start taking photos.
Something so quick and simple can save hours of editing later and makes for a much nicer image.
4. Get the right light
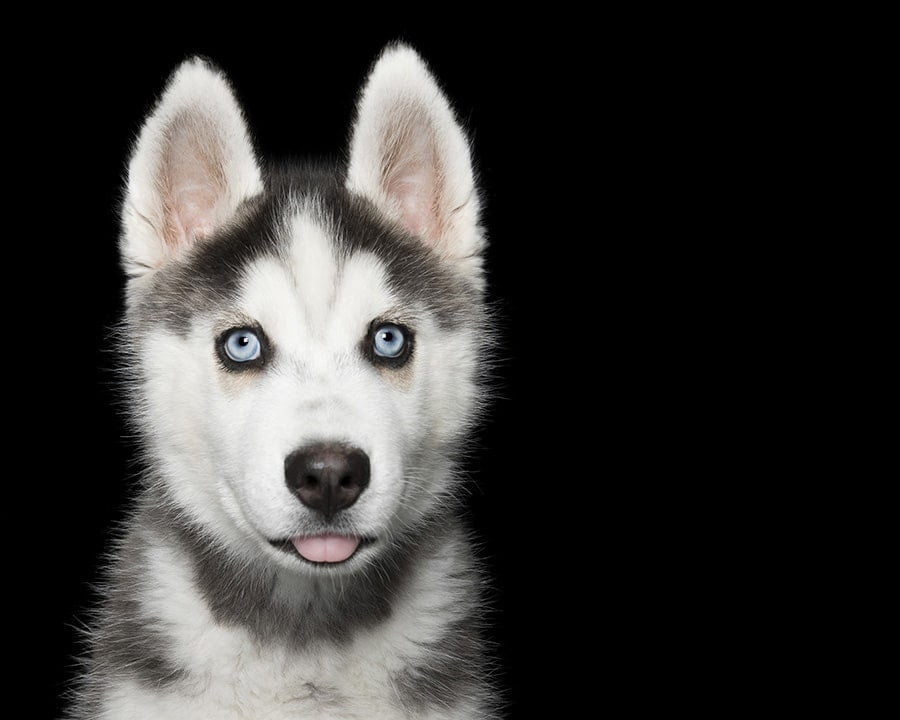
Canon 1DX MII and Tamron 24-70mm lens | 1/200th sec at f/13 ISO 200
Light is crucial to good photography; cameras cannot operate without light. Outdoor photography can be challenging as you cannot control outdoor lighting conditions. It could be sunny one minute, overcast the next.
Animals’ fur can shine and reflect in full fun, so even light is best, like a shaded area. Overcast days with a light sky are my favourite outdoor shooting conditions. They are bright enough to capture detail in fur or feathers but result in minimal glare.
Planning not only where to shoot in good light, but also what time of the day provides the best light, will greatly assist with the exposure of your subject.
The sky’s glow just after sunset is a beautiful time of day to photograph.
5. Relate to your subject

Canon 1Dx MII and Tamron 24-70mm lens | 1/1600th sec at f/2.8 ISO 500
The easiest way to work with people’s pets is to first make friends with them. Maintaining a calm, even energy, speaking in a soft voice and moving in a slow and deliberate manner enables your subject to relax quicker and realise you are friend, not foe.
Once animals are your friend, they’ll do anything for you – especially dogs, as their listening increases and their will to please kicks in.
I also find that one set of commands, gently relayed to the subject, works best, rather than several people (photographer, owner etc.) barking commands at the same time.
I also like to go with the flow. If I ask a dog to sit and he refuses, I work with whatever he wants to do, finding that this gives me images which are true to character.
6. Focus on the eyes
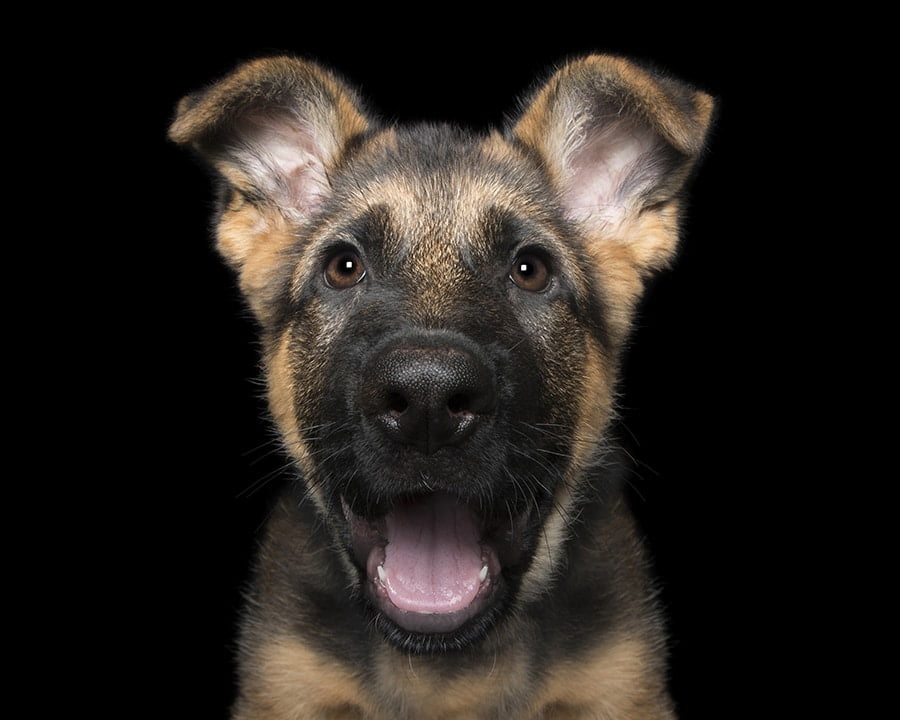
Canon 1DX MII and Tamron 24-70mm lens | 1/200th sec at f/13 ISO 200
They say the eyes are the windows to the soul, and this is no different for animals. One of the ways animals express emotion and character is through their eyes.
Sparkly bright eyes, sad, droopy eyes, blinks, side glances, looking upwards—each different eye movement reflects their feelings at that moment in time.
Engaging portraits come from ensuring your subject’s eyes are captured in your shot.
Given that we look each other (and animals) in the eyes, focussing on the eyes will help your viewer have an immediate connection to your subject.
7. Offer toys and treats
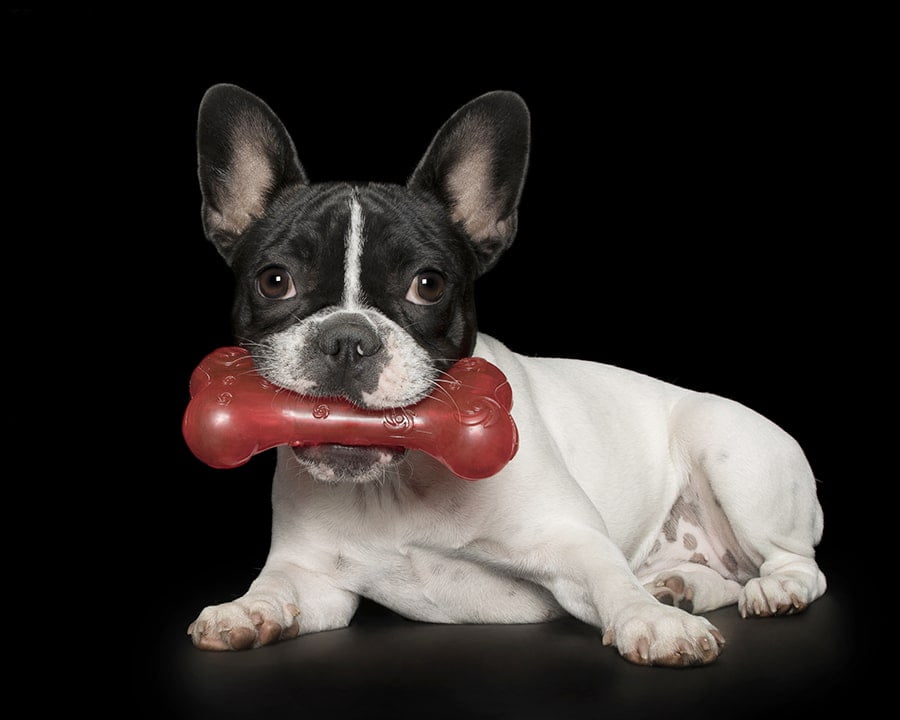
Canon 1DX MII and Tamron 24-70mm lens | 1/200th sec at f/13 ISO 200
Most pets are won over by either toys or treats – or both. Once you decide which motivator your subject will respond to the best, use that to get his attention.
If you wave a treat under a dog’s nose then pull it upwards, chances are he will look up at you and you can use those precious seconds where he is focussed on the treat to get your shots.
Likewise, if squeaky toys or tennis balls are his thing, you can hold one near him to get him interested in it and then shoot in burst mode while he is intently waiting for you to throw it.
Be sure to offer regular rewards, otherwise you may find your subject’s attention starts to wane.
8. Anticipate
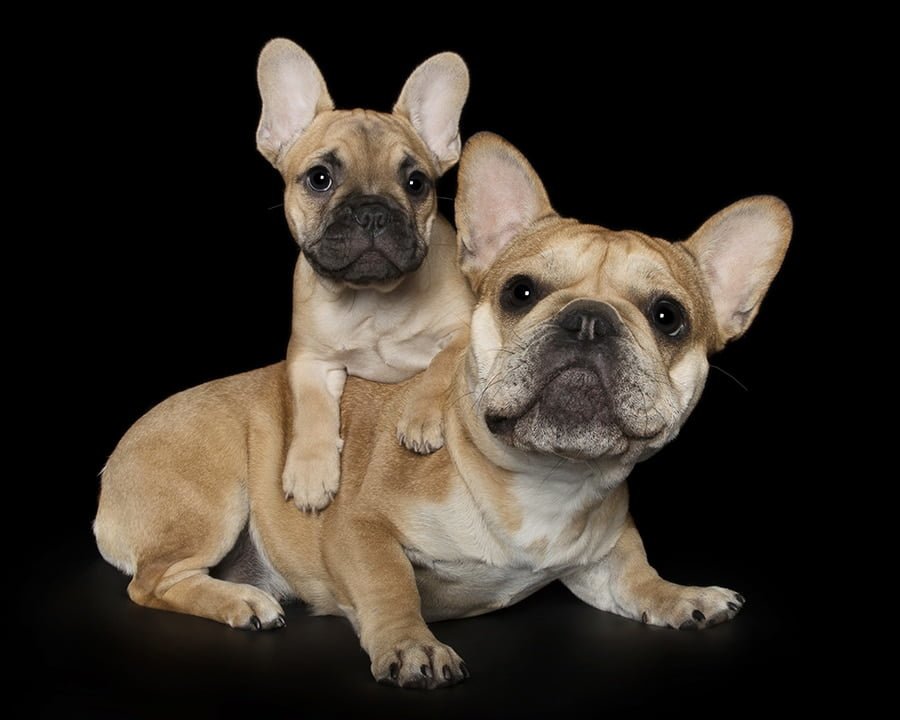
Canon 1DX MII and Tamron 24-70mm lens | 1/200th sec at f/13 ISO 200
Waiting for a perfect split-second photo opportunity requires anticipation and timing. Most of my images are captured in a fraction of a second.
Preempt movements before they happen and be ready when they do. Once you see the shot, grab it as quickly as you can.
This is something you will get faster at with practice.
The development of digital cameras means you can take as many shots as you need to in order to get the photo you’re after.
9. Be patient
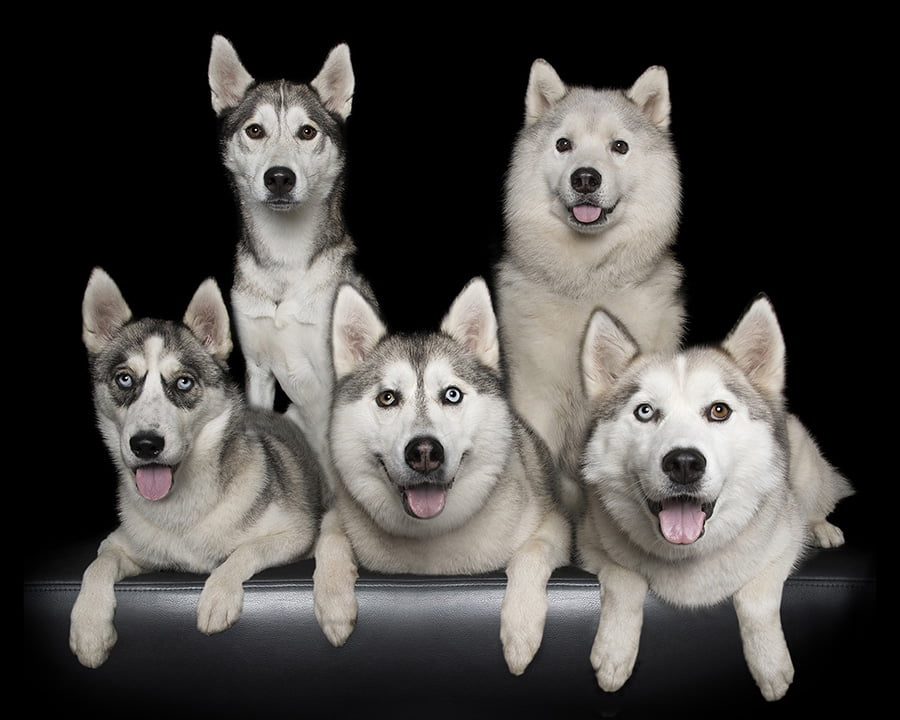
Canon 1DX MII and Tamron 24-70mm lens | 1/200th sec at f/13 ISO 200
Patience was the first thing I had to learn when I started photographing animals and it’s a crucial factor when taking portraits of your dog.
Repeating movements and words calmly and gently creates a chilled atmosphere for your pet.
I like to think of patience in pet photography as a three-step process:
- Calmly wait until your subject does what you want
- Take a burst of images to get “the shot”
- If you miss the moment, go back to step 1 and repeat.
Taking your time when you work leads to a relaxed subject that is more likely to do the poses and expressions their owners know and love. You can’t force animals or rush them to do what you want.
Letting them settle and be themselves is the best option.Learn as much as you can about your subject’s behaviour and habits, and spend time with them before you start snapping.
Do they tilt their head when you make a certain sound? Do they do tricks on command? If so, these are fabulous things to capture with your camera.
10. Use good gear

Canon 1Dx MII and Tamron 24-70mm lens | 1/400th sec at f/2.8 ISO 500
When shooting in the studio I predominately use a Canon 1DX Mark II body and my Tamron 24-70mm Gen2 f/2.8 VC lens.
Occasionally I use my Tamron 90mm Gen2 macro, if I have a small subject to work with like a grasshopper or frog.
My studio light source comes from three Profoto lights (D2 500 Monolights
and cordless, battery powered B1x 500
’s) which I operate with an air remote, alternating between a 2-foot and 3-foot lightbox.
These give me consistent, even light and help me achieve the look and feel I want from my images.
In the studio I generally use the same settings of f/13, ISO 100, and 1/200thsecond.

Canon 1DX MII and Tamron 24-70mm lens | 1/200th sec at f/13 ISO 200
When photographing pets (and wildlife) outdoors, I mostly use the same 24-70mm lens from the studio and my Tamron 70-200mm Gen2 f2.8 VC Zoom lens.
For animals some distance away, I use my Tamron 150-600mm Gen2 f/2.8 VC lens, also aptly known as “The Beast”. For capturing minute details, I grab my Tamron 90mm Gen2 macro lens.
All of these lenses have Vibration Compensation, which allows me to really push them in different lighting conditions. I often work with natural light when shooting outdoors.
If I need a fill light or want to light my subject from the background, I use a Profoto A1, the world’s smallest studio light.
[Related: Profoto A1 review]
I always activate the VC option on my lenses. I find it easier to hand-hold my camera than mount it on a tripod, as my subjects are always moving.
Dog Photography Tips | When things go wrong
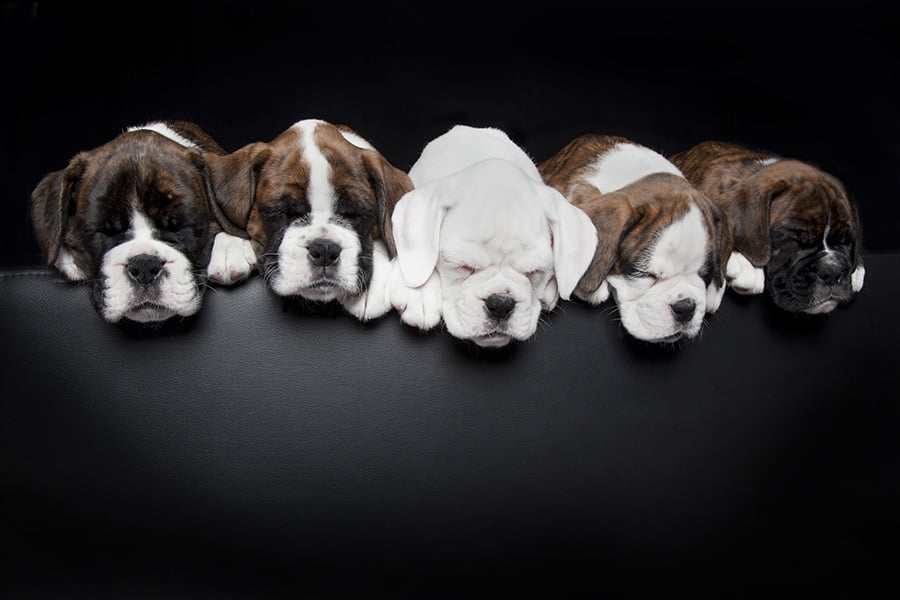
Canon 1DX MII and Tamron 24-70mm lens | 1/200th sec at f/13 ISO 200
Things can go wrong when working with animals but it’s all about getting the job done. They can be unpredictable in nature, sometimes reacting in unexpected ways to an action that triggers a response in them. Knowing about animal behaviour goes a long way.
I’ve been urinated and pooped on, had animals vomit on me, chew on me, jump on me, scratch me, been grabbed in inappropriate places, had props wrecked and lights knocked over.
I even had the potential to be killed on about 15 occasions (mostly working with rescued wildlife in overseas sanctuaries). Each instance was unintentional.
Some animals like to push the boundaries, and others are just overly exuberant and excited to be having their photo taken.
When things go astray, I simply laugh, dust myself off, and get back into it. It’s par for the course, and to be honest, each incident makes for a great story.
Disclaimer: All recommendations are impartial and based on user experience, with no bias to the products or the brand. The products in this post may contain affiliate links.


Check out these 8 essential tools to help you succeed as a professional photographer.
Includes limited-time discounts.


