How to Get the Cinematic Look on Your Photos & Videos
The cinematic look is hugely popular among filmmakers and photographers. In this guide, you'll learn XX tips on how to shoot and edit amazing cinematic footage.
By Jeff Collier
Wondering how to get the cinematic look on your photos and videos? You’re not alone.
Adding a cinematic flair to your photos and videos can evoke the nostalgic feeling of being in a classic movie theater or drive-in and leaving your worries behind. That cinematic appearance is sought after by almost every photographer and filmmaker in the world.
In this article, we’ll cover how to achieve that highly coveted cinematic element within your images and videos — whether you use Adobe Premiere Pro, Photoshop, or another photo editing software.
What is Meant by Cinematic Look?
In a world filled with trite and trendy vocabulary, you may be wondering what cinematic even means.
In the traditional sense and during the early days of filmmaking, cinematic was used to describe almost anything related to film.
For some, cinematic is an incorrectly used buzzword that just means adding effects to photos. But for industry professionals, it means your content has the vivid beauty of award-winning films.
As film and motion production advanced over the years, industry experts would speak of the cinematic look with more depth — as a marriage between complex visual elements working together to help create a sophisticated storytelling experience for viewers.
This can be done during the process with the right mood lighting, as well as during the photo and video editing process.
Reaching a cinematic level in photos and film essentially means you’ve achieved that sophisticated aesthetic each scene needs to captivate the viewer and tell the story in the same way Oscar-nominated movies do.
What makes a video cinematic?
There are several techniques and traits that make a video cinematic during filming and editing.
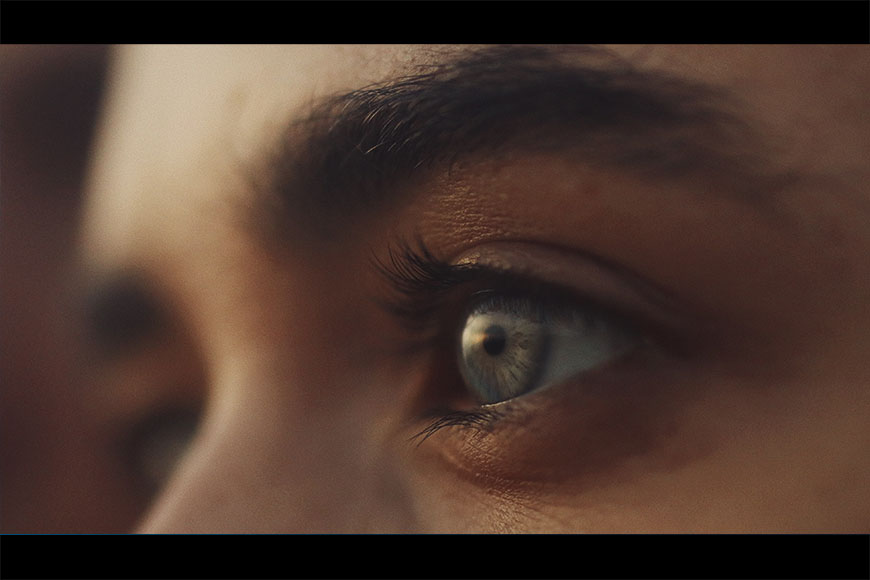
For example, maintaining a shallow depth of field and the right aspect ratio while avoiding shaky footage creates a more intimate connection between you and your viewer.
By focusing on the subject closest to the camera and blurring the background, you’ll successfully capture your audience’s attention while directing their eyes where you want them.
This can be done by using a wider aperture, a telephoto lens, or by adding more distance between your subject and the background.
However, make sure you don’t use a shallow depth field excessively, or it could lose its impact.
For this reason, we recommend using a healthy balance of shallow and wide depths of field to maintain a professional look, as noted in the video above.
How Can I Create Cinematic Video Footage?
Here are 5 tips for giving your video the cinematic look:
1. Choose the Right Composition
A film’s composition and aspect ratio can easily add to or take away from a film’s cinematic features.
The basic design principle consists of dividing things into thirds horizontally and vertically to achieve nine equal pieces.
You can easily accomplish this during recording by turning on the grid feature on your smartphone or regular camera.
The rule of thirds not only enhances visual interest but also softens the picture for that coveted sophisticated aesthetic required for a cinematic appearance.
Check out the video above to learn more about the importance of the rule of thirds and how the right framing can boost your point of interest in cinematic video footage.
2. Apply a Film Grain Overlay
Another way to easily enhance your shots or videos with a cinematic look is by adding a film grain overlay to your content in post-production.
Film grain overlays deliver the grit and textures you’d see captured in classic films from the 60s and before — which will instantly add a vintage, granular element to your video footage.
You can see how effective a film grain overlay is at bringing a vintage touch to video footage in the video above, which shows a remarkable before and after of the same scene.
Here’s a way you can add it in Photoshop, and here’s how to add grain to iPhone photos.
3. Use Slow Motion Tastefully
Excessive use of slow motion can look sloppy or amateur, but just the right amount can create a cinematic effect within your video footage.
By saving slow motion for transitions or dramatic scenes, you can easily add cinematic impact to critical changes within your video footage.
Don’t worry if you’re still not sure when exactly to incorporate slow motion — just follow these quick steps in the video above and you’ll master the art of slow motion and cinematic video in no time.
4. Find Your Light
Dramatic lighting is another go-to way videographers can add a cinematic trait to their footage.
The right lighting not only elevates the storytelling aspect of your film but also adds the contrast you need for a cinematic style.
You can achieve this by maintaining a higher ratio of contrast as opposed to even lighting.
You can also easily customize your scene’s lighting by using overhead lights with lamps and playing around with light bulbs with different wattages to create more or less exposure or to achieve soft lighting.
If you’re still not sold on the benefits of dramatic lighting, check out the video above to see how it contributes to cinematic video.
5. Play with Color
Color is tremendously important to so many things in life — food, design, personal style, and for the purposes of this article — video. Your color palette and color temperature play a tremendous role in your film’s story, but how?
Smart color choices will give a real-life element to your video footage and help you get the reaction you want from your audience, whether you’re seeking to make your scene feel sinister, upbeat or humorous.
By mindfully balancing out warm and cool colors, you can elicit the emotional reaction you’re looking for.
If you’re curious about the immense impact color theory has on filmmaking, watch the video with expert tips from Jeven Dovey.
How Do I Edit Photos in the Cinematic Look?
We’ve covered cinematic video, but how do you give your photos the cinematic look? Here are 5 tips for getting it right:
1. Tell a Story

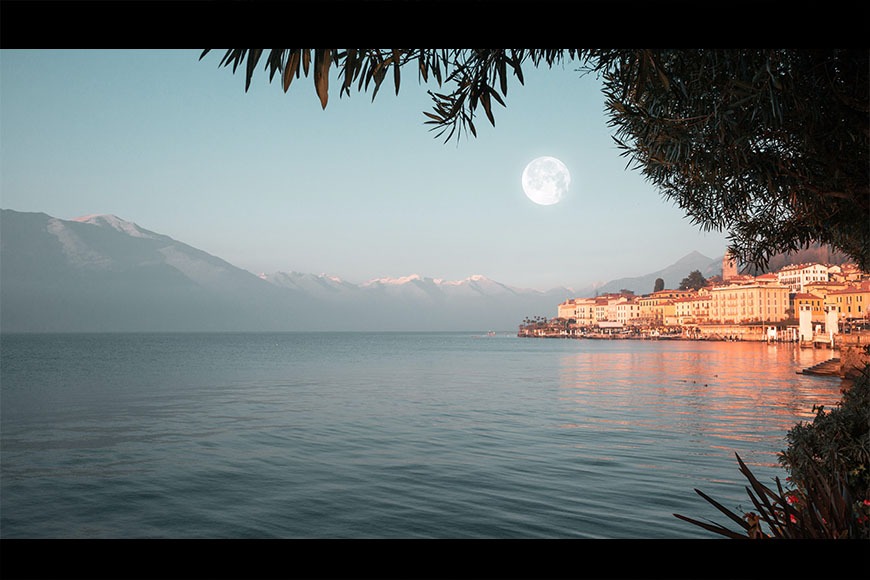
Credit: Elia Pellegrini
Giving your photos a storytelling element is something experts assert is easier said than done.
Just like any art, it can take years to hone this craft and evoke the emotion, inspiration, or reaction you want from viewers.
Start by thinking of your shots as visual stories — they need a plot. And while you likely help nurture this plot during your shoots by choosing the right setting and subject, you can also use important elements that make up editing techniques to enhance the cinematic-ness.
This means taking every facet of your photos into account and not just leaving the background as a neglected afterthought.
While you may want the viewer to focus on a person in the photo, you can effectively leverage the background to tell a story and edit it accordingly.
For example, a sunset in the background of a photo can deliver the symbolism you want — it can represent the end of a long day for your subject or bring a more romantic, interpretive meaning to a finished chapter or a happy ending.
This can be edited to your advantage to stand out without stealing the spotlight with techniques such as shadow lifting and highlight reduction.
2. Use Deep Contrast
As is the case for video footage, deep contrast can give your shots a cinematic touch that could rival the most sophisticated, aesthetic film stills.
Most photo editing software, like Adobe Lightroom, has amazing built-in settings. You can start with your photo editing software’s built-in presets, if available, and adjust the slider to add more or less exposure.
This will bring balance to the highlights and shadows of your shots while giving you total control over the final outcome.
Just the right amount of contrast will capture viewers’ attention and bring that rich, artistic look you see in the most aesthetically pleasing images, but be careful not to go overboard.
3. Lean on Curves
Whether you use photo or video editing software, almost all of them have a tool for image tone and color adjustment with curves.
Like contrast, curves can serve a great purpose in your photo’s overall brightness, which is an important feature of cinematic photos.
Curve tools operate on a grid, making it easy to adjust your image’s look using the line on the graph, as well as the x- and y-axis.
This tool offers a quick solution for lightening shadows, darkening highlights, and adjusting colors, which can significantly raise the cinematic features of your photos.
As opposed to just messing around with the white and black tones, highlights and shadows, curve tools deliver more vivid detail across the total dynamic range.
And don’t stress if creating an individualized tone curve seems daunting — many photo editors have an array of presets you can choose from until you’re comfortable branching out and creating your own.
4. Add Depth

Credit: Mikita Yo
Giving your photos depth is another critical component in making them more cinematic.
And adding depth and dimension will not only help you reach that cinematic style, but it’ll also give your images a more polished feeling overall.
Start by breaking up your photos into the rule of thirds we discussed earlier: foreground, mid-ground, and background.
This will help you find the right aspect ratio while letting you effortlessly adjust the opacity at each level.
Most editing software has an easy-to-find tool for opacity that allows you to quickly alter transparency with a slider.
This effect can be customized to each layer to help you give each section of your photo a cinematic appearance.
5. Identify Your Light Source
The right lighting adds depth and drama to video footage and photographic shots.
By identifying your light source and which area it comes from in any kind of photo — portrait, lifestyle, or landscape — you can figure out the best way to illuminate your subject during photo editing.
Once you determine the origin of your light source, you can figure out the best way to add brightness and saturation for increased depth while maintaining your photo’s natural look, which is another important factor we have already covered.
Because rays of light don’t always translate perfectly from real life to photos, editing techniques can help preserve the naturalness of natural light while giving it a bit of a glowing feature.
If you’re a Photoshop user, you can leverage the dodge and burn tools to sharpen the natural light present in your image. Adobe Lightroom users will benefit most by starting with a preset and dehazing and adjusting color tone, shadows and clarity to produce cinematic photos.
How Can I Get Cinematic Video on my Phone?

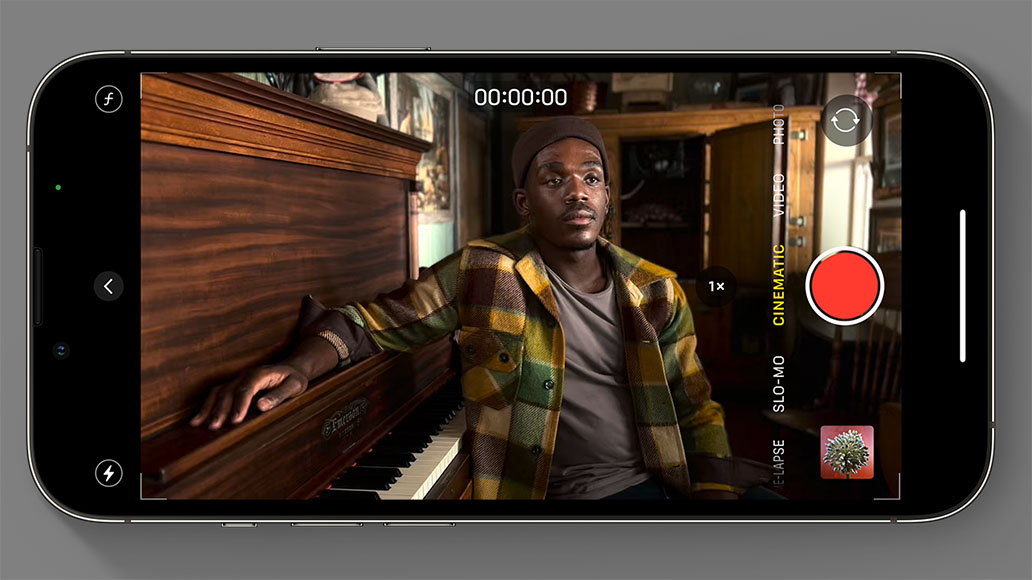
Credit: Apple
Even professionals sometimes use their smartphones instead of their high-tech cameras to capture cinematic footage, and they manage to get high-end shots through a variety of techniques.
Beginners with iPhones can simply start recording after opening their camera app and swiping to cinematic mode, which offers a professional-grade frame rate and a shallow depth of field — which, as we noted earlier, helps establish a strong viewer-subject connection while achieving a professional look and minimizing background distractions.
Novices with Androids can open the Google Camera app, which also features high, professional-grade frame rates and vivid color.
You can swipe to portrait mode to shoot with a shallow depth of field and a blurred background that engages the viewer while offering a professional, cinematic look found in top-tier films.
Ready to Create Some Cinematic Footage? Final Words
Although ‘cinematic look’ has become an overused buzzword, the true definition is related to the aesthetics and sophistication of top-performing movies.
For this reason, making your content cinematic goes well beyond simply slapping a filter on a photo or adding effects to a video.
To achieve the highly sophisticated luxury and vividness showcased in the best film and photography, a few mindful editing techniques can have an astronomical impact.
Whether you start by using presets or making subtle modifications on your own, you can easily create videos and photos that display a cinematic look: the beauty and nostalgia found in any Wes Anderson film.


Check out these 8 essential tools to help you succeed as a professional photographer.
Includes limited-time discounts.


