Guide to the S-Curve in Photography
The best photographers know this simple technique for taking captivating shots. Are you using the S-curve yet? Learn about it in this guide!
Part of what makes an excellent photo lies in its composition. Where does the weight of the photo land? Where is the viewer’s eye drawn to and what leads it through the image?
Where’s the focal point and how does it sit in the frame?
While the rule of thirds is probably the best known photographic composition technique, there are plenty of others to look out for. One is the S-curve.
What is Meant by S-Curve?
Known in painting as the “line of beauty”, the S-curve is a line that travels back and forth horizontally through your image as the eye proceeds vertically through the scene.
When used in cityscapes and landscape photography, the S-curve functions as a leading line that guides the eye through a scene, giving it depth and dimension.
Used intentionally as an element of composition, the S-curve can also add a sense of motion to an otherwise static photograph.
While S-curves are a standard compositional element in other forms of photography as well, in this article I’ll be focusing mostly on how to use them in landscape photography.
Using S-Curves as a Composition Technique
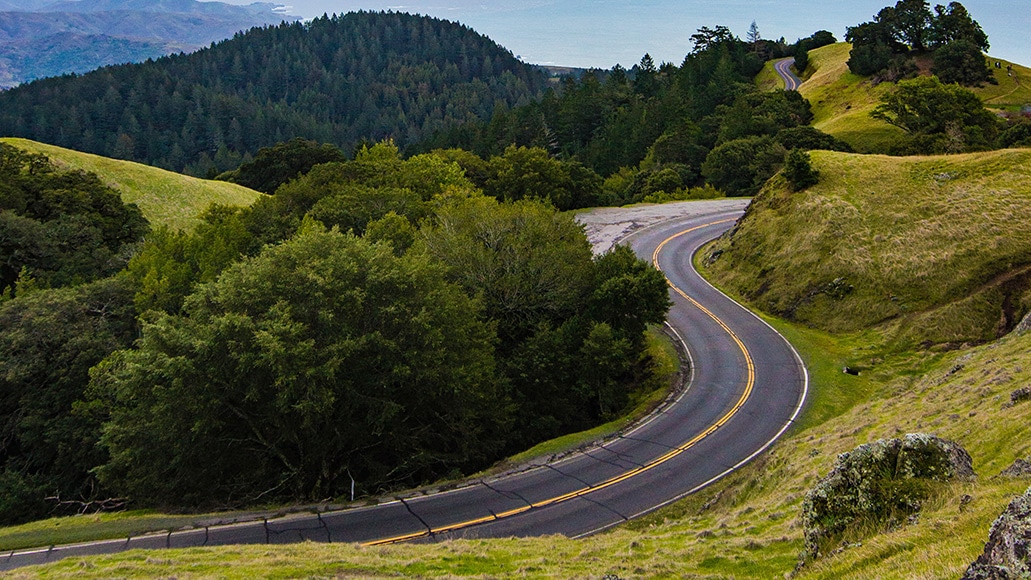
Many landscape photographers use snaking curves as the focal point of their composition.
If you do a lot of landscape photography, you’ll probably find that you already have a number of photos with S-curves in them. Our eyes are naturally drawn to them and they tend to lend a sense of grace and beauty to an image.
Learning how to incorporate them intentionally, however, will add another tool in your photographer’s toolbox.
The easiest way to incorporate an S-curve in your composition is by simply using it as the focal point of your image. This works because the line itself has a lot of beauty and grace to it.

Curving lines have a sense of beauty and grace to them.
Using them as a focal point is only the tip of the iceberg though. These S-shaped curves also make excellent leading lines, taking the viewer on a journey through the photo.
If you want to get a little more complex, you can also use an S-curve to frame or separate other elements of the picture from one another.

Here the S-curve of the tracks divides the image in two, while leading the eye to the people coming out of the store in the distance.
S-curves can pretty much start at any part of the photo you wish. It all depends on where you want the viewer’s eye to travel.
In most cityscape or day/night landscape photography, the S-curve will necessarily start at the bottom or side. It will also probably split the image in two. From there you can either let it be or combine it with diagonal or split composition techniques.
Where to Find S-Curves

The S-curve can be found naturally in many places, including the ridge lines of sand dunes.
Luckily S-curves occur pretty frequently in both nature and in cities. Here are the most common places to find them:
- Winding roads
- Rivers, streams, and creeks
- Fences
- Coastlines
- Train or light rail tracks
- Ocean surf
- Sand dunes
- Forest edges
- A path through the woods or through a field
- Human or animal tracks
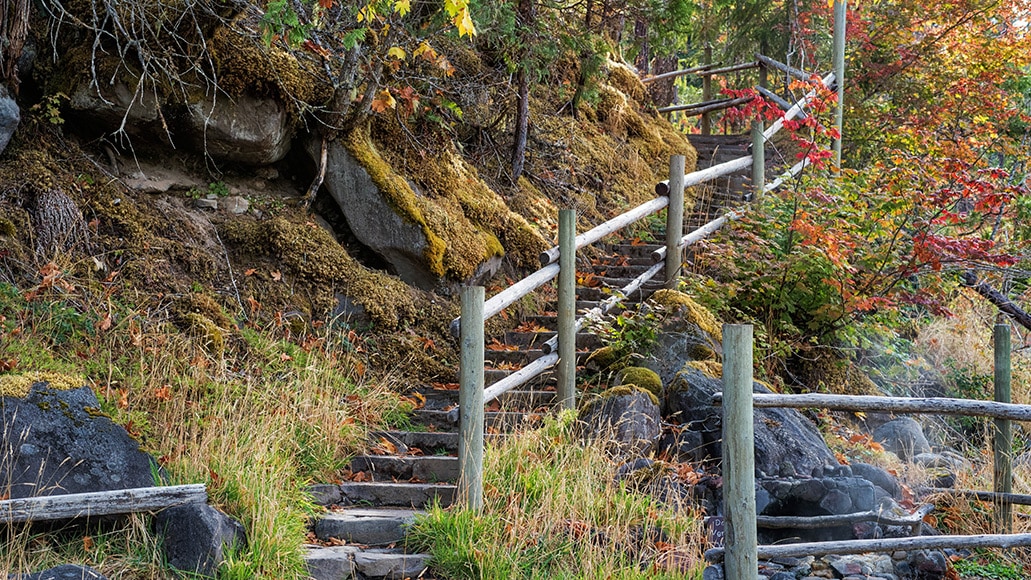
Of course, S-curves don’t need to be the featured element at all, nor do they need to be over-pronounced. Subtle curves also make for great compositional elements.

Here the S-curve in the surf is a bit more subtle than, say, railroad tracks or a road, yet still adds a dimension of beauty to the photograph.
Who Developed the S-Curve and Why?
S-curves have existed in nature since time immemorial, but as an artistic composition technique, they hearken back to the 4th century BCE when the great Greek sculptor Praxiteles popularized it.
In modern art – specifically painting – the S-curve was used as a compositional technique in the 1700s. Back then it was called “Hogarth’s Curve” as the British painter William Hogarth was its champion. It was he who first called the S-curve the line of beauty and the “basis of all great art”.
While it may not be the basis of all great photographic art, it’s clear that the S-curve can add a level of beauty to both the human form and landscapes, and when used as leading lines add a sense of dimension to a composition.
What Are Leading Lines in Photography?

Here the S-curve of the road leads to the bridge, which is the focal point.
One of the best uses of S-curves in photography is as leading lines.
The human eye tends to follow lines in a composition. If you want to create a path for the human eye to travel through a photo, one of the best ways is with leading lines.
Leading lines can be curved or straight. In photography, they tend to start somewhere in the foreground and lead to the background.
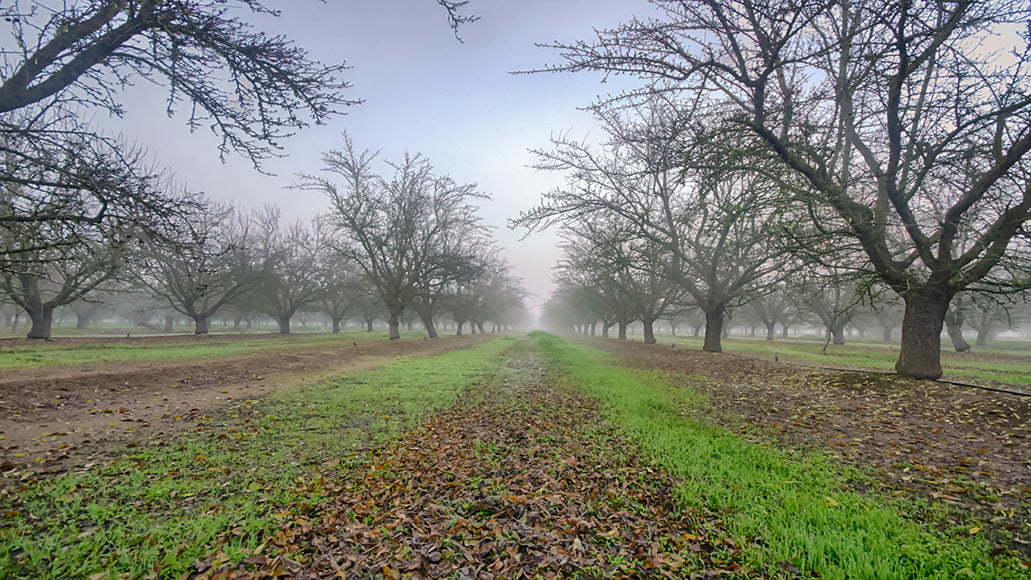
Here is a very standard set of straight leading lines starting from the foreground of an orchard and leading out into the background.
What Does Balance Mean in Photography?

In the photo above, the train is the main subject and creates a beautiful S-curve, but the entire composition comes across as slightly unbalanced. A bit more room on the right-hand side would help things out a bit.
Just be careful to keep balance in mind when using an S-curve, as being too far over to either side can throw things a bit off.
When used well, this type of curve can also provide balance to your composition.
For example, by dividing a scene into two or three spaces the curve can create separate, equally-weighted spaces. This is helpful since it’s important to make sure that the different elements within a composition carry equal visual weight or balance.
For example, by placing your main subject off-center and then balancing it out by a smaller object on the other side you can create a dynamic and balanced photo.
See also: radial balance.
3 Tips on Using the S-Curve in Your Photography
While using this technique may seem self-explanatory, there are a few things to keep in mind for best effect.
1. Keep Clean Lines
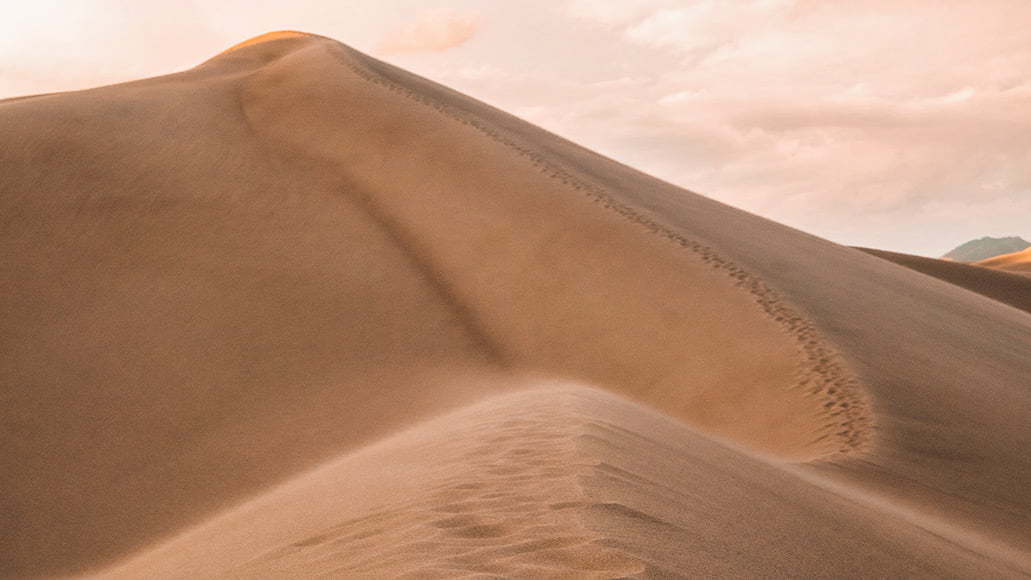
If you’re using the S-curve as the primary focus of your photo, make sure that the line isn’t broken by other elements like branches or logs. Horizontal or other lines interrupting the curve can pull the eye away from the flow of the S-curve or block its progress.
2. S-Curves Can Be Strong or Subtle
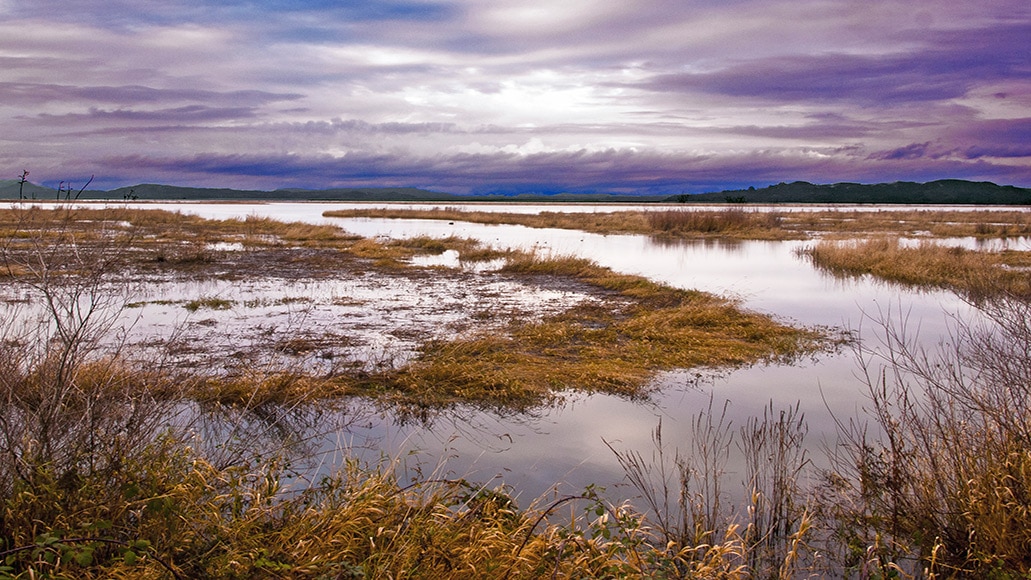
This S-curve is subtle towards the back, but it still effectively leads the eye through the composition.
While an S-curve can make for a beautiful subject, it doesn’t always have to be upfront and center in your composition. Sometimes a subtle S-curve will work better, not detracting from the main element in a photograph yet still drawing the eye through the image.
3. Pay Attention to Placement

In this photo, the balance is off and it’s unclear where the focal point is. A different perspective here might help with the awkwardness.
Like in the train photo above, where you put the S-curve can make all the difference. The best bet is to keep all the elements of the photo in balance without tipping too much emphasis to one side or the other.
It’s also important to make sure that the focal point is clear and that it sits well in the frame.
Final Words
Using S-curves in your photography will help you guide the viewer on a visual journey through your photo, adding both depth and a sense of visual rhythm.
Whether you’re using these soft, flowing lines to create compositional separation in the frame or using the curve itself as the focal point, the S-curve is definitely a worthy addition to any photographer’s toolbox.
What’s more, it can be used in just about any genre of photography – don’t just stick to the ‘safe bets’, like the rule of thirds when composing your next photo.
What are your favorite uses of the S-curve?


Check out these 8 essential tools to help you succeed as a professional photographer.
Includes limited-time discounts.


