Creative Photography Picture Ideas For Your Inspiration
These 20 photography ideas are all the inspiration you need for your next photoshoot or project in 2023. Get creative, have fun and be inspired!
If you’re looking for the restart button and you’re ready for some out-of-the-box photography ideas, you’ve arrived at the right destination.
Mastering all the technical aspects and camera settings can take a lot of practice, so sometimes it’s really nice to take a breather from all the rules.
No matter if you’re keen on still life photography, landscape photography, macro or portraits, you’ll be able to find a little something for you among the following photography ideas.
So set yourself a challenge, pick a photography technique that you haven’t heard of before from the list below, make note of some new photoshoot ideas and start your next photography project!
(After reading this, be sure to check our popular guide on photography hacks for more inspiration.)
20 Photography Ideas for Your Inspiration in 2023
1. Use fog and mist to capture a mystical atmosphere
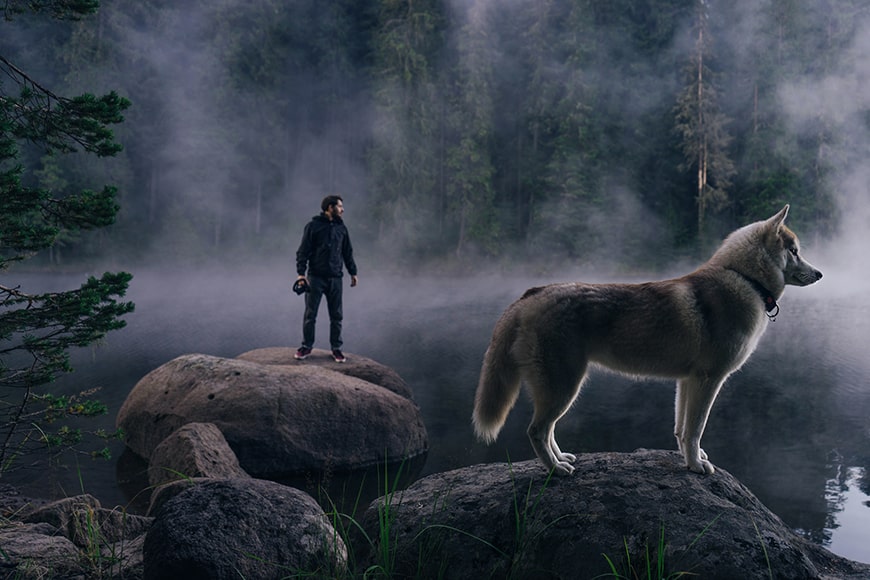
This is a photo I took while we were camping in a national park. In the early morning hours mist always forms around this spot.
If you’re in the mood for creating inspiring mystical images – check out the weather forecast. Certain weather conditions such as fog or mist can really transform the setting around you and give it a totally different vibe.
You have the option to go for a more fairy-tale look or to envision a sinister type of scenario with smoke art – it’s all up to you and your current mood.
While shooting in the fog, try emphasizing shapes and composition – playing with colour is not always a possibility since the fog often makes the scene look rather monochromatic.
To further challenge your creativity, try out long exposure. You’ll see that the movement of the fog can result in a silky smooth surface which wraps around everything in your photo creating a captivating visual effect!
It’s a great photography idea to test for your next photo project.
See also: how to get the best shots in foggy weather
2. Translate your favourite painting into a photograph
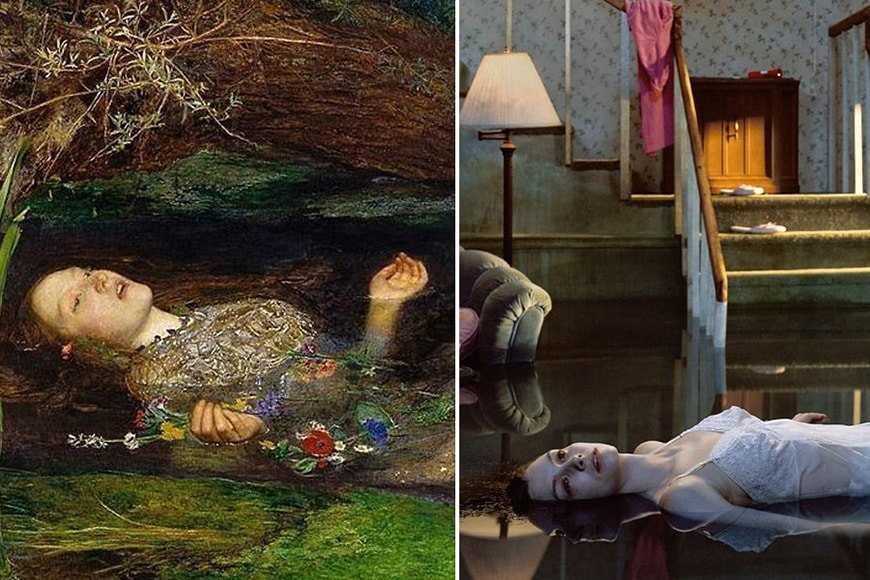
On the left you see Ophelia by the British painter Sir John Everett Millais and on the right an interpretation of his painting by Gregory Crewdson.
We all have favourite works of art which genuinely impress us and stay in our minds long after we’ve seen them for the first time.
If you ever find yourself stuck in rut or without any decent photography ideas to explore, try drawing inspiration from the Great Masters.
How to do it? Here’s a key tip: instead of trying to copy their style outright, make an attempt to translate it into your own language.
Whether it’s a three-dimensional work of art or a classical painting, the possibilities of expressing yourself through interpretation are pretty much endless.
If you can’t really imagine how this would work exactly, try drawing some ideas from our article about 8 photographers whose work was inspired by legendary paintings.
Or you could do it the other way around, and try converting your latest photo into a watercolour or oil painting with one of these apps.
3. Go out for night photography after the rain
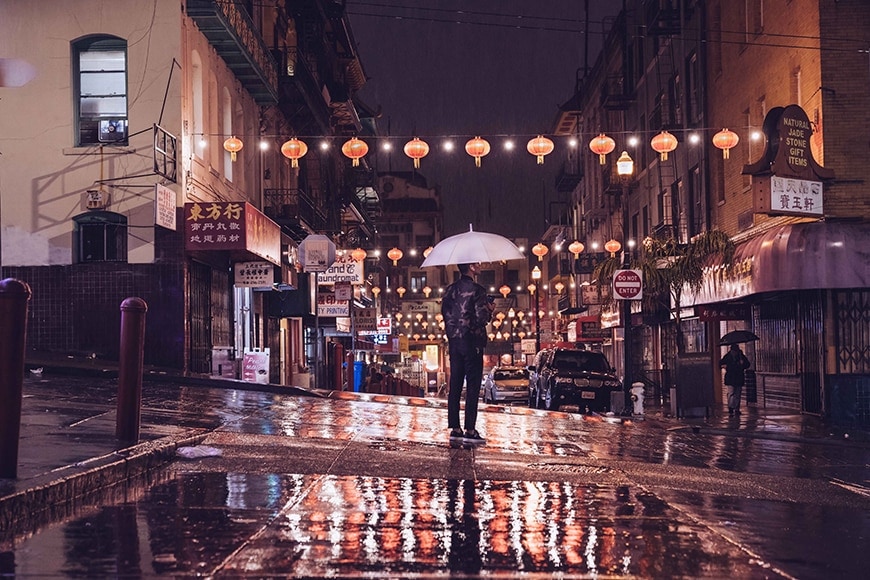
The reflected city lights can really help you form a perfect composition.
Going out in the pouring rain may not be the best idea for your gear – even if your camera is properly weather sealed.
Going out at night after the rain has passed, on the other hand, is a win-win for both you and for your photography equipment!
What do you gain from such a scenario? The biggest advantage is that wet surfaces create awesome reflections which can be great for experimenting with – especially if you’re in a particularly creative mood.
You can also pay attention to the puddles which you’ll find everywhere around you. Look at what is reflected in them and also try to change your angle to see how what’s reflected changes.
There might be a great shot hidden just one squat away!
4. Experiment with the Photzy Action Cards
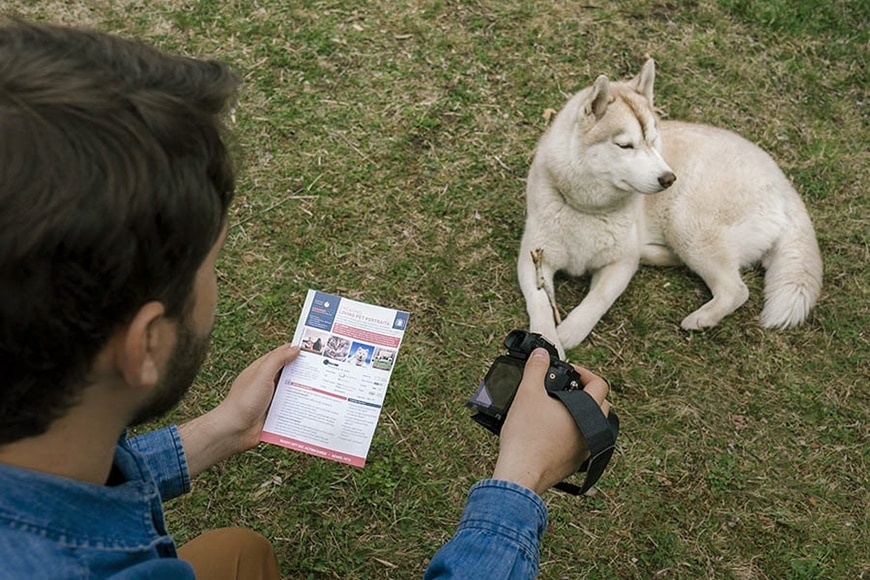
One of the Photzy Action Cards in action!
Photography can sometimes be a solitary venture. For people who like to be more socially active, that can make it a less-than-inspiring activity.
Involving other people in order to share the experience with them can be a total game-changer. But how to do that?
One of the great options you have to combine learning with playing and competing with other like-minded people is the Photzy Action Cards collection.
These cards are designed to tickle your adventurous spirit and they can do a pretty good job at that!
To play the game, you can choose from the Genre action cards set or the Composition set. They both contain great topics to stir your imagination: Minimalist Photography, Colour Contrast, Secrets of Patterns are just a few.
(Check out my Photzy Action Cards review here, for more ideas on how I like to use them.)
You can use the cards to set up photo challenges with your friends and to compare (why not to develop together?) the creative photography ideas later.
If you want to give it a shot, you can pick up a set of the cards here.
5. Get creative with prisms (the rainbow effect)
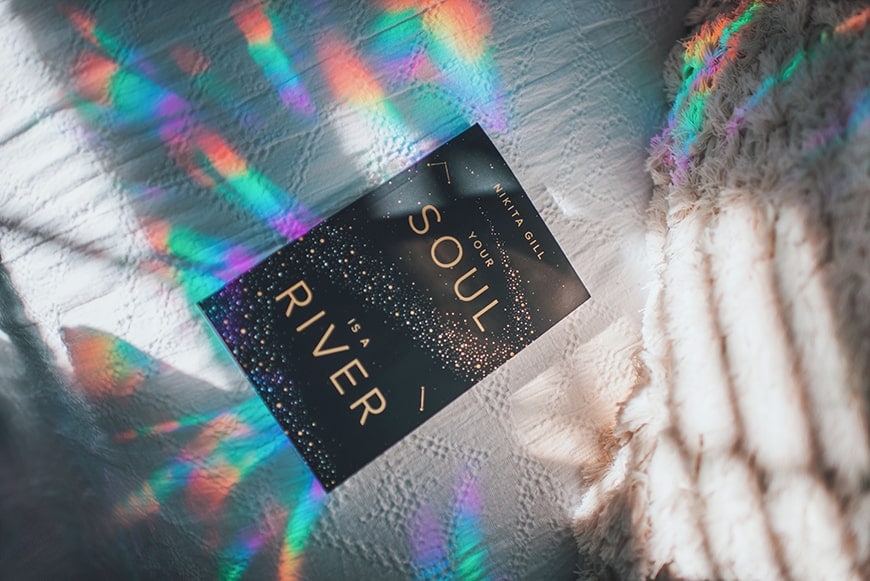
Prisms can enhance your creative photography projects with unique light effects.
Using prisms in photography is one of the best creative ideas you can explore. It can add a really unique mood to the image and, as such, it’s something which is definitely worth trying out.
This method is also quite simple and naturally easy to put into practice. All you need to do is to hold the prism in front of your lens and slowly move it to see how the effect on the object changes.
When you change the position of the prism you’ll see how different reflections appear – choose the one that fits best to your current photo idea and mood.
Something important to note here is that in this situation you’d want to operate the focus manually.
Auto-focus won’t be really able to locate the focus point since the prism itself will be too close to the camera lenses. The result would be blurry photos with lost sharpness which will ruin the nice effect from the prism. (Related: Apps to fix blurry photos)
Use manual focus and you’ll be able to create some stunning and unique images.
Once you’ve played around with prisms, go and check out our guide to using the LensBall.
6. Try out double exposure photography
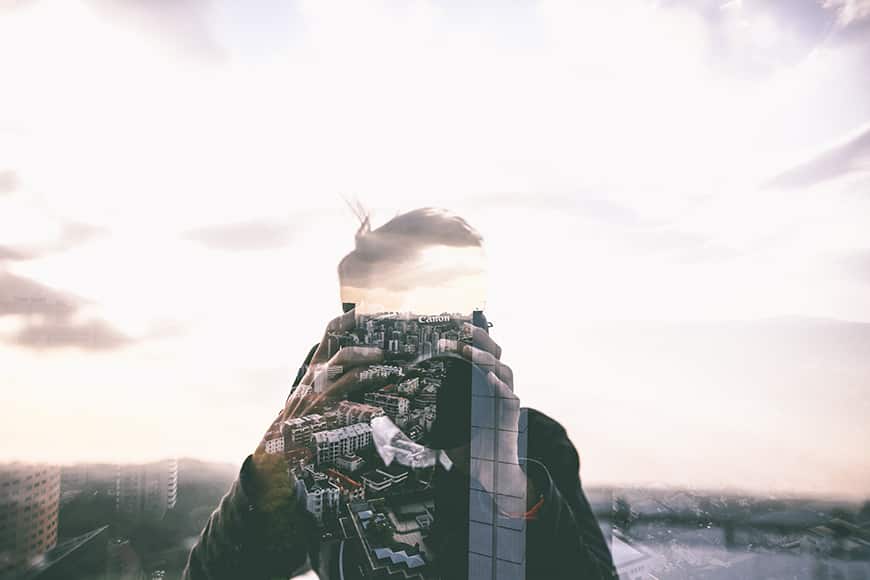
Double exposure can work well for creative self portraits.
Another really great option to produce creative content as a photographer is the technique of double exposure.
Double exposure photography combines two different images into one visual. This is a technique which can easily create a surreal mood and it’s also able to convey more complex photography ideas.
You can make double exposure images in a few ways – with a traditional analogue camera, with a digital camera, or you can also create the effect in post-production.
The third option gives you more control over all the little details in your photo.
The pool of photo shooting ideas here is literally endless – try combining two objects that are seemingly totally disconnected to see how the viewer’s mind can create a link.
This link would be different for everyone and that’s the beautiful part.
7. Explore patterns and repeating elements
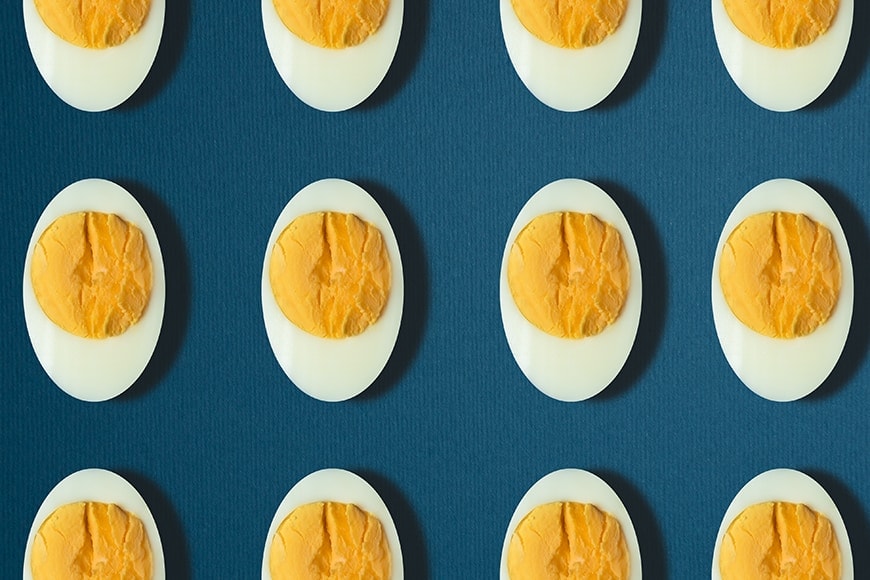
The original element is only one here, but I copied it multiple times in post to create this pattern.
Repeating elements and patterns not only create fantastic compositions but they also make a strong visual statement.
Patterns exist all around us – both in nature and in man-made structures. Look for colours, lines and shapes that are repeating and arrange them into your frame. You can either emphasize the pattern itself or find a way to break it and build visual tension.
Take a walk outside and set yourself a goal to spot as many repeating elements as you can for 30 minutes. Once you start seeing them, you’ll find it hard not to notice them anymore!
8. Put flowers in ice cubes
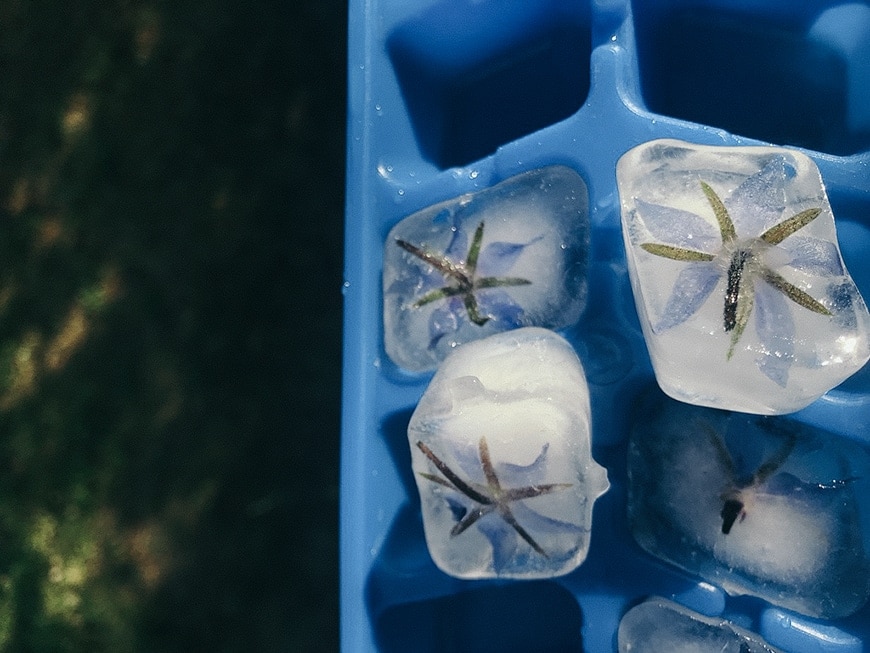
A few of the blue flowers from my vegetable garden last summer.
If you’re looking for more still life photography ideas, his little DIY project can be a lot of fun not only during the shooting process, but also before and after that (if you make sure you choose edible plants).
All you need is an ice tray and plants with attractive foliage or flower heads.
Since it’s very important to keep the ice as transparent as possible, I recommend using distilled water – when the water is purified you’re bound to achieve a more beautiful overall effect.
Once you have the ice cubes ready, try building a pattern type of composition. Do think about how you’ll arrange it in advance – the cubes will be melting quite fast!
You can also use this trick as a nice original accent if you’re doing food photography or taking pictures of fancy drinks.
Here are my suggestions for edible plants to put in the ice: daisies, lavender, roses, violets, pansies and borage.
Last year I tried this idea with borage – amazing blue flowers with great colour and with the perfect shape to fit in the ice cube!
To make your flower shots even more compelling, note the notion of radial balance in photography.
9. Try the tilt-shift photography effect
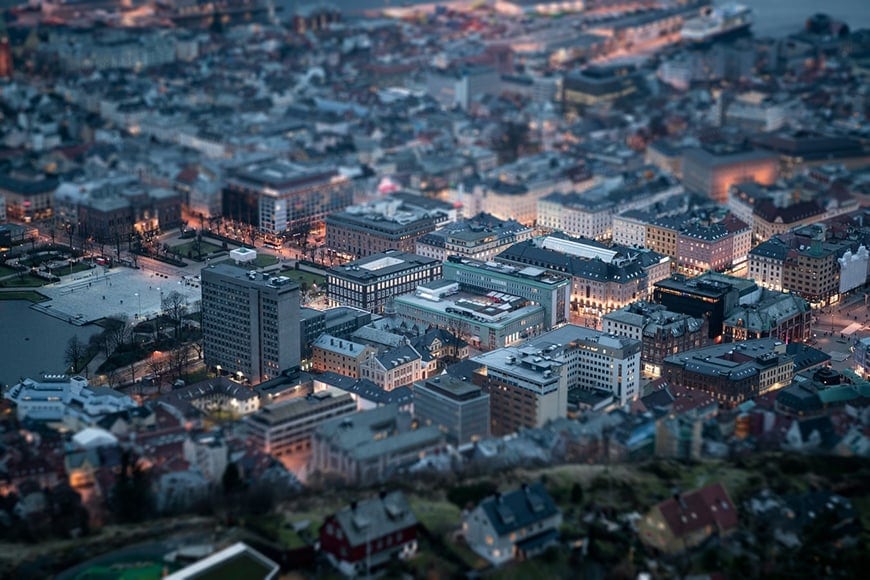
Tilt-shift is one way to give your photos a unique effect.
The tilt-shift photography effect is also called “miniature faking” and that explains the whole concept pretty accurately. It’s a real mini world you’ll be able to create with this photography technique.
Usually when you take pictures the plane of focus and the image plane are aligned. This means that you get an even depth of field in the picture no matter on which part exactly you decide to focus on.
When you tilt the lens those two planes are no longer perfectly aligned. So what happens here is that you get a new focus plane in a rather peculiar position (literally tilted) and that’s how this effect is created.
To explore the creative power behind tilt-shift photography, give it a try with some type of massive scene that contains lots of people. The tilted plane will be more obvious and will create the ultimate impact on the viewer.
10. Submerge things in coloured liquid
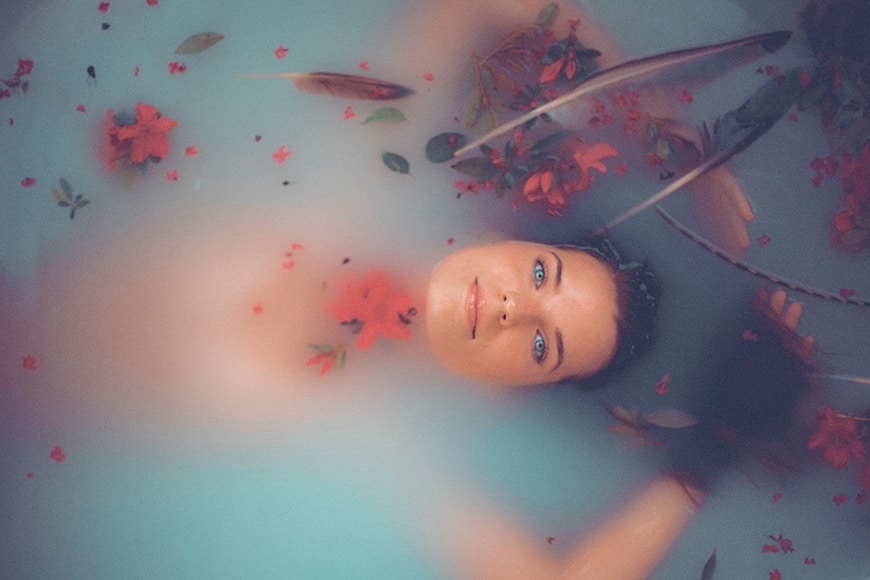
If you’re after creative photo shoot ideas, try adding some coloured liquid into the mix.
You’ve probably seen variations of this technique in some maternity photo shoots. Most of the time the liquid used for those has a white tint which is associated with milk and purity – see our guide to milk bath photography here.
But you can easily ditch this traditional approach and try with colours which make a bolder statement. Bath bombs work magic and are great for colouring the water in your bath.
They’re also completely safe for your subject, which is important if you’re using a human model, unlike food dye, for example, which stains the skin.
(You can check out our Model Mayhem Guide to learn some tips on how to find yourself a human subject to practice your photography on.)
As for the creative part here – you have unlimited options to play with form and colour.
The cool thing about this technique is that you get to re-invent shapes and forms.
As the chosen subject emerges from or submerges in the colourful liquid their form changes significantly – take advantage of this transformation through your lens!
11. Create a “floating” photography effect
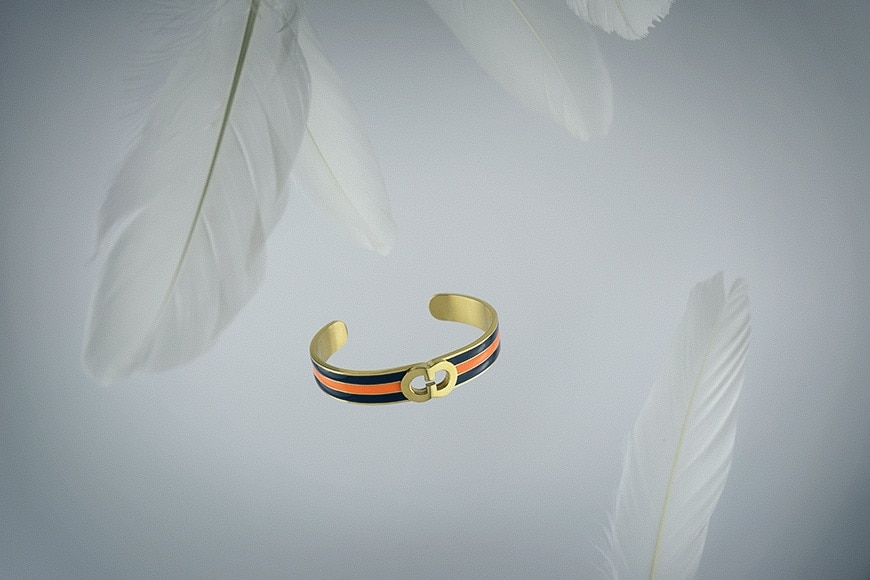
This is a product shot that I took for a Swedish brand. The strings holding the bracelet in the air were removed in post.
This is beyond a doubt one of my absolute favourite still life photography techniques.
Basically, you make your subject gracefully float in the air – which not only looks very cool but also adds a pinch of magic to the shot.
I mainly use this technique for product photography, but it’s also applicable when it comes to food photography and can produce a stunning effect. You can also try it with a DIY lightbox.
There’s no reason for you not to attempt this technique with people as well, but just bear in mind that the process will for sure be a little bit more complicated simply because of the weight of your subject.
It’s easy to hang a product on some sort of a string and it’s even easier to delete the visible part of the string in post.
When you try the same things with models, you won’t be able to hang them on a string (in case you insist on them remaining alive!) What you can do here is to use a seating stool and position your model in such a way that the head is lower than the feet – this adds an additional layer of enchantment and makes it looks as if the person’s really floating.
Also, pay attention to the background behind the seating stool you’re using, make sure it’s something not too busy and complicated. In other words, try to use a backdrop that will be easy for you to erase or color in Photoshop afterwards.
12. Experiment with slow shutter speeds to create motion blur
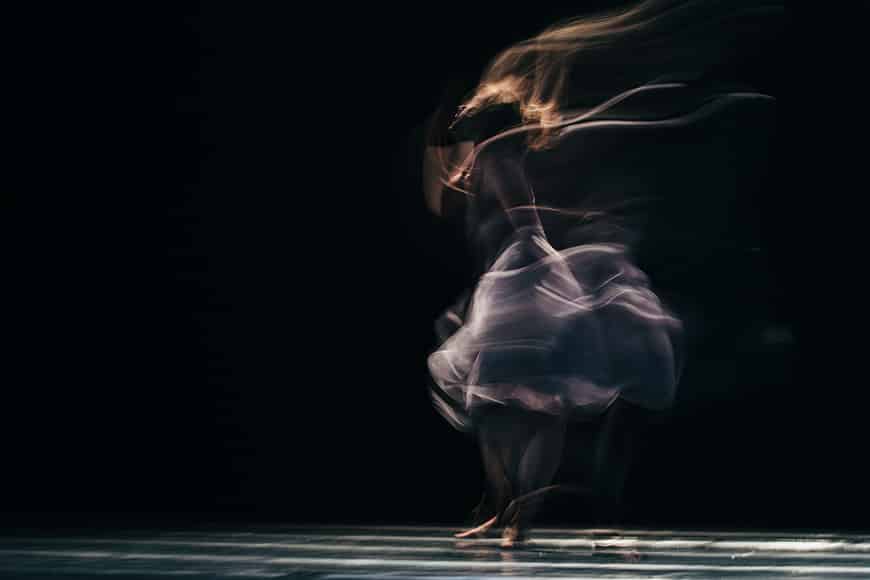
Recording dance movements can always give you stunning results!
Photography is not always about taking the perfect shot and freezing your subject in the midst of an exciting action scene. It’s sometimes about capturing the essence of movement, or in other words, tracking this movement with your camera.
To achieve this effect you will need to experiment with slow shutter speeds to record motion and its trajectory.
Keep in mind that your camera should be steady, so use a tripod and take advantage of the timer settings (to eliminate the possibility of shaking the camera while pressing the shutter button).
If you’ve never tried this technique before, it’s a good idea to start experimenting at night. Shooting during the day will involve some extra problems.
Slower shutter speed leads to long exposure and long exposure means a lot of light on your image. If it’s a bright sunny day, it’s impossible to pull this off without using a neutral density filter to reduce the amount of light that gets in.
13. Find a photography partner in crime
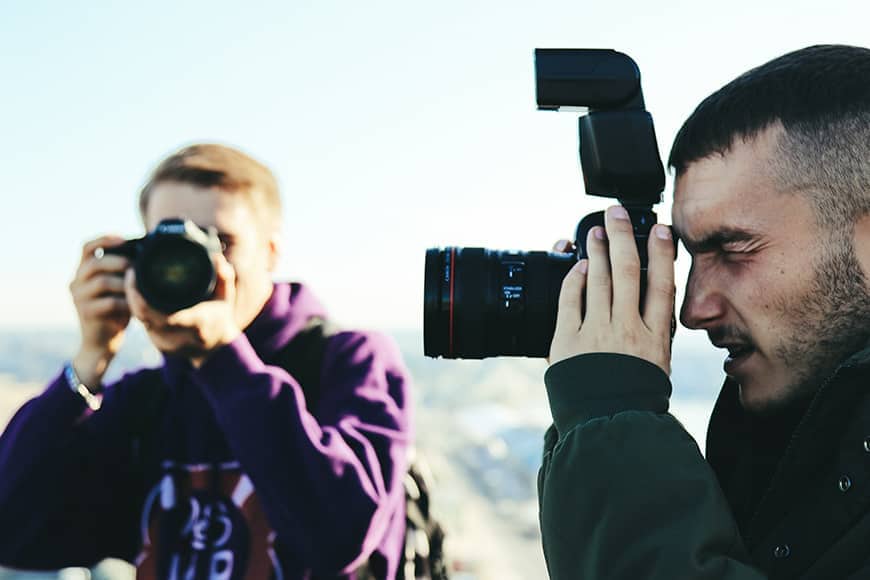
Enlist a friend or creative partner to help you generate and execute your photography ideas.
Reading articles about new out-of-the-box photography techniques and ideas can be quite inspiring, that’s for sure. But there are few things more thrilling than a quality conversation with a like-minded person.
If you’re feeling a bit under the weather and not in the mood for experimenting and exploring, maybe you just need a creative kick from a friend.
Try organizing a short photo trip with another photographer (or it could be more than one) and see how the same subject can be perceived in numerous different ways and viewed from so many different angles.
Witnessing how other people with the same job/hobby as yours have decisively non-identical approaches when it comes to taking photos of the same scene is very eye-opening. You’ll also have a chance to make some new best friends at the same time.
14. Scout for new interesting photography locations
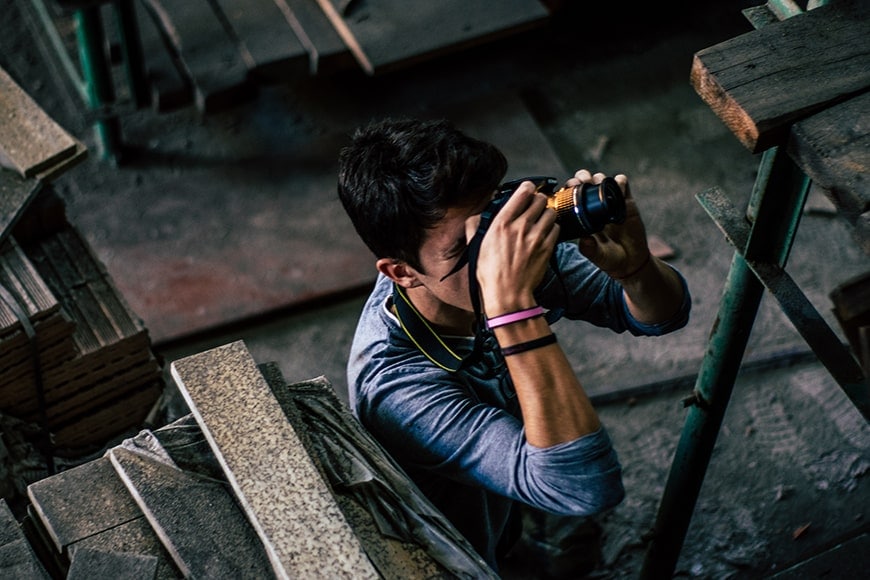
Use different locations to step outside of your comfort zone.
If you’re keen on taking portraits, you’re certainly aware of some of the cool places in your area. But how many do you know in total and are they enough?
It’s easy to gravitate towards your comfort zone, but there’s a slim chance that the great shots you’ve been dreaming about lately await you there.
That’s why it’s necessary to challenge yourself. Grab your equipment and explore the city where you live – and at the same time try to perceive it as someone who has never set foot in this location.
What are the things that you start to notice first?
15. Put cellophane in front of your camera lens
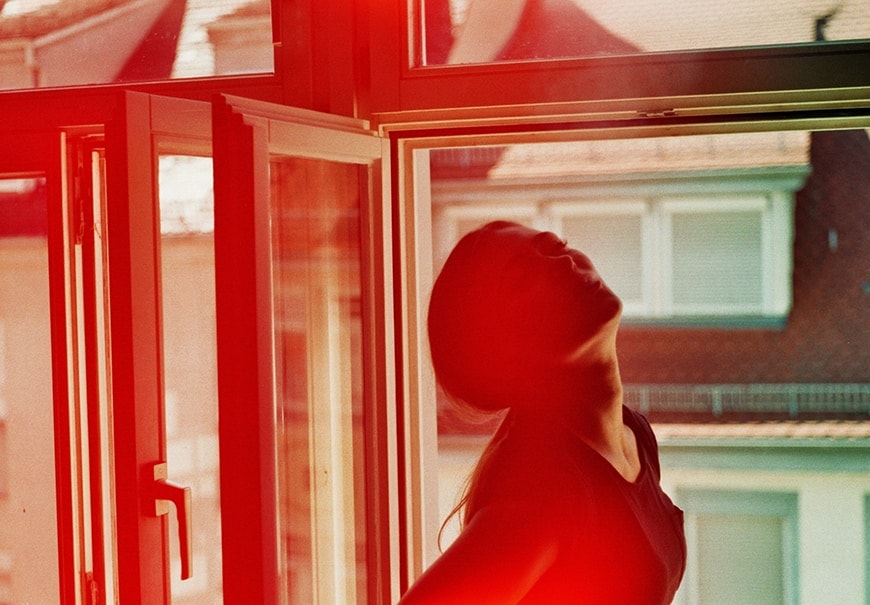
In this case, the cellophane piece is red, but you can go for any colour that you like.
Household items can be a lot of fun when it comes to do-it-yourself lens filters. One of the most interesting options you have here is creating a filter for your lens from cellophane.
All you need to do is cut off a small piece of cellophane and put it in front of your lens. For better attachment, you can use a simple rubber band – which all of us have floating around somewhere in the house/apartment! :D
If the cellophane you’ve chosen is coloured, you will end up with an effect similar to the one that coloured gels produce. Just bear in mind that having this additional layer in front of your lens will reduce the overall sharpness, which is not such a bad idea if you’re going for a hazy/dreamy atmosphere.
You can also play around with the position of this DYI filter. It’s not necessary to put it in front of the entire lens surface; you could cover only a small portion of it and have the effect applied to only one area (as opposed to the whole image).
16. Go for the herbarium effect
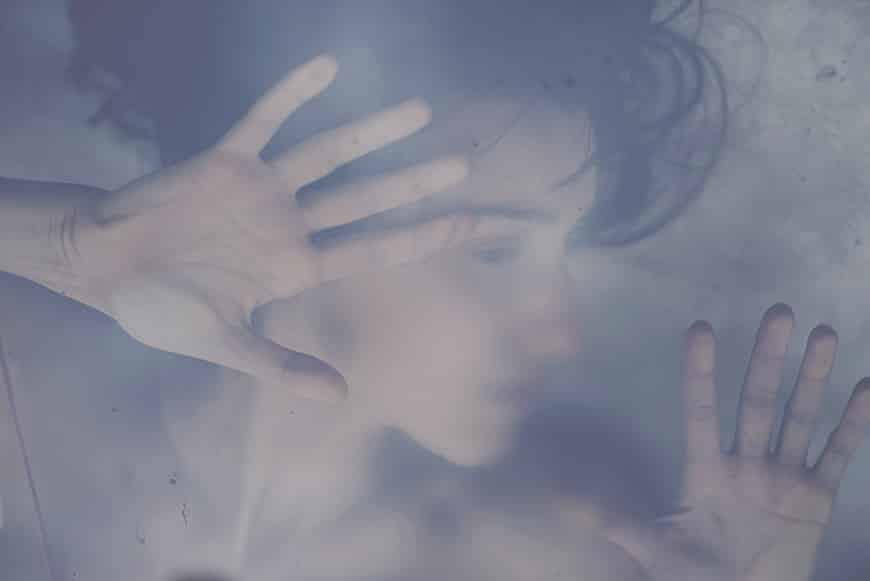
This one was shot behind a large glass piece – the breath of the model creates this cool blurry effect.
Photographing subjects pressed against transparent surfaces such as glass can give you truly mesmerizing visual results. It could work well with all kinds of subjects like plants, flowers, fruits, vegetables – not to mention that it’s also great for live models.
When part of the skin is pressed against the glass it creates a feeling of unease and it also conveys an idea of being trapped in a certain space.
This can give you food for thought for many different concepts related to our everyday life on a global and on a local level.
17. Try creating images with complementary colours
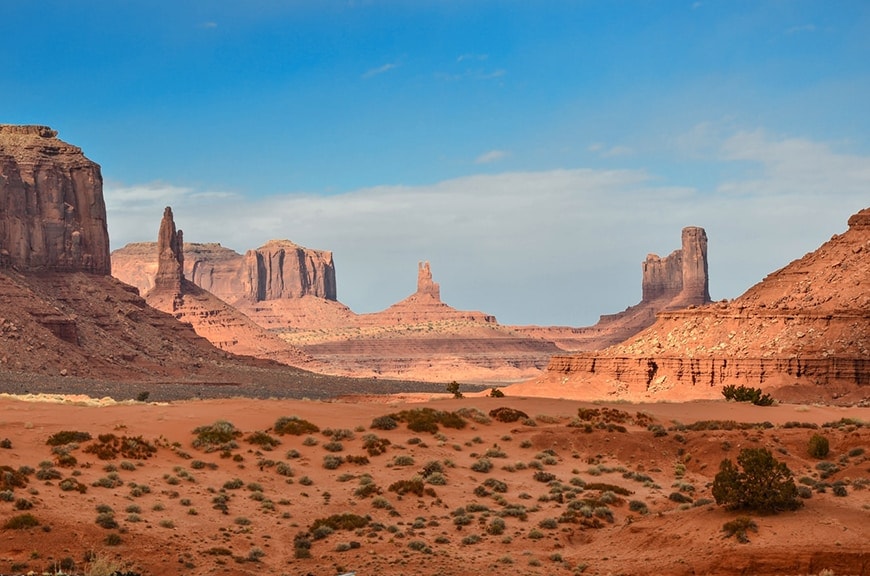
Here you can see one of the classical pairs of complementary colours displayed: orange & blue.
Complementary colours appear opposite each other on the colour wheel. In order to construct complementary harmony, you need to pick a colour from the wheel and then find the colour that lies directly on the opposite side.
Such colour combinations are also known as classical and nowadays they’re used in all kinds of visual communication.
A few examples of complementary colour combinations are: red & green, orange & blue, yellow & purple. Look around you wherever you are in the moment and try to discover such colour combos on your own.
Once you have a few combinations in your mind, grab your camera and challenge yourself to create an image with a pair of complementary colours.
In case you want to dive deeper in this topic, you can have a look at our article about colour theory for photographers.
18. Use mixed media – combine photography with graphic design
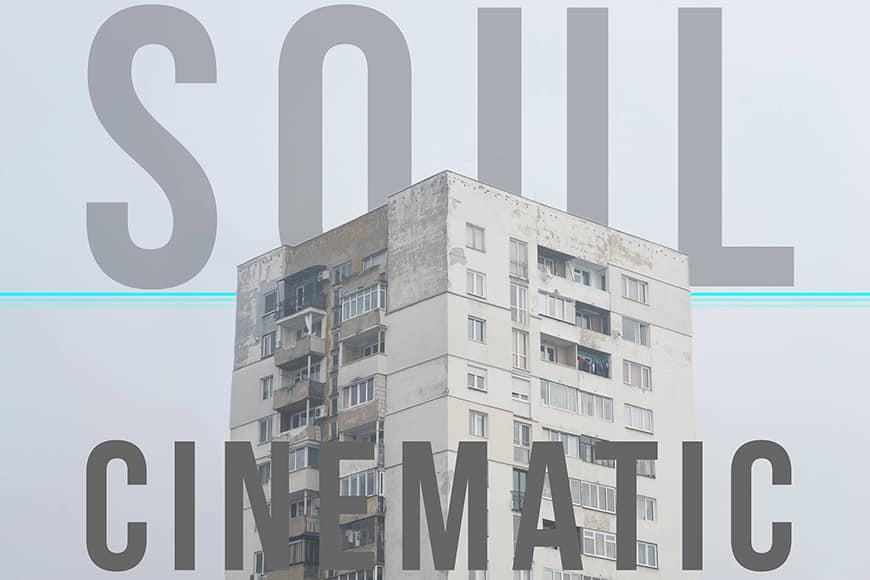
This is one was experimentally created to play with colour accents in monochromatic images.
Using mixed media and employing more than one form of visual art is honestly a lot of fun. It also feels quite liberating not to follow well established rules and to create new ones instead.
Two things that make a perfect match are photography and graphic design. The freedom you have to experiment with these is practically endless.
My recommendation is to start with something simple and obvious and to take it further step by step.
Adding typography to your photography can improve significantly not only the visual product itself, but also the overall message which your work conveys.
If you don’t own a copy of Photoshop, you can try ON1 Photo RAW which includes a text tool, perfect for experimenting with typography on photos – check out our ON1 Photo RAW review for a deeper dive into this popular photo editor.
You can further develop your own idea or even throw the viewer into a completely different train of thought by creating a contrast between the visual part and the added text.
19. Experiment with projecting an image onto your model
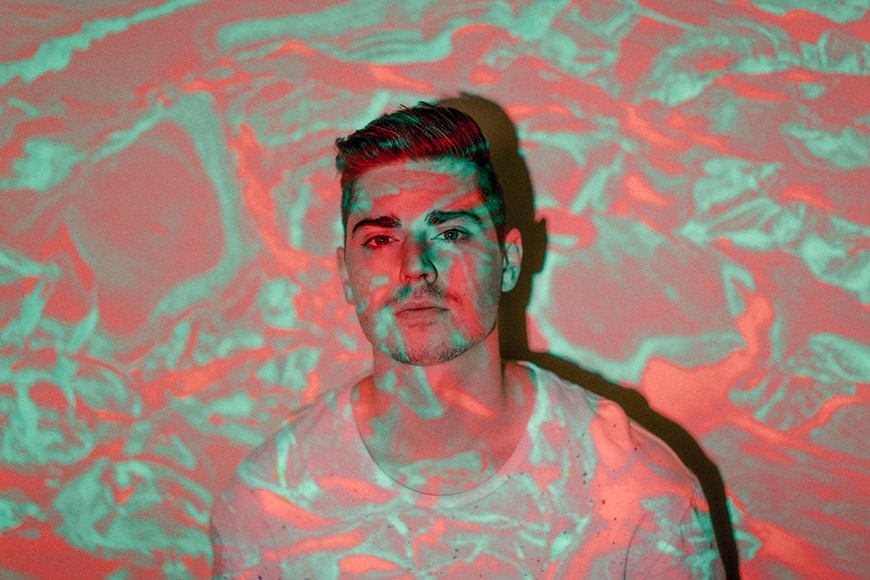
Projections can completely change the look of your portraits.
Something else you might consider doing to add variety to your work is to project an image onto your model. And the possibilities are literally countless.
Depending on what you want your final product to be, you can go from projecting custom graphics like stripes, dots or more complex shapes, to a combination of colours or gradients, to actual images from your favourite painters, movies or photographers.
Since, it would be really hard to combine lighting with a projector, it’s wise to consider lighting up your subject with just the projector.
Therefore, you must look for an appropriate image or video that has plenty of white in it, so you have enough light intensity. Just note that you will have to be prepared for some weird colour balancing.
Using a projector in your work will help you create a surrealistic environment and will surely step up your creative photography game!
20. Use neon light on the street for portrait photography
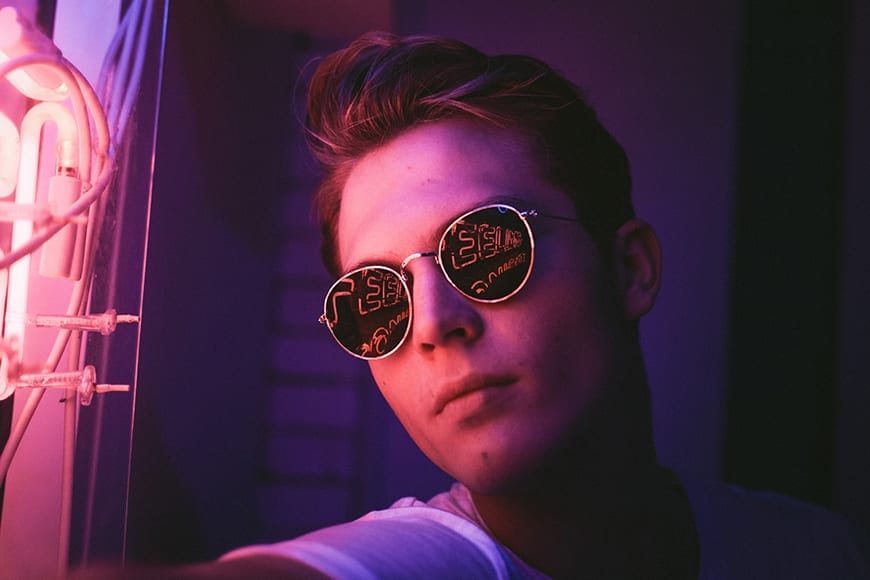
It’s a great idea to bring a pair of glasses for the photoshoot – the reflections from the neon signs can look truly stunning sometimes!
Wandering the streets at night in search of the perfect neon sign to light your model’s face is a brilliant way to spend your Friday evening.
Electric colours can create a unique atmosphere for a portrait and are also great for experimenting with different colour combinations.
For me, going out and looking for a sign to grab my attention is part of the fun, but if you prefer testing this kind of lighting technique at home you can also do it that way.
The easiest way to try out neon portraits from the convenience of your home is to find an image of a solid electric colour, open it on your screen or in your browser and get the screen itself closer to the face of your model.
You can effortlessly change the colour and see which version fits best with your vision for the shot.
Final words
So there you have it – 20 creative photography ideas to inspire you on your next project.
I hope these have given you some food for thought and sparked your innermost creativity.
Be sure to step outside your comfort zone a little and try something new – you never know what you might learn and what interesting and unique results you could get!
Disclaimer: All recommendations are impartial and based on user experience, with no bias to the products or the brand. The products in this post may contain affiliate links.


